Configuring and Managing RAID 95
Deleting Virtual Disks
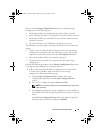
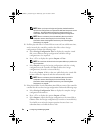
To delete virtual disks, perform the following steps in the BIOS Configuration
Utility.
NOTE: You cannot delete a virtual disk during an initialization.
NOTE: Warning messages are displayed stating the effect of deleting a virtual disk.
Click OK twice to complete the virtual disk deletion.
1
Press <Ctrl><N> to access the
VD Mgmt
screen.
2
Press <Tab> to move the cursor to a virtual disk under the
Virtual Disks
heading.
3
Press <F2>.
The action menu appears.
4
Select
Delete VD
and press <Enter>.
5
On the
VD Mgmt
screen, select
Space Allocation
to display the amount
of free space available after you delete the virtual disk.
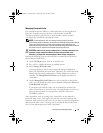
Deleting Disk Groups
You can delete disk groups using the BIOS Configuration Utility. When you
delete a disk group, the utility also removes the virtual disks in that disk group.
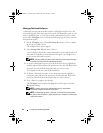
To delete disk groups, perform the following steps in the BIOS Configuration
Utility.
1
Press <Ctrl><N> to access the
VD Mgmt
screen.
2
Press <Tab> to move the cursor to a disk group under the
Virtual Disks
heading.
3
Press <F2>.
The action menu displays.
4
Select
Delete Disk Group
and press <Enter>.
This deletes the disk group. When you delete a disk group, the remaining
disk groups with higher numbers are automatically renumbered. For
example, if you delete disk group #2, disk group #3 is then automatically
renumbered as disk group #2.
Dell_PERC6.1_UG.book Page 95 Wednesday, April 15, 2009 4:18 PM


