18-
H
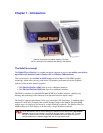
ARDWARE SETUP
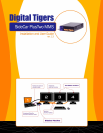
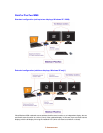
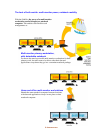
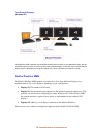
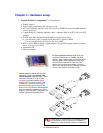
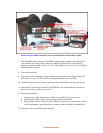
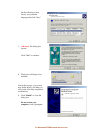
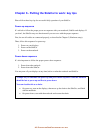
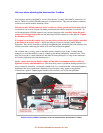
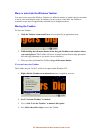
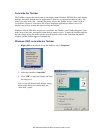
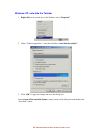
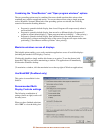
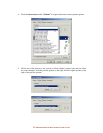
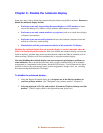
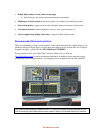
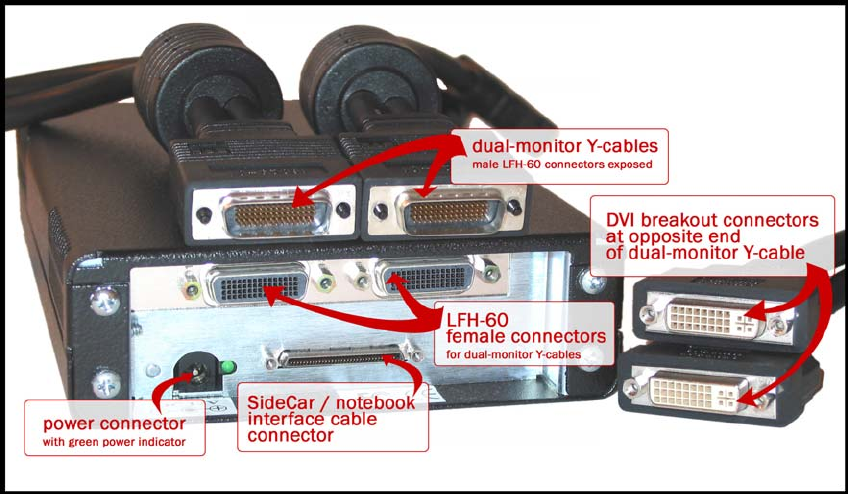
SideCar PlusFour MMS: Connectors at rear of chassis and on dual-monitor Y-cables
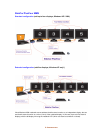
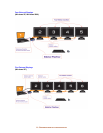
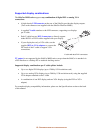
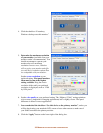
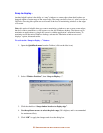
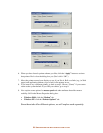
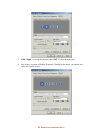
7. After attaching the Y-cable(s) to the SideCar, attach monitor cables to each Y-cable. If
your monitors use analog VGA connectors, add the supplied DVI-to-VGA (HD15)
adapters to the ends of the Y-cable. (Y-cables and adapters are shown in step 1.) Tighten
all thumbscrews securely.
8. Turn on the monitors.
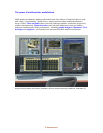
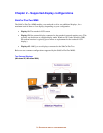
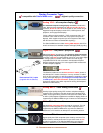
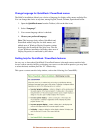
9. Plug one end of the supplied 1-meter notebook interface cable to the Digital Tigers PC
Card (shown in step 1) or PCI interface, and tighten thumb screws securely.
10. Attach the other end of the 1-meter interface cable to the SideCar chassis (port at rear).
11. Insert the PC Card firmly in the PC Card (PCMCIA) slot of the notebook computer. If
there are two slots, try the lower slot first.
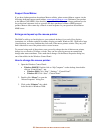
12. Power up the SideCar:
Attach power supply transformer to SideCar (round DC power port at rear).
Attach separate power cable to three-prong socket of transformer.
Plug in power cable to electrical outlet. SideCar will power up automatically. (Power
can be confirmed by green light at rear, and the sound of the SideCar internal fan.)
13. Continue to driver installation (next chapter)