


Basic Scanning Page 21
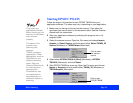
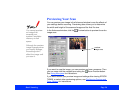
Using Marquees
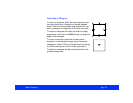
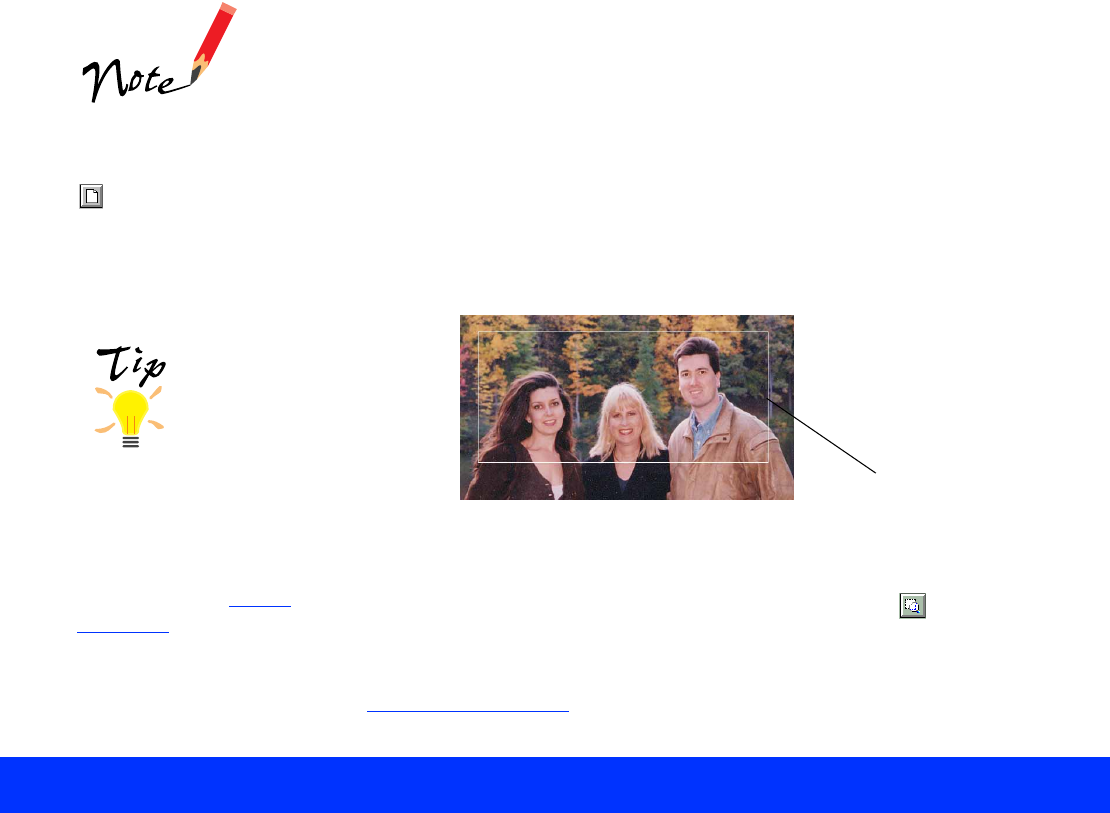
A marquee is a frame around an entire image, or a portion of an image so
you can scan only the most important part. To create a marquee, follow
these steps:
1 Move the mouse pointer over the preview image; the pointer becomes
a cross hair.
2 Position the pointer in the corner of the area you want to select and
press the mouse button.
3 Hold down the mouse button as you drag the mouse across the image,
creating a marquee.
4 Release the button when the marquee contains the image area you
want.
5 To enlarge the preview of the new image area, click the Zoom
Preview button.
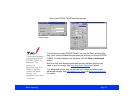
If you need to adjust the marquee size or position, or delete the marquee,
see Adjusting a Marquee
.
If the mouse pointer
doesn’t change to a
cross hair, click the
Preview button
again.
marquee
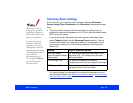
You can save
different sets of
settings for your
marquee and then
batch scan all the
variations. See Batch
Scanning for details.