


15
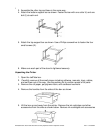
3. Connect the
flat end of the USB cable to your computer's USB port or a first
tier USB hub port.
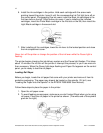
Connecting to the Parallel Port (Windows Only)
To use the printer's built-in parallel interface, you need a shielded, bidirectional, parallel
cable.
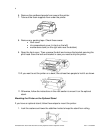
Follow the steps below to connect the printer to your computer:
1. Make sure both the printer and your computer are
turned off.
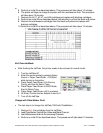
2. Plug the cable connector securely into the
printer's interface. Then squeeze the wire clips
together until they lock into place on both sides.
3. Plug the other end of the cable into the computer's parallel port.
Nozzle Check and Alignment
Run a nozzle check to insure the print head is printing correctly; also do an alignment of the
printhead to insure proper printing. These two steps must be done!!!
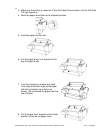
Printing a Nozzle Check Pattern
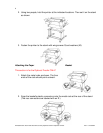
1. Load a letter-size sheet of paper in the printer, following the instructions on page 77.
(You can print the nozzle check on larger sheets or on roll paper, but you will use
more paper.)
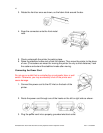
2. Press the SelecType button on the control
panel. You see PRINTER SETUP.
3. Press
until you see TEST PRINT, then
press
. You see NOZZLE CHECK.
4. Press
until you see PRINT, then press
Enter. The nozzle check sheet prints.
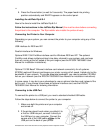
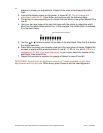
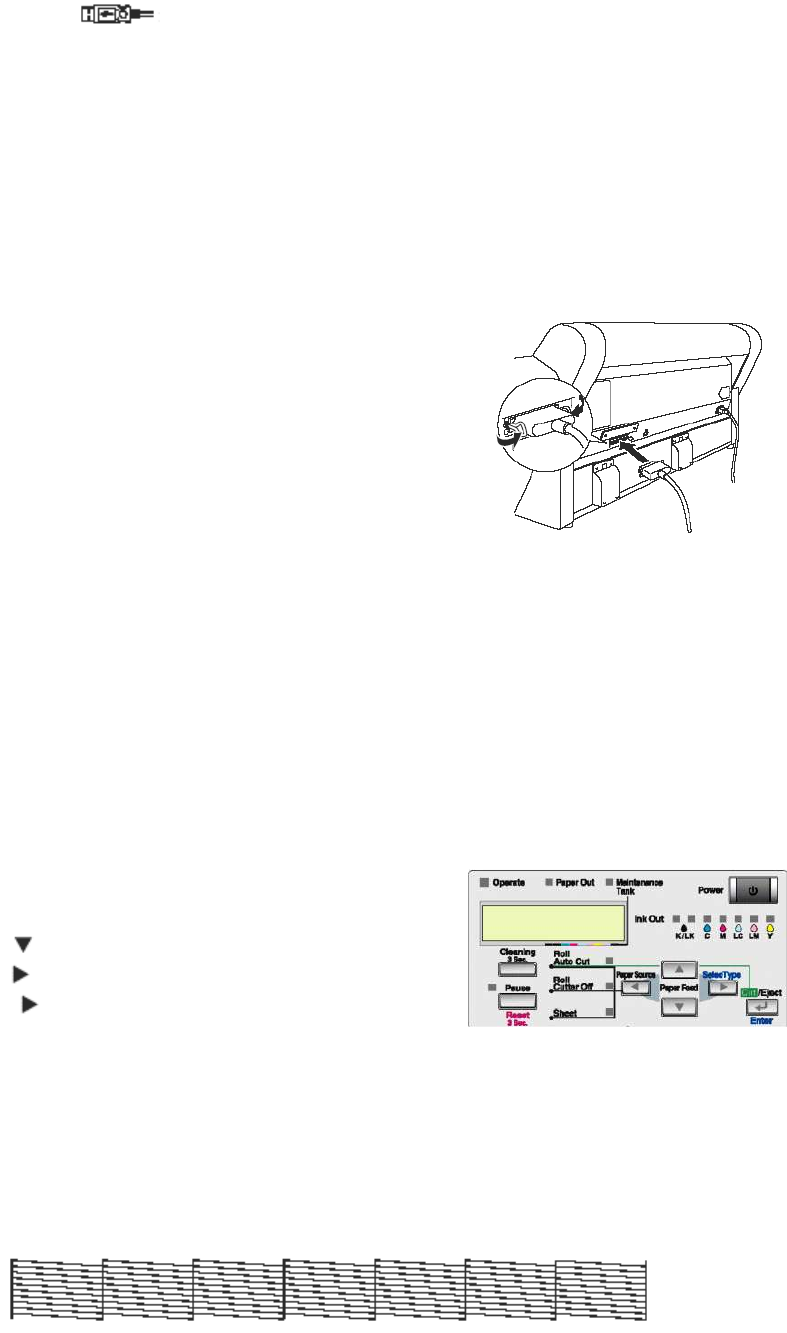
Use the eye loupe that came with the printer to examine the pattern. Even if all the dots
printed, you may be able to see misaligned or "deflected" dots. Deflected dots, like missing
ones, indicate that you should clean the print head.
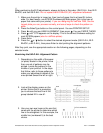
5. Examine the nozzle check pattern. Each staggered horizontal and straight vertical
line should be complete, with no gaps in the pattern:
All Trademarks used in this document are the properties of their respective owners. Rev. 1.3 4/6/2004