8
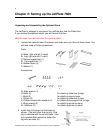
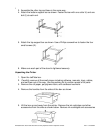
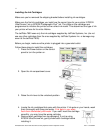
6. Remove the cardboard panels from around the printer.
7. Take out the foam supports from under the printer.
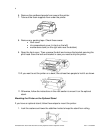
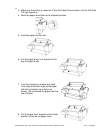
8. Remove any packing tape. Check these areas:
• front cover
• ink compartment cover (in front on the left)
• maintenance tank (on the right side near the bottom)
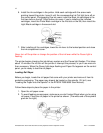
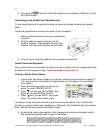
9. Open the front cover. Then unscrew the bolt and remove the bracket securing the
print head. Save the bolt and bracket in case you need to ship the printer.
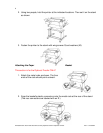
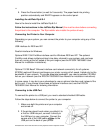
10. If you want to set the printer on a desk, use at least two people to hold it as shown.
11. Otherwise, follow the instructions in the next section to mount it on the optional
stand.
Mounting the Printer on the Optional Stand
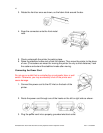
If you have an optional stand, follow these steps to mount the printer:
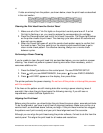
1. Lock the casters and lower the stabilizer knobs to keep the stand from rolling.
All Trademarks used in this document are the properties of their respective owners. Rev. 1.3 4/6/2004


