15
Using PhotoEnhance, Custom, and
Advanced Settings
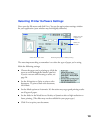
When you’re printing special projects, you can customize your printer software
settings, as described in these sections:
■ “Using PhotoEnhance” below
■ “Using Custom Project Types” on the next page
■ “Using Advanced Settings” on the next page
For additional information on these settings, see the electronic Reference Guide, as
described on page 2.
Using PhotoEnhance
The printer software includes PhotoEnhance
™
options that increase image brightness
and contrast to improve the appearance of low-resolution or under- or over-exposed
photos. You can also add special effects, such as Soft Focus.
If you’re printing high-resolution images, you may want to use the
Automatic setting instead; see page 8 (Windows) or page 13
(Macintosh).
PhotoEnhance does not affect your original image; it only affects
your printout. Printing with PhotoEnhance may take longer on some
systems and images.
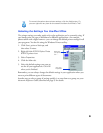
Don’t select Roll Paper or Roll Paper (Zero Margins) as your Paper
Source setting; you can’t use these options with the PhotoEnhance
setting.
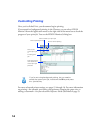
To use PhotoEnhance, you must select
Color
ink; you cannot turn on PhotoEnhance
with
Black
ink selected.
If your photograph was taken with a digital camera, you can select
Digital Camera
Correction
to give your printed images the appearance of photographs taken with a
film camera. For more fine-tuning, you can select from a list of specialized settings for
photographs, such as
People
or
Nature
, or special filters, such as
Soft Focus
or
Sepia
.


