


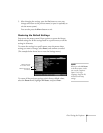


64 Fine-Tuning the Projector
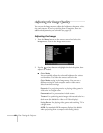
2. Use the pointer button to highlight the desired option, then
adjust it as needed:
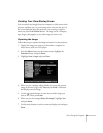
■ Auto Setup
Leave this setting
ON to automatically optimize the computer
image. Turn it off if you want to save adjustments you have
made to the video settings.
■ Resolution
If your image is distorted (compressed, stretched, partially cut
off, or doesn’t completely fill the display area), the projector’s
resolution setting may not match that of your computer.
Select
Auto to let the projector adjust the resolution
automatically, or
Manual to adjust the setting yourself. (Press
Enter after you make the selection.)
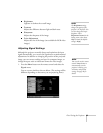
■ Tracking
Adjust this value to eliminate vertical stripes in the image.
■ Sync
Adjust this value if the image appears blurry or flickers.
■ Position
If the image is slightly cut off on one or more sides, it may not
be centered exactly. Select this setting and use the pointer
button to center it.
■ Preset
Once you’ve fine-tuned the settings in the Signal menu for
the computer you’re using, you can save them as a group
using one of the ten
Preset settings. The next time you use
the same computer, simply press the
Preset button on the
remote control to recall your saved settings. (Press the
Preset
button repeatedly to select the setting you want to use.)
■ Computer 1 Input/Computer 2 Input
If the colors don’t look right on the Auto setting, select the
setting for the type of equipment you’ve connected to the
Computer/Component port(s):
RGB: For a computer connection.
Component Video: For a video player that outputs a
component video signal.
tip
Before adjusting tracking or
sync, fill the screen with an
image containing fine
detail. For example, in
Windows you can select a
pattern to appear as your
desktop background. If this
option isn’t available, try
projecting black text on a
white background.
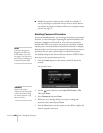
Preset
button