


Advanced Printing Page 73
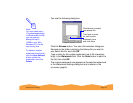
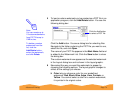
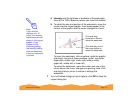
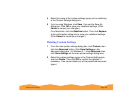
6 If you want to frame each page’s contents with a black line, one
dot wide, click the Print page frames checkbox.
7 If you’re finished selecting Layout options, click OK. If you want
to select more options, see Adding a Watermark.
Adding a Watermark
You can add a watermark to each page in your document to
emphasize its purpose or indicate how the document should be
handled. For example, you may want to add a watermark of the
word “Confidential” to documents you don’t want distributed to other
parties. Or you can add a custom PICT file of your company logo so
your document looks like printed letterhead.
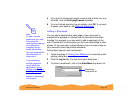
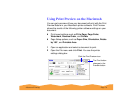
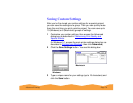
1 Open an application and select a document to print.
2 Open the File menu and click Print.
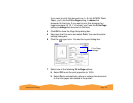
3 In the printer settings dialog box, click the Layout button.
You see the Layout dialog box.
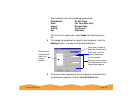
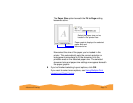
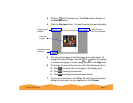
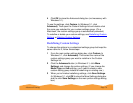
4 To use one of the predefined watermarks, click the arrow in the
Name list in the Watermark box and choose one of these:
Go to step 6.
Confidential
Draft
Urgent
Priority
Hot
Do Not Copy
For Your Eyes Only
Review Copy
Top Secret
Duplicate
Note:
To add a custom
watermark, you must
first create the
watermark as a PICT
file in an application
program that can
create PICT files. See
your application’s
documentation for
instructions.
If you selected a
multiple page print
layout option (as
described in Using
Multiple Print Layouts
and Page Frames),
your watermark will
appear on each page
in the layout.