


Advanced Printing Page 79
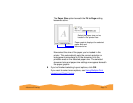
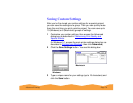
4 Click OK to close the Advanced dialog box (not necessary with
Windows 3.1).
To use the settings, click Custom (in Windows 3.1, click
Advanced). Then open the Custom Settings list and double-click
the name you selected for your custom settings group. (On a
Macintosh, the custom settings group is automatically selected.)
To redefine or delete your custom settings, see Redefining Custom
Settings or Deleting Custom Settings.
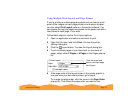
Redefining Custom Settings
To change the options in a customized settings group but keep the
same name for it, follow these steps:
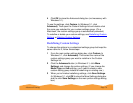
1 From the main printer settings dialog box, click Custom (in
Windows 3.1, click Advanced). Then select the name of the
custom settings group you want to redefine in the Custom
Settings list.
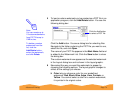
2 Click the Advanced button (in Windows 3.1, click More
Settings) and change the printer settings. (If you change the
Media Type and Ink settings, you’ll need to create a new
custom setting group instead of redefining an existing one.)
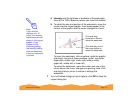
3 When you’re finished redefining settings, click Save Settings.
(In Windows 3.1, click OK to close the More Settings dialog box
and the click Save Settings on the main printer settings dialog
box.)