28 Printing Directly from a Memory Card – Printing Options
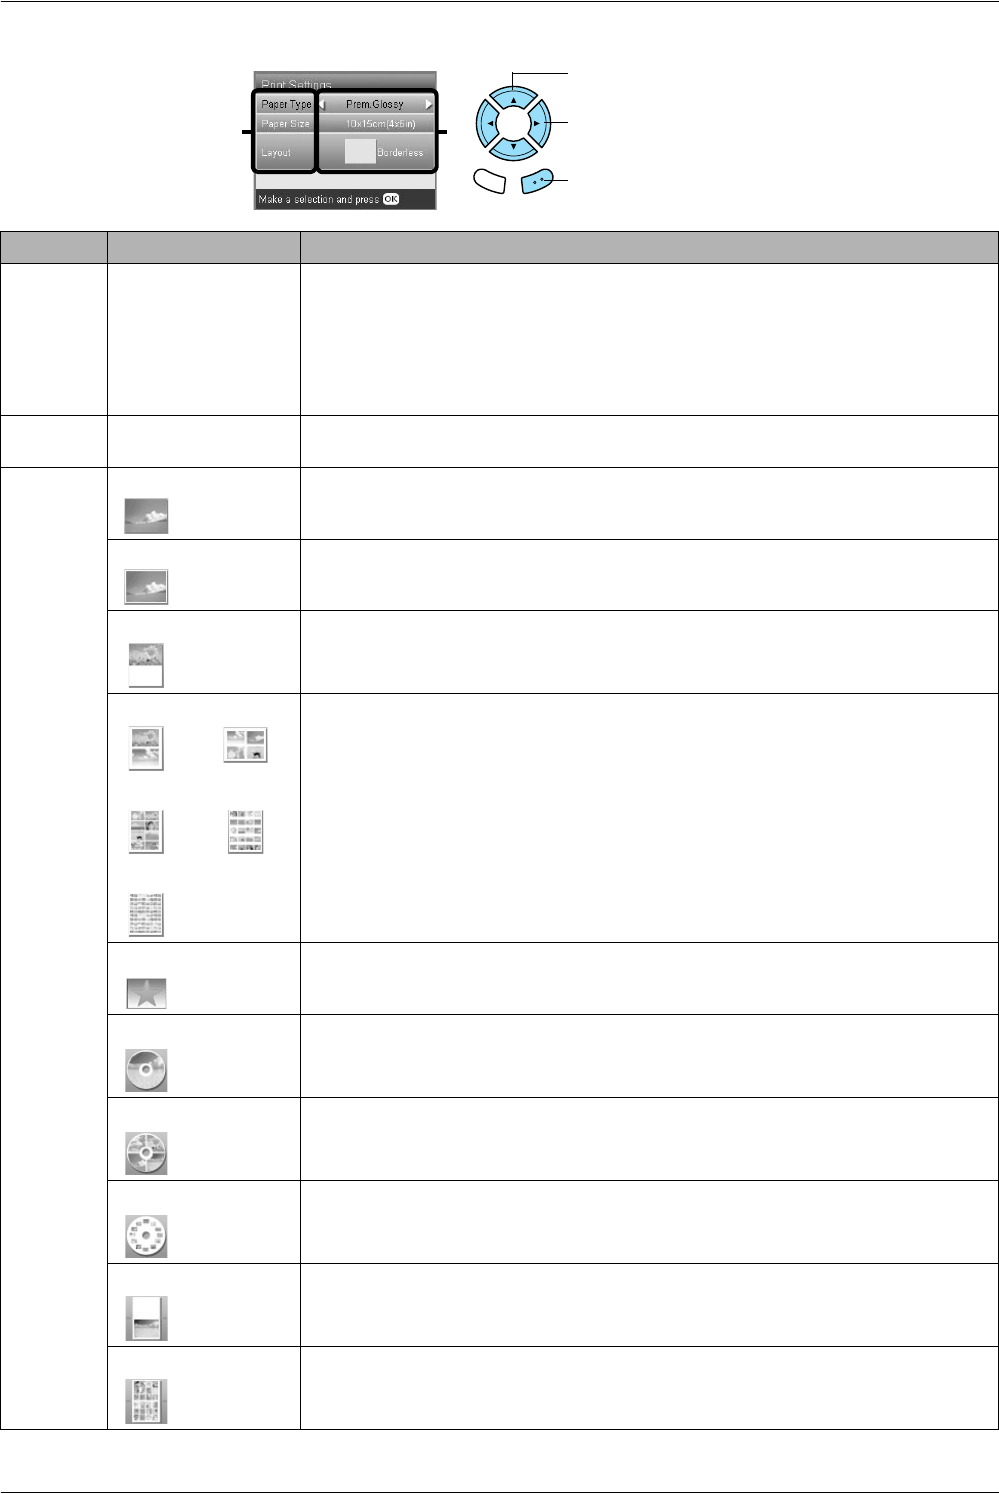
Changing Print Settings
Menu Item Setting Item Description
Paper Type Plain (Front), Plain
(Back), Prem.Glossy,
GlossyPhoto,
SemiGloss, Photo
Paper, Matte, Bright
White (Front), Bright
White (Back), CD/DVD
Prints in the paper type you select.
See page 7 for detailed settings.
Paper Size A4, A6, 10 × 15 cm
(4 × 6 in), CD
Sets the paper size for printing.
Layout Borderless* Prints without margin.
with Border Prints with a 3 mm margin along the top, bottom, and on both sides.
Upper1/2 Prints on upper half part of paper.
2-up
8-up
80-up
4-up
20-up
Prints multiple photos on one sheet. In 20-up and 80-up layout, the numbers and shooting
dates are printed.
The size of each photo is adjusted automatically according to the number of photos to
print and the size of paper.
You cannot print in black and white in 80-up layout.
Note:
When Crop is selected, copies of the same photo are printed to the selected layout on
a single sheet of paper. A single copy of the photo is printed when anything other than
the Crop is selected.
P.I.F. file name Prints photos with a PRINT Image Framer Tool frame.
1-up Prints one photo on the CD/DVD, centered on the hole in the middle of the disc.
You can select this option only when CD/DVD is selected in the Memory Card Custom
Print screen.
4-up Prints four photos on the CD/DVD, with one image in each of the four quarters.
You can select this option only when CD/DVD is selected in the Memory Card Custom
Print screen.
12-up Prints 12 photos on the CD/DVD, arranged in a circle around the outer edge of the disc.
You can select this option only when CD/DVD is selected in the Memory Card Custom
Print screen.
Jewel Case Upper 1/2 Prints a photo into one side of the CD case.
You can select this option only when CD Jacket is selected in the Memory Card Custom
Print screen.
Jewel Case Index Prints multiple photos into the CD case.
You can select this option only when CD Jacket is selected in the Memory Card Custom
Print screen.
1. Select the Menu Item.
3. Press the OK button.
2. Select the Setting Item.
Back OK
12


