Scanning to a Memory Card 35
English
Scanning to a Memory
Card
Note:
❏ For information on scanning images to a computer or
e-mail, see the User’s Guide.
❏ The scanned images are saved in JPEG format to the
“epscan” folder which is automatically created when
you scan to a memory card.
Scanning and Saving a
document to a Memory Card
1. Place an original document on the document table.
& See “Placing a Photo or Document on the
Document Table” on page 7
2. Load a memory card.
& See “Inserting Memory Cards” on page 15
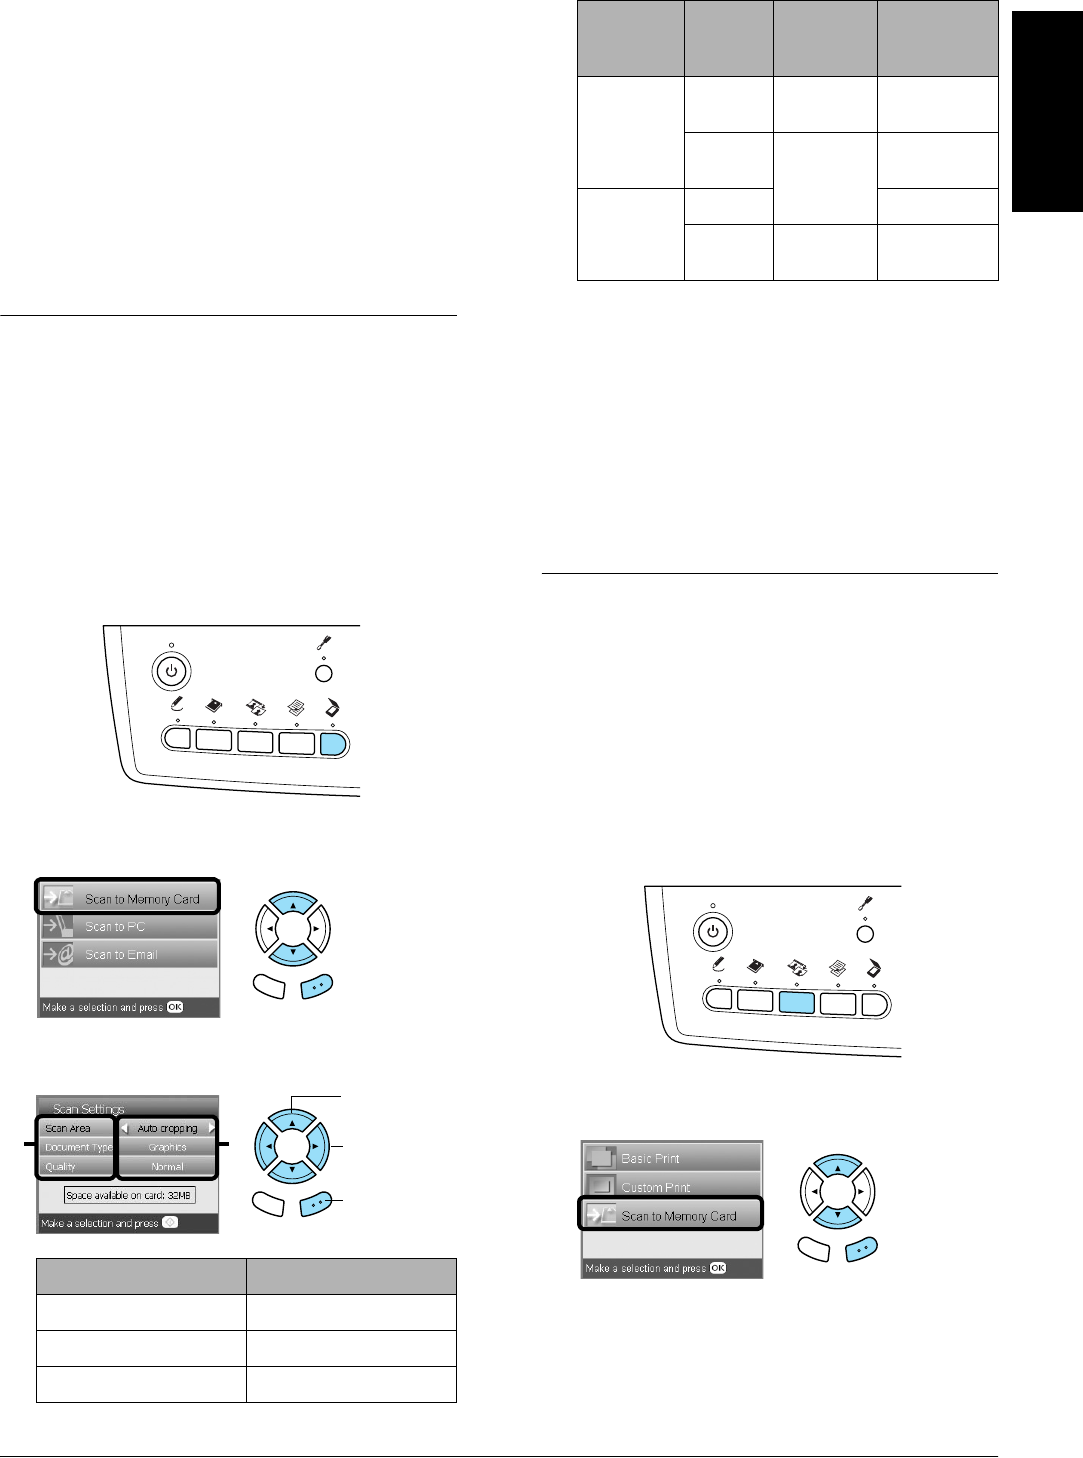
3. Press the Scan button to enter the Scan Mode.
4. Select Scan to Memory Card.
5. Select the appropriate scan settings.
Quality affects the file size of images as follows:
*A4, color document.
6. Press the x Color button to start scanning.
Note:
If you need to stop scanning, press the y Stop button.
c
Caution:
Never open the scanner unit while scanning
as you may damage this product.
Scanning and Saving a film to a
Memory Card
1. Set a film on the document table.
& See “Loading and Setting Film on the
Document Table” on page 31
2. Load a memory card.
& See “Inserting Memory Cards” on page 15
3. Press the Film button to enter the Film Mode.
4. Select Scan to Memory Card.
5. Select the film type.
& See “Selecting the Film Type” on page 34
Setting Selection
Scan area Auto cropping, Max area
Document Type Text, Graphics
Quality Normal, Text and Image
Back OK
Back OK
1. Select the
Menu Item.
2. Select the
Setting Item.
21
3. Press the
OK button.
Docu-
ment
type
Quality Scanning
resolution
Approxi-
mate file
size*
Text Normal 200 × 200
dpi
300 KB
Text and
Image
300 × 300
dpi
500 KB
Graphics Normal 500 KB
Text and
Image
300 × 300
dpi
3.0 MB
Back OK


