18 Printing From a Memory Card or External Drive
3. Insert storage media (such as a CD) into your drive, if necessary.
4. If there are folders on your storage media, select the folder you want and
press
OK.
5. See the next section to select and print your photos.
Note:
Before removing your USB drive, make sure its access light is not flashing.
You cannot use the USB port to transfer images from your external storage device
to your computer. If you want to transfer images, use the memory card slots instead
(see the online User’s Guide for instructions).
Selecting and Printing Photos
1. Load Epson photo paper. See page 9 for a list.
2. Press
Home until Print Photos is selected,
then press
OK.
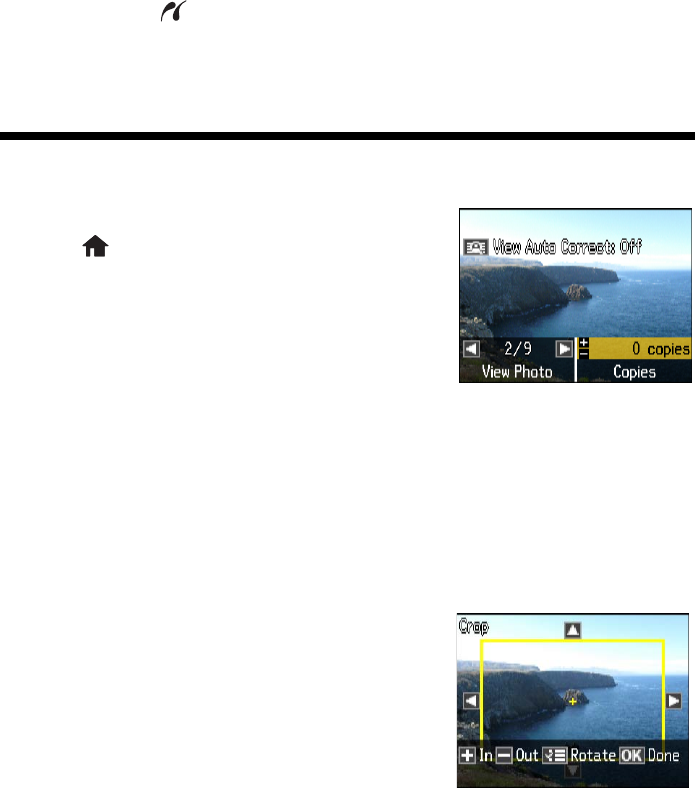
3. Select View and Print Photos and press OK.
4. Press
l or r to move through your photos and
display one you want to print.
Tip:
If View Auto Correct: Off appears at the top of the display screen, press the View
Auto Correct button to preview how your printouts will look with Fix Photo turned
on (see page 19).
5. Press + to select a photo for printing.
6. To print more than one copy, press
+ or – to select the number of copies you
want of that photo.
7. To crop the photo, press the
Display/Crop
button.
■ To resize the image area, press + or –.
■ To move the image area, use the arrow
buttons.
■ To rotate the image area, press x Menu.
■ To check the zoomed image, press OK.


