


Replacing the RPS power distribution module
www.gateway.com
53
Replacing the RPS power distribution module
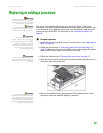
To replace the RPS power distribution module:
1 Follow the instructions in “Preventing static electricity discharge” on
page 30. Make sure that you turn off the server, then unplug the power
cord(s) and all other cables connected to the server.
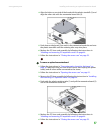
2 Follow the instructions in “Opening the server case” on page 31.
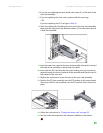
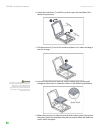
3 Remove the power supply modules by following the instructions in
“Replacing a power supply module” on page 52.
4 Disconnect the main power, CPU power, backplane power, I
2
C power, and
midplane power cables. See “System board” on page 6 for the location of
the connectors on the system board.
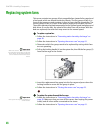
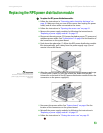
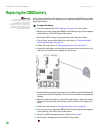
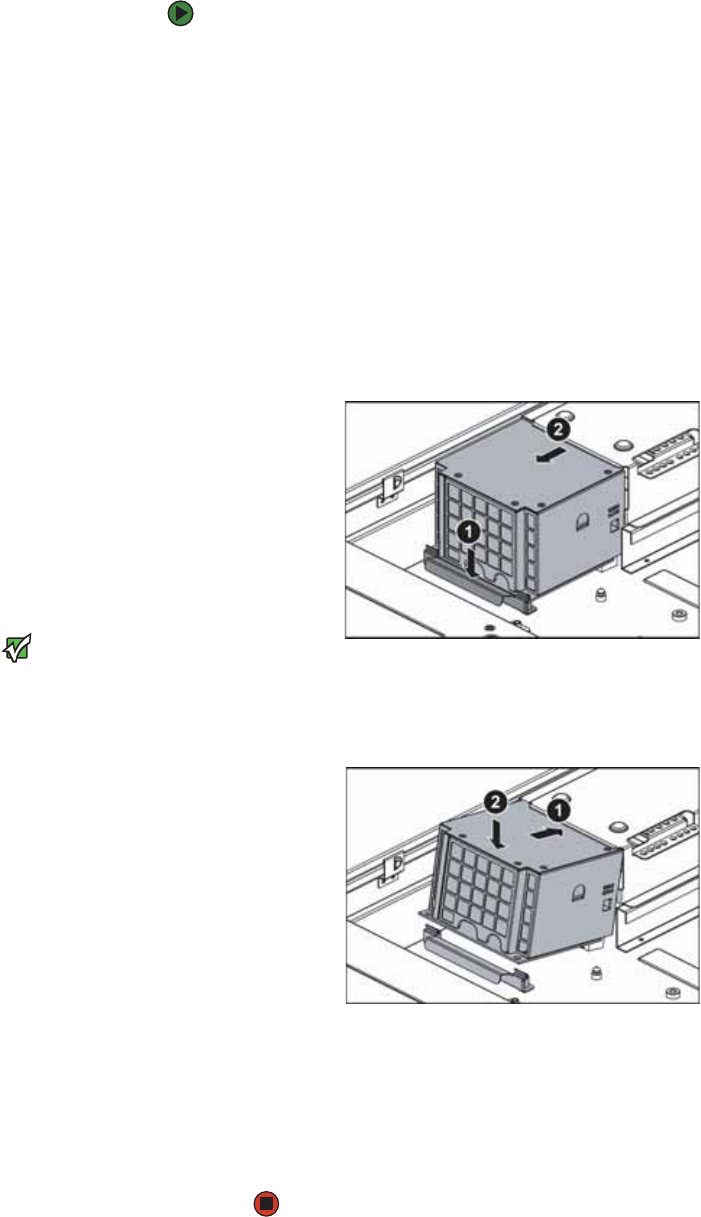
5 Push down the release bar (1). When the RPS power distribution module
lifts (automatically), pull it away from the power supply cage (2) and
remove it from the chassis.
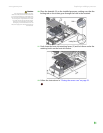
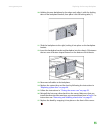
Important
Make sure that the RPS power
distribution module is connected to the
power supply connector(s) on the power
supply(ies).
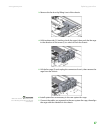
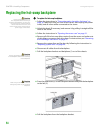
6 Align the new RPS power distribution module with the power supply cage
(1), then push it down (2) onto the release bar. Make sure that the
connectors on the back of the RPS power distribution module fit into the
connectors on the power supply(ies).
7 Reconnect the power cables. See “System board” on page 6 for the
location of the connectors on the system board.
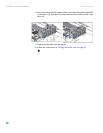
8 Reinstall the power supply modules by following the instructions in
“Replacing a power supply module” on page 52.
9 Follow the instructions in “Closing the server case” on page 32.