Installation
www.gateway.com
21
Important
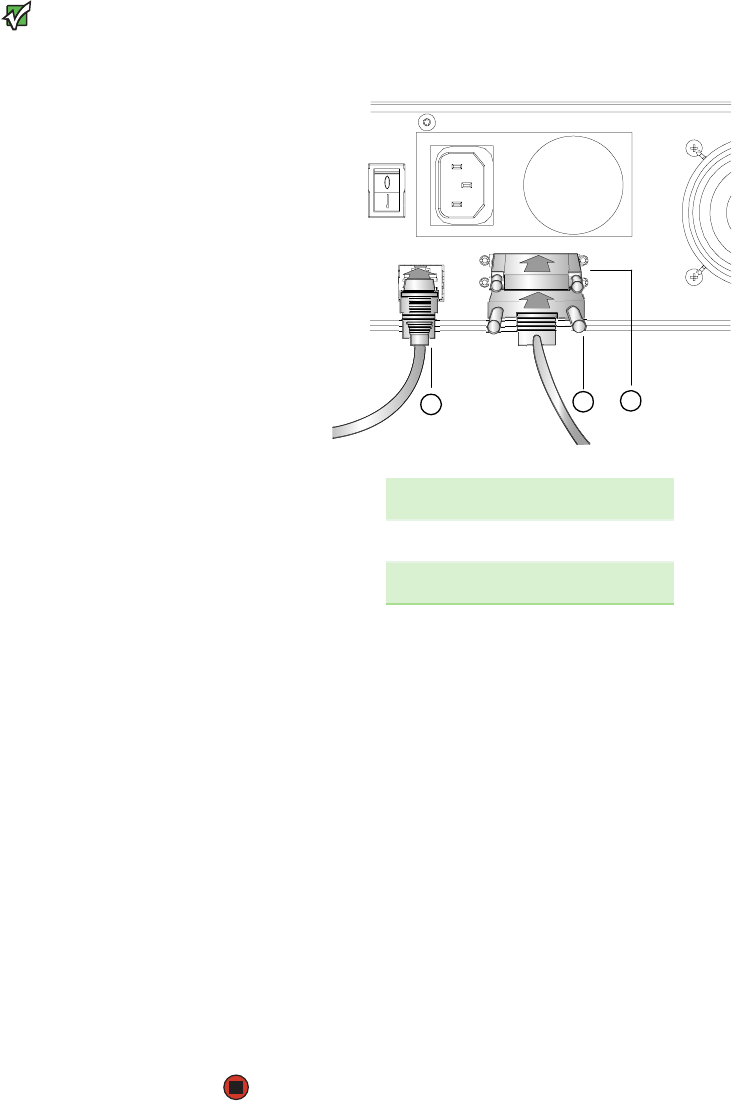
If the supplied SCSI cable does not fit the
connector on your SCSI host adapter, you
have an incompatible SCSI host adapter.
Contact your Gateway representative or
your SCSI host adapter manufacturer for
information.
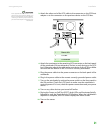
3 Attach the other end of the SCSI cable to the connector on the SCSI host
adapter or to the connector on the previous device on the SCSI bus.
4 Attach the terminator to the remaining SCSI connector on the back panel
of the autoloader (if the autoloader is the last or only device on the SCSI
bus). Otherwise, attach the cable to the next device on the SCSI bus. Make
sure that the last device on the SCSI bus is correctly terminated.
5 Plug the power cable into the power connector on the back panel of the
autoloader.
6 Plug in the power cable to the nearest correctly grounded power outlet.
7 Turn on the autoloader by setting the power switch on the front panel to
the ON position. Check the LCD screen to make sure the autoloader is
receiving power. If it is not, check the power connections and your power
source.
8 Turn on any other devices you turned off earlier.
9 During the Power-on Self Test (POST), both LEDs are illuminated briefly,
followed by only the Ready/Activity LED flashing. When the initialization
sequence is complete, the LCD screen displays the Home screen.
10 Turn on the server.
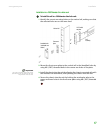
1 Ethernet cable
2SCSI cable
3 SCSI terminator
1
2
3


