


1-8
GCC Elite Color 16 Series User’s Guide
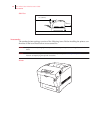
Installation Procedure
Installation Procedure
Install the printer as follows:
1.
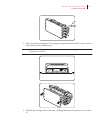
Remove all the packing tape from the printer.
2.
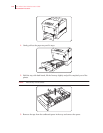
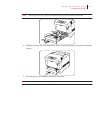
Remove all the spacers from the printer.
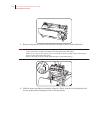
3.
Install the drum cartridge.
4.
Install the toner cartridges.
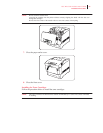
5.
Load the paper.
6.
Plug in the power cord.
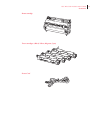
NOTE:
Spacers are installed in various parts of the printer to protect it from shock and vibrations during
shipping. Make sure you remove all the spacers before using the printer.
If you purchased the optional High Capacity Feeder , install it first. For details on installing optional
accessories, see Chapter 6 “Options” and the literature accompanying the High Capacity Feeder.
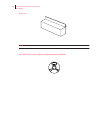
NOTE:
Keep the cardboard box, handles, polystyrene packaging and spacers in case you need to transport
the printer over long distances in the future.
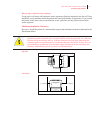
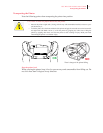
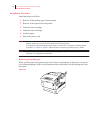
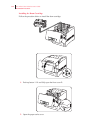
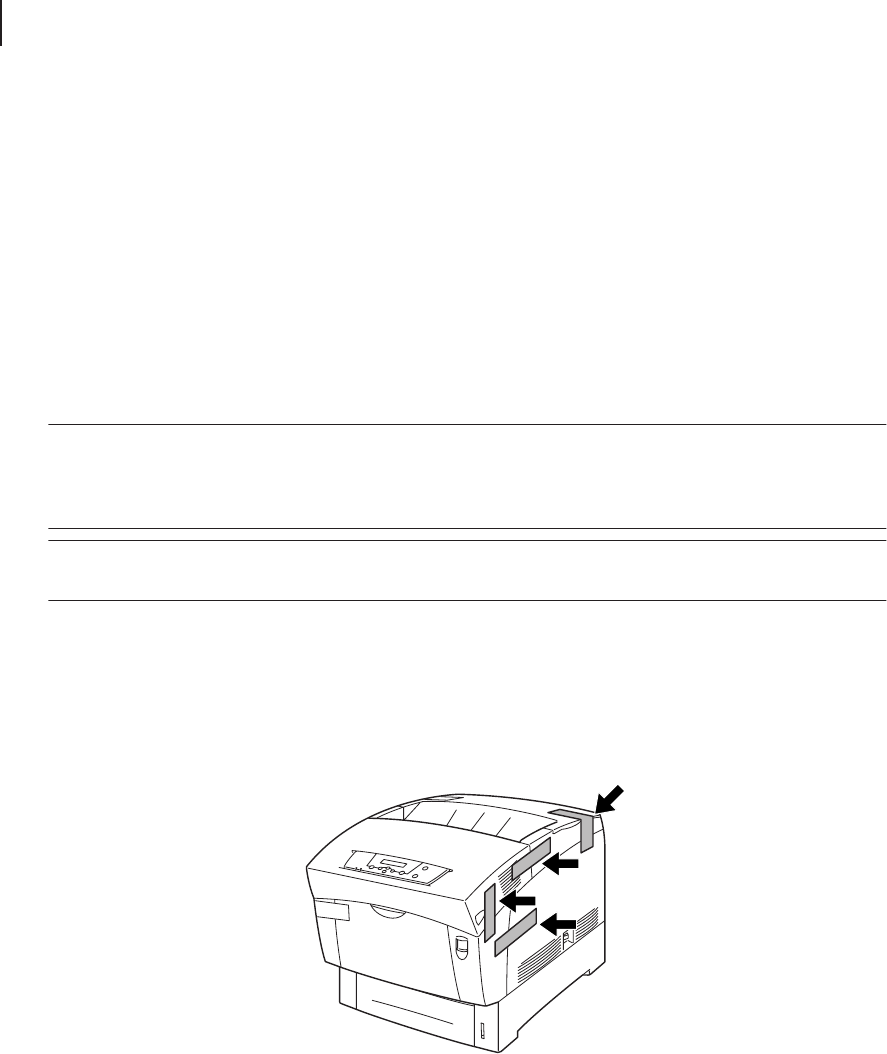
Removing the packing tape
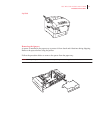
When you first remove the printer from its box, there is packing tape in 8 places to secure the
covers during shipping. Refer to the illustrations below and remove all the packing tape from
the printer.
Right Side