2-8 Removal and Replacement HP OmniBook 2100/3000/3100
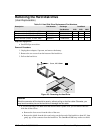
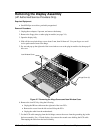
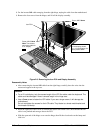
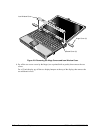
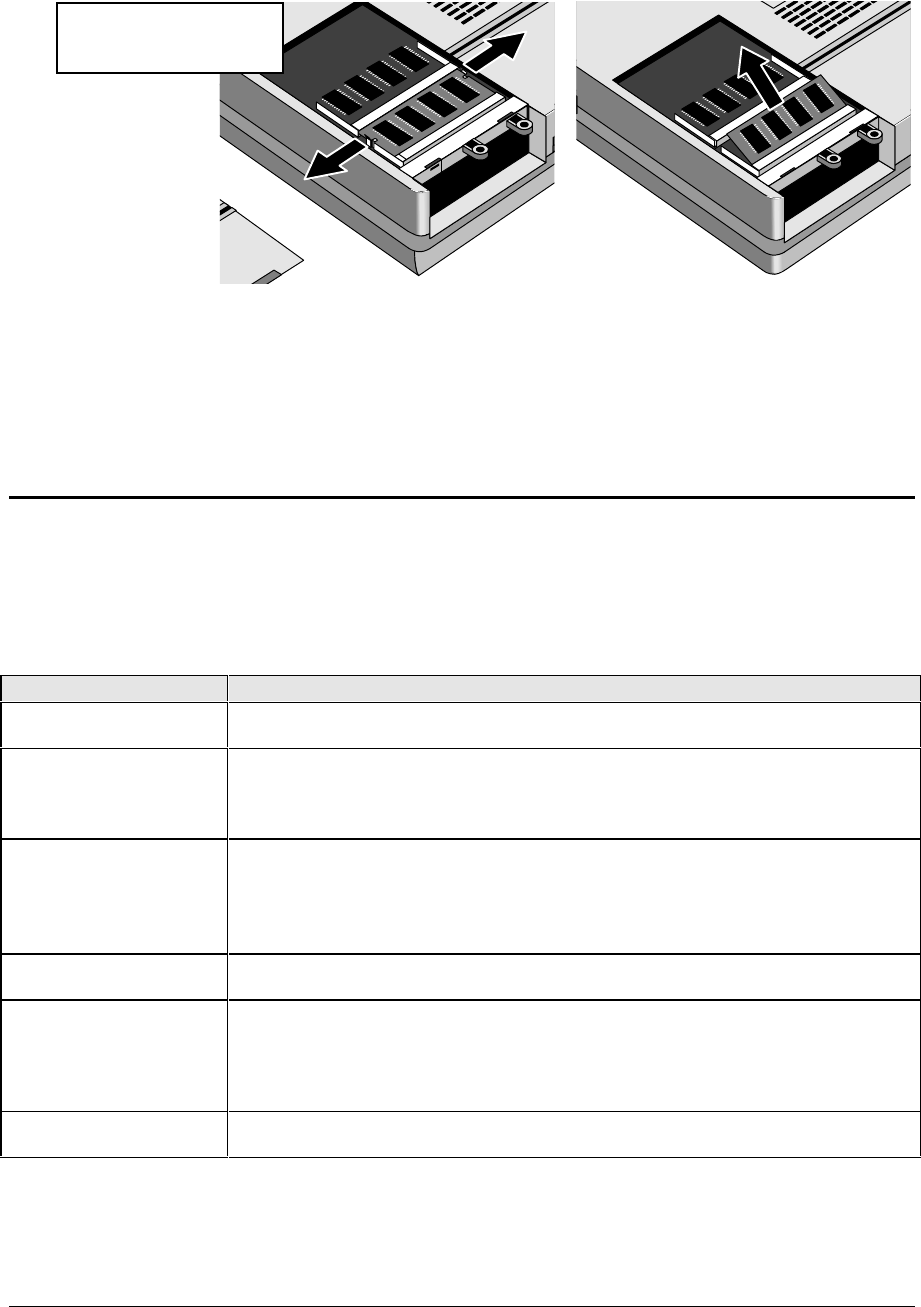
Figure 2-6. Removing a RAM Board
Reassembly Notes
• Insert the RAM board into the connector at about a 30° angle until it is fully inserted. Then press
down at both sides until both latches snap closed.
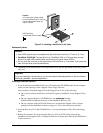
• Place the RAM cover about 3 mm from its closed position, then slide it closed.
Replacing Small Parts
(User-Replaceable)
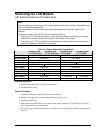
The following small parts are user-replaceable.
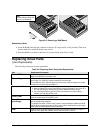
Table 2-6. Replacing Small Parts (User-Replaceable)
Part Replacement Procedure
Cover, BIOS
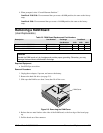
On the bottom of the unit, insert a small flat-blade screwdriver into the slot at the
edge of the BIOS cover and pry it off.
Cover, Hinge
With the display fully open, slide off the hinge cover about 5 mm, then lift it off. Use
your finger or a small tool to push outward next to the hinge.
To reinstall the cover, slide the open end of the cover onto the hinge, then lift the
closed end over the bump and slide it in.
Cover, Icon Window
1. Remove the floppy drive or other plug-in module.
2. With the display fully open, slide off each hinge cover about 5 mm, then lift it
off. Use your finger or a small tool to push outward next to the hinge.
3. Pry out and pop up the right end of the icon window cover at the plug-in
module slot, then pop off the cover.
Cover, RAM
Remove the hard drive (see page 2-5). Slide the RAM cover about 3 mm toward the
hard drive opening, then lift off the cover.
Door, I/O
(and Hinge)
Open the door and unsnap it from the center hinge. Flex the center of the door until
one of the side tabs releases.
To replace the center I/O door hinge, insert a small flat-blade screwdriver behind
the flat plate and pop the hinge out of the case. When installing the center hinge,
make sure the hinge support curves downward.
Feet
Insert a small flat-blade screwdriver under the end of the foot and pry it loose. To
replace, firmly press the adhesive side of the foot into the recess.
Note:
The OmniBook 2100/3100
has only one RAM slot.


