2-20 Removal and Replacement HP OmniBook 2100/3000/3100
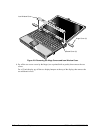
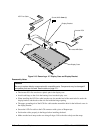
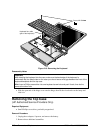
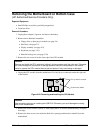
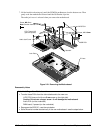
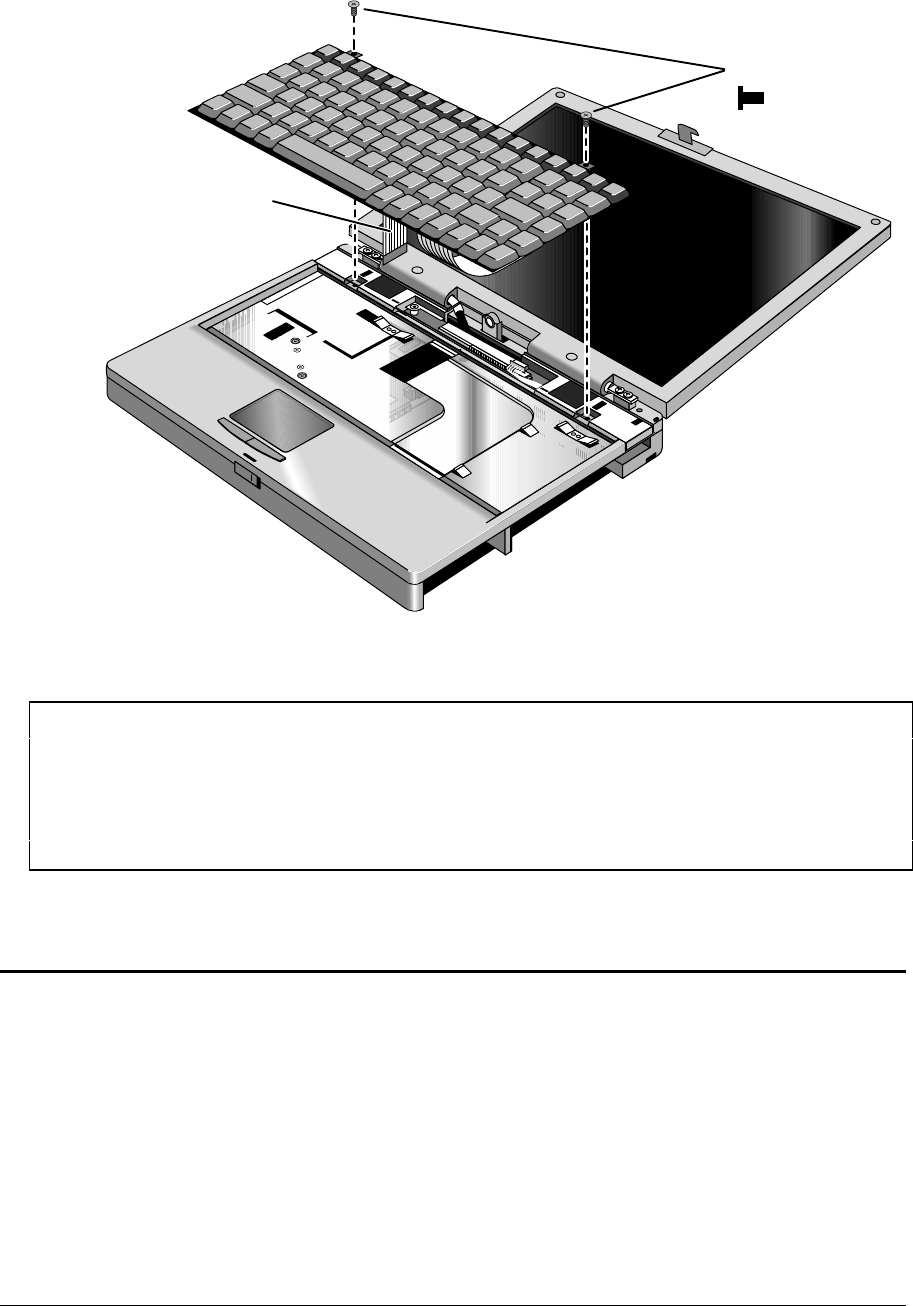
Figure 2-16. Removing the Keyboard
Reassembly Notes
Important
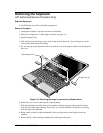
After inserting the keyboard into the case, make sure the back edge of the keyboard is
underneath the four plastic tabs on the case–you should see a small gap between the front of the
keyboard backplate and the top case.
Hint: Insert a Phillips screwdriver into one keyboard screw hole and push it back, then do the
same at the other hole.
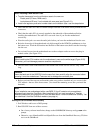
• Slide the open end of the hinge cover onto the hinge, then lift the closed end over the bump and
slide it in.
Removing the Top Case
(HP Authorized Service Providers Only)
Required Equipment
• Small Phillips screwdriver, preferably magnetized.
Removal Procedure
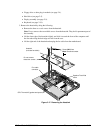
1. Unplug the ac adapter, if present, and remove the battery.
2. Remove these additional assemblies:
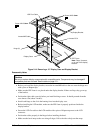
Screw, M2.5×4mm
Keyboard flex cable
(part of the keyboard)


