HP OmniBook 2100/3000/3100 Removal and Replacement 2-25
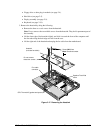
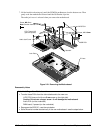
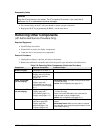
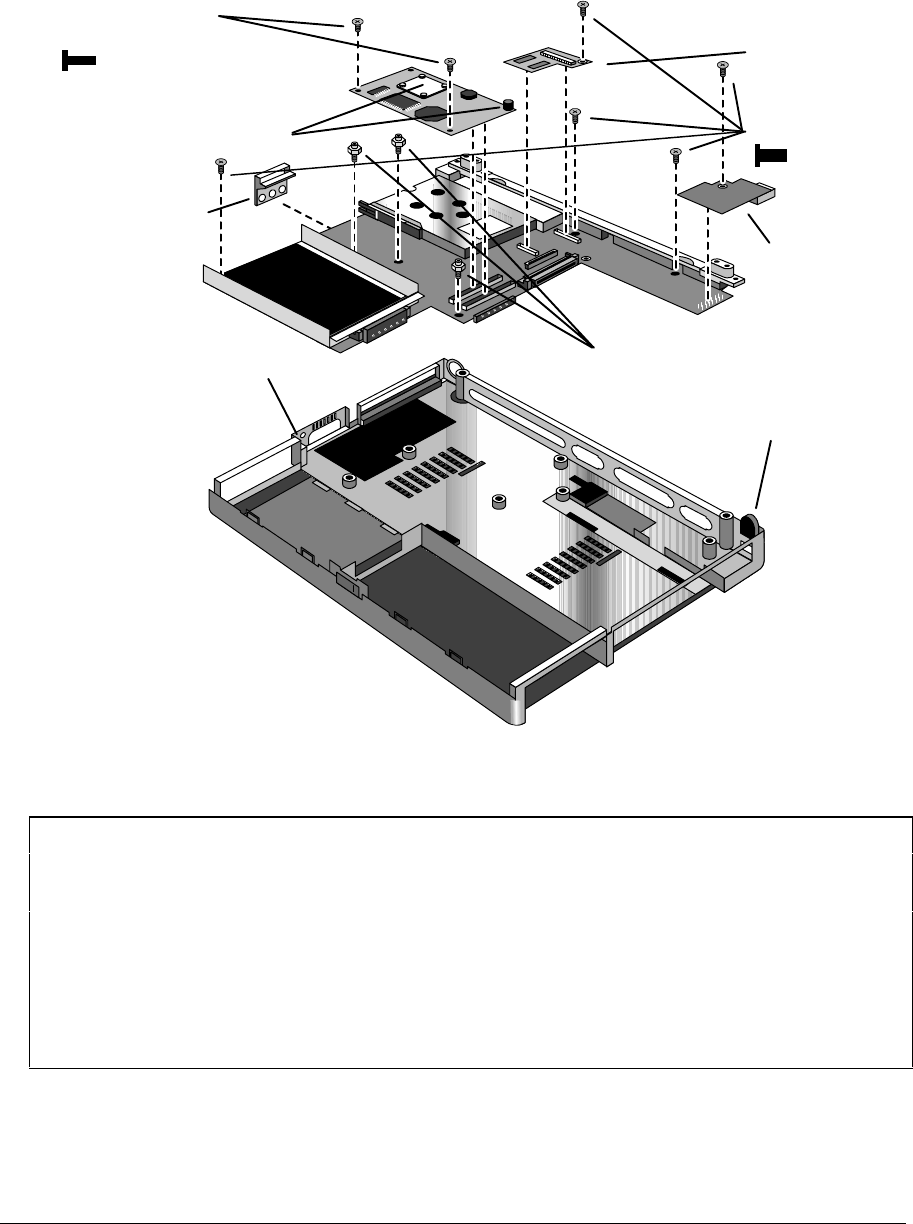
7. Lift the hard drive housing only until the PCMCIA pushbuttons clear the bottom case. Then
gently work the motherboard forward until the I/O bracket slips free.
The audio jack cover is released when you remove the motherboard.
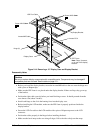
Figure 2-21. Removing the Motherboard
Reassembly Notes
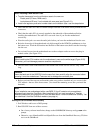
Note: Installing a New Motherboard
• Transfer these PCAs from the old motherboard to the new one:
LVDS PCA (secure it with one 5 mm screw on the right side).
Caution: Do not use a longer screw—it will damage the motherboard.
Audio PCA (on the underside).
RAM board, if present (on the underside).
• Reprogram the BIOS IC—see the note below.
• Store the serial number electronically in the new motherboard—see the steps below.
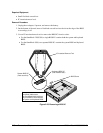
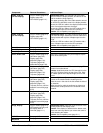
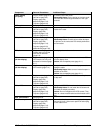
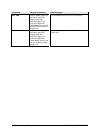
Standoff
USB PCA
LVDS PCA
Screw, M2.5×5mm
CPU Thermal Kit
(pad and spacer)
Audio Jack Cover
Lock Plate
Screw, M2×5mm
Note: Smaller diameter
IR Lens


