


2Ć36 Installation and Configuration
machines. Choose Yes if you may receive faxes from older machines.
D Remote Reception
Remote Reception allows the fax to answer when your reception code (123 is the default) is dialed from any
extension connected to your phone line, including the calling phone. Select Disable to turn this setting off.
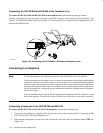
Configuring the Fax Machine
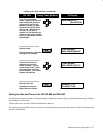
The telephone Consumer Protection Act of 1991 makes it unlawful for any person to use a computer or other electronic
device to send any message via telephone facsimile machine unless the message clearly contains the following in-
formation in a margin at the top or bottom of each transmitted page or on the first page of transmission:
D Date and Time of transmission
D Identification of either business, business entity or individual sending the message
D Telephone number of either the sending machine, business, business entity or individual
Setting the Date and Time on the HP FAX-700 and FAX-750
These instructions show you , in detail, how to set the date and time that will print on each fax that you send. To do
this, you will use menus, buttons and the keypad on the front panel. There are several ways to use buttons and keys
with HP LearnFAST, the instructions in this guide show you one, easy method.
Follow the instructions below by first reading the text in the Do This column, then pressing the buttons and keys in the
Using These Buttons column. Check to see that the display shows what you see in the To Display column.
If you make a mistake, press the Undo button located just under the Stop button on the front panel. If you want to stop
and start over, press the Stop button.
Using These Buttons
Do This
To Display
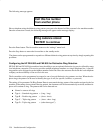
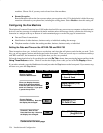
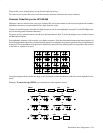
Display the Menu
Press the Menu button.
Menu Options (1–9)
1:Scan & Send
When you display the menu,
there are 9 options available.
Press the down arrow to browse
down to 6: Settings. If you pass
it, press the up arrow.
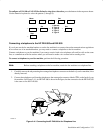
Menu Options (1–9)
6:Settings
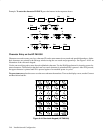
Settings (1–17)
01:Date & Time
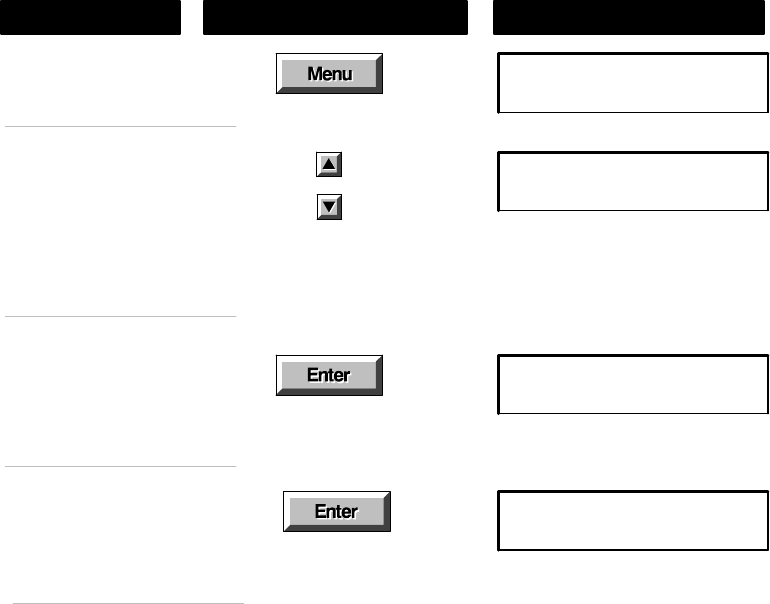
Choose Settings
Press the Enter key. Note that
the display has changed.
Date (MM/DD/YY)
[Aug]08/01/94
Choose 01: Date & Time
Press the Enter key. Note that
the display has changed.
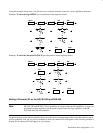
Continued on the next
p
a
g
e