3. Unlock and remove the side cover (see “Removing the left-side cover” on page
157).
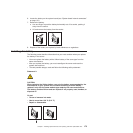
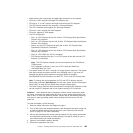
4. Open the front and rear adapter-retention brackets.
5. Remove all adapters and place the adapters on a static-protective surface (see
“Removing an adapter” on page 184).
Note: You might find it helpful to note where each adapter is installed before
you remove the adapters.
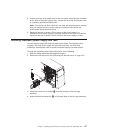
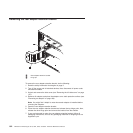
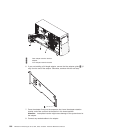
6. Lift the top of the front adapter-retainer bracket and release the hinge point;
then, remove the bottom hinge point and remove the bracket from the chassis.
7. If you are instructed to return the front adapter-retention bracket, follow all
packaging instructions, and use any packaging materials for shipping that are
supplied to you.
Installing the front adapter-retention bracket
To install the front adapter-retention bracket, complete the following steps:
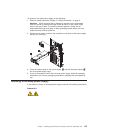
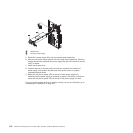
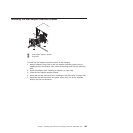
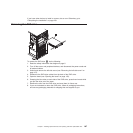
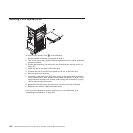
1. Insert one hole on the front adapter-retention bracket into the hinge point.
2. Position the other hole and insert the adapter-retention bracket into the hinge
point.
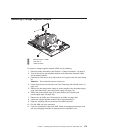
3. Install the adapters (see “Installing an adapter” on page 184).
4. Close the front and rear adapter-retention brackets.
5. Install and lock the side cover (see “Installing the left-side cover” on page 158).
6. Reconnect the external cables and power cords; then, turn on the attached
devices and turn on the server.
Chapter 7. Installing optional devices and replacing customer replaceable units 181


