


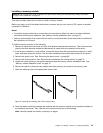
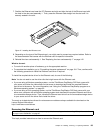
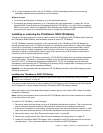
11. Align the two screw holes in the low-prole bracket with the corresponding screw holes in the RAID card
and then install the screws to secure the bracket.
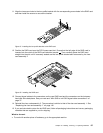
Figure51. Installing the low-prole bracket to the RAID card
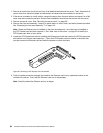
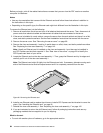
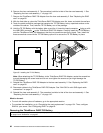
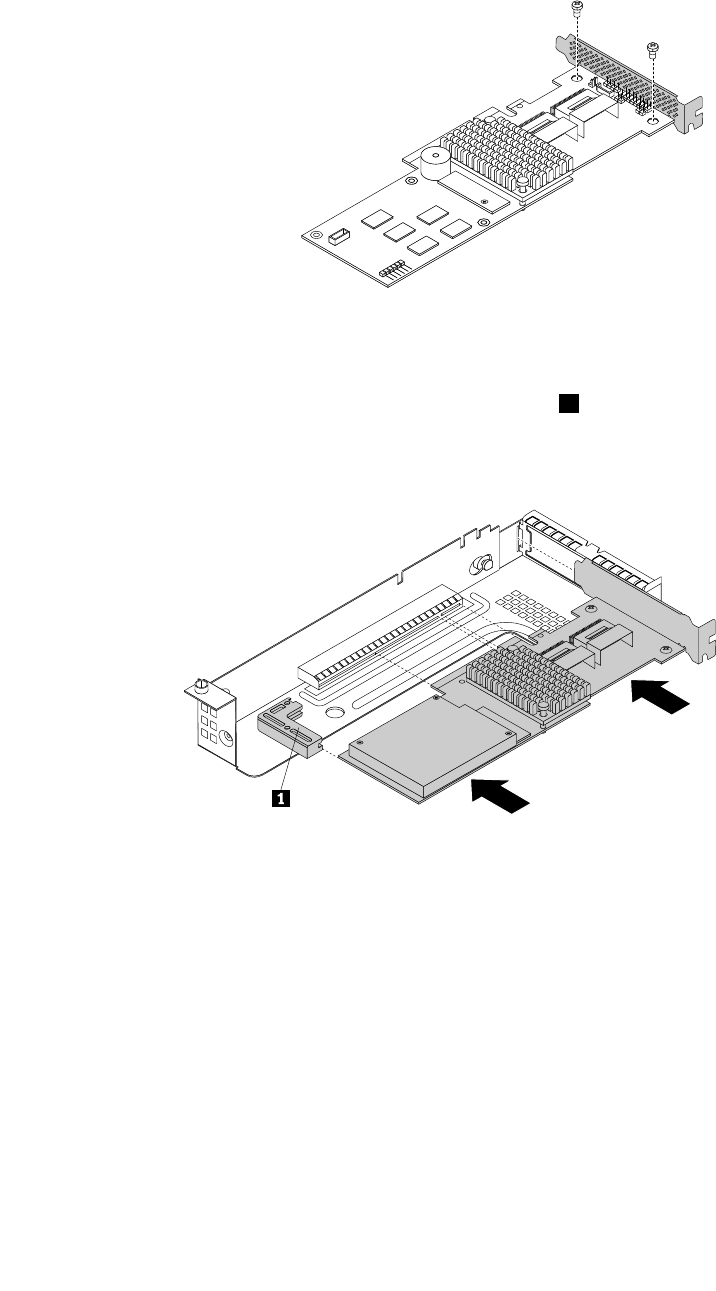
12. Position the RAID card near the PCI Express card slot. Ensure that the left edge of the RAID card is
inserted into the notch of the RAID card retention bracket 1 . Then, carefully press the RAID card
straight into the slot until it is securely seated and the low-prole bracket also is secured by the riser
card assembly 2.
Figure52. Installing the RAID card
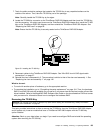
13. Connect signal cables to the connectors on the new RAID card and the connectors on the hot-swap
hard-disk-drive backplane. See your note and “Mini-SAS to mini-SAS signal cable connections” on
page 37.
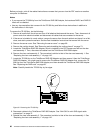
14. Reinstall the riser card assembly 2. The procedure is similar to that of the riser card assembly 1. See
“Replacing the riser card assembly 1” on page 142
.
15. If you are instructed to return the old RAID card, follow all packaging instructions and use any packaging
materials that are supplied to you for shipping.
What to do next:
• To work with another piece of hardware, go to the appropriate section.
Chapter 6. Installing, removing, or replacing hardware 87