


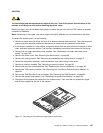
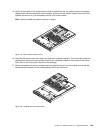

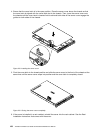
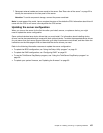
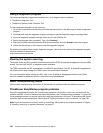
c. Align the small triangle 1 of the microprocessor socket cover with the small triangle 2 on the
microprocessor retainer. Lower the socket cover straight down to the microprocessor socket, and
then press it down until it snaps into position.
Figure125. Installing the microprocessor socket cover
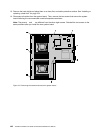
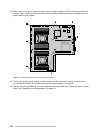
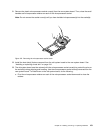
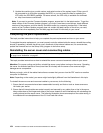
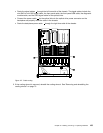
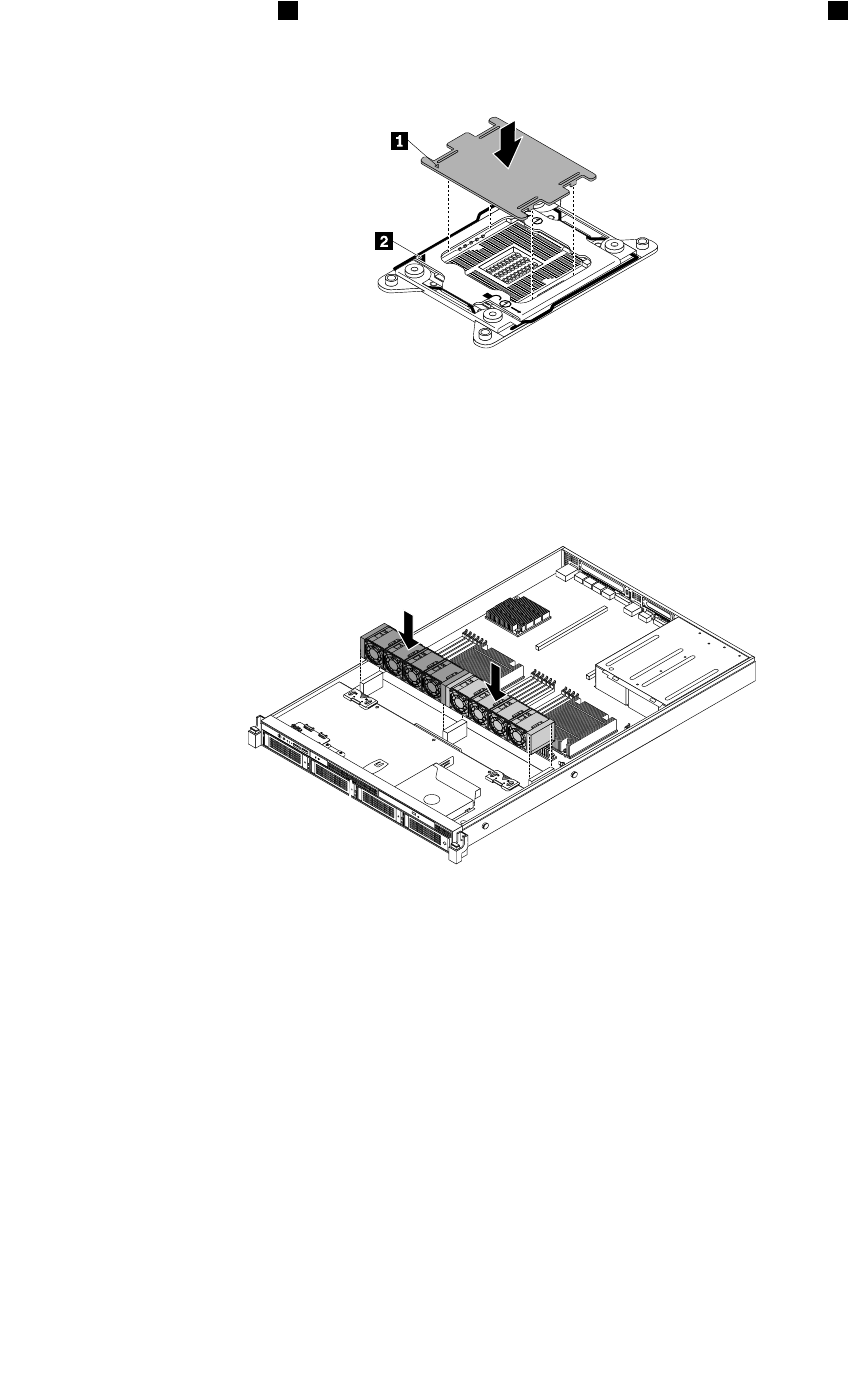
24. Note the orientation of the two system fan cages and carefully place them into the chassis. Then,
press the two system fan cages straight down until they are securely seated in the chassis. After that
connect the system fan cables to the system board.
ID
Mem
CPU
PSU
Figure126. Installing the two system fan cages with the system fans
25. Install other parts and connect all cables that you removed from the old system board to the new
system board. Refer to the information that you have recorded and the related topics in “Installing,
removing, or replacing hardware” on page 71
.
26. If you are instructed to return the old system board, follow all packaging instructions and use any
packaging materials that are supplied to you for shipping.
What to do next:
• To work with another piece of hardware, go to the appropriate section.
• To complete the replacement, go to “Completing the parts replacement” on page 154.
• After a system board is replaced, do the following:
1. Start the Setup Utility program by pressing the F1 key, and then check the BIOS and BMC version.
2. Go to http://www.lenovo.com/drivers and follow the instructions on the Web page to download the
latest version of rmware. Then, install the rmware to your server.
Chapter 6. Installing, removing, or replacing hardware 153