ReadyNAS Pro Business Edition User Guide
Setting Up and Managing Your ReadyNAS Pro 2-19
v1.3, November 2008
First, power down the ReadyNAS Pro, replace the first disk with the large-capacity disk, and then
reboot. If your ReadyNAS supports hot-swapping, you can hot-swap the disk without powering
down. The ReadyNAS Pro will detect that a new disk was put in place and resynchronizes the disk
with data from the removed disk. This process takes an hour or longer, depending on disk capacity,
and you can use the ReadyNAS while the new disk synchronizes. Upon completion, replace the
second disk with another large-capacity disk, allow that disk to sync, and reboot. You can expand
to additional disks by doing the same thing as the 2nd disk: replace with a larger disk, allow the
disk to sync, and reboot.
Volume Maintenance
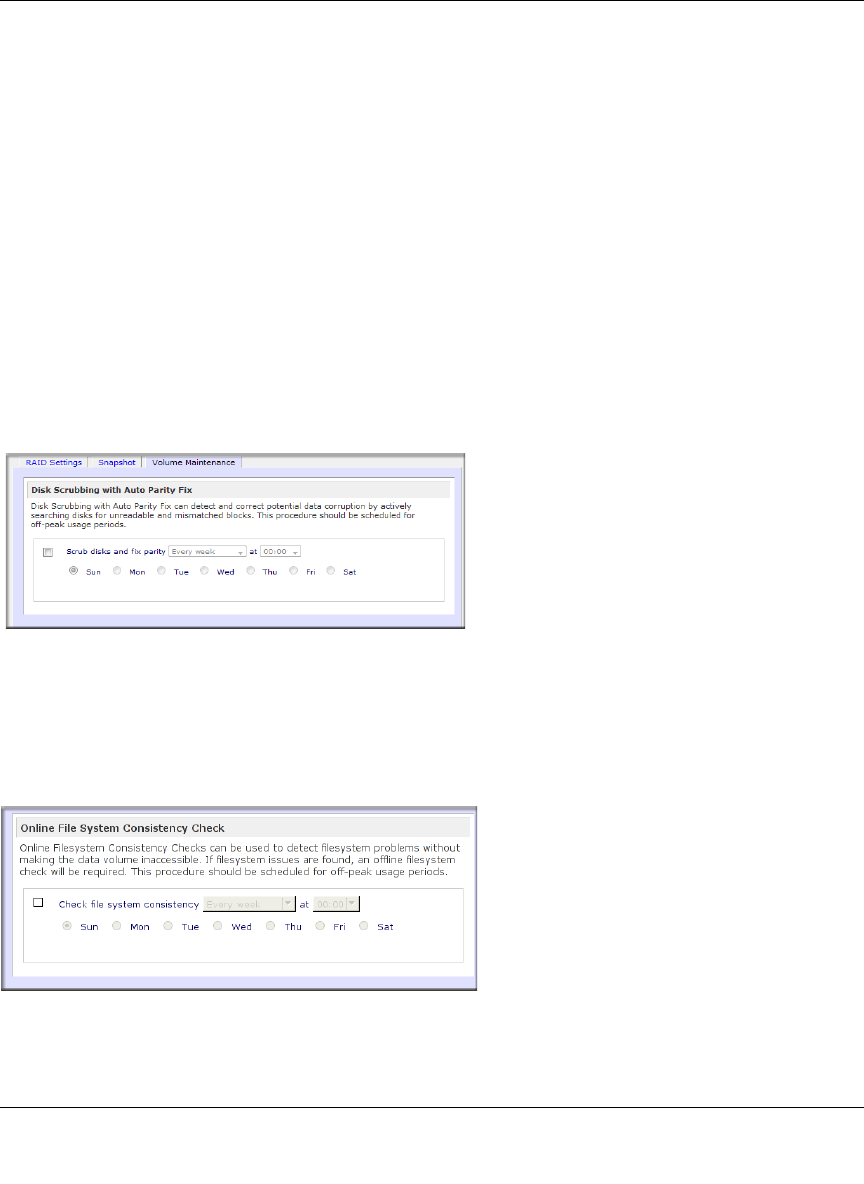
ReadyNAS Pro Business Edition includes two volume maintenance features called disk scrubbing
with auto parity fix, and online file system consistency check.
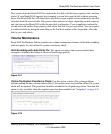
Disk Scrubbing with Auto Parity Fix. This option can detect and correct potential data
corruption. Schedule this feature to run in off-peak usage periods.
Online File System Consitency Check. Use this option to detect file system problems
without making the date volume inaccessible. If file system issues are found an offline file system
check will be required. This procedure should be scheduled for off-peak usage times. Note that this
option is only available when the snapshot space has been enabled (see “Snapshots” on page 4-8).
Figure 2-21
Figure 2-22


