OkiLAN 7120e Network User’s Guide
7
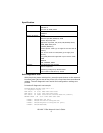
From this the Ethernet address is: 00:80:92:12:34:56
Restrictions
1. The printer can not receive data from either the Centronics or
the USB interfaces with OkiLAN 7120e installed. To use these
remove OkiLAN 7120e.
2. Set "Buffer Print" in the printer menu "I-Prime". Missing data
or other unexpected problem occurs when anything else
("Invalid" or "Buffer Clear") is selected.
3. When the printer is off-line, the status displayed on WEB/
AdminManager/TELNET may not be correct.
4. The link address is the same.
5. When large amounts of data are sent via FTP or IPP, time out
may occur on the application side.
Configuration utility
Available utilities
You can configure the OkiLAN 7120e by using one of the following
methods:
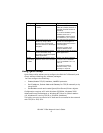
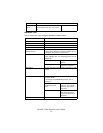
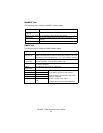
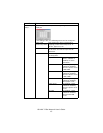
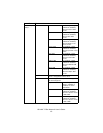
Utility Features System requirements
Quick Setup Configure the OkiLAN 7120e
easily and simply without
installing any software
packages into your system.
You can set the following:
Enable/disable TCP/IP,
NetWare, EtherTalk, NetBEUI
protocols.
> Set IP address, Subnet Mask
and Gateway for TCP/IP
manually or by using DHCP.
> Set NetWare Mode and create
Queue/Print Server/Printer
objects.
Windows95/98/Me/NT4.0/
2000/XP (TCP/IP protocol or
IPX/SPX protocol should be
installed).
To create a NetWare queue,
NetWare Client 32 or
IntranetWare Client should
be installed in your system.


