54
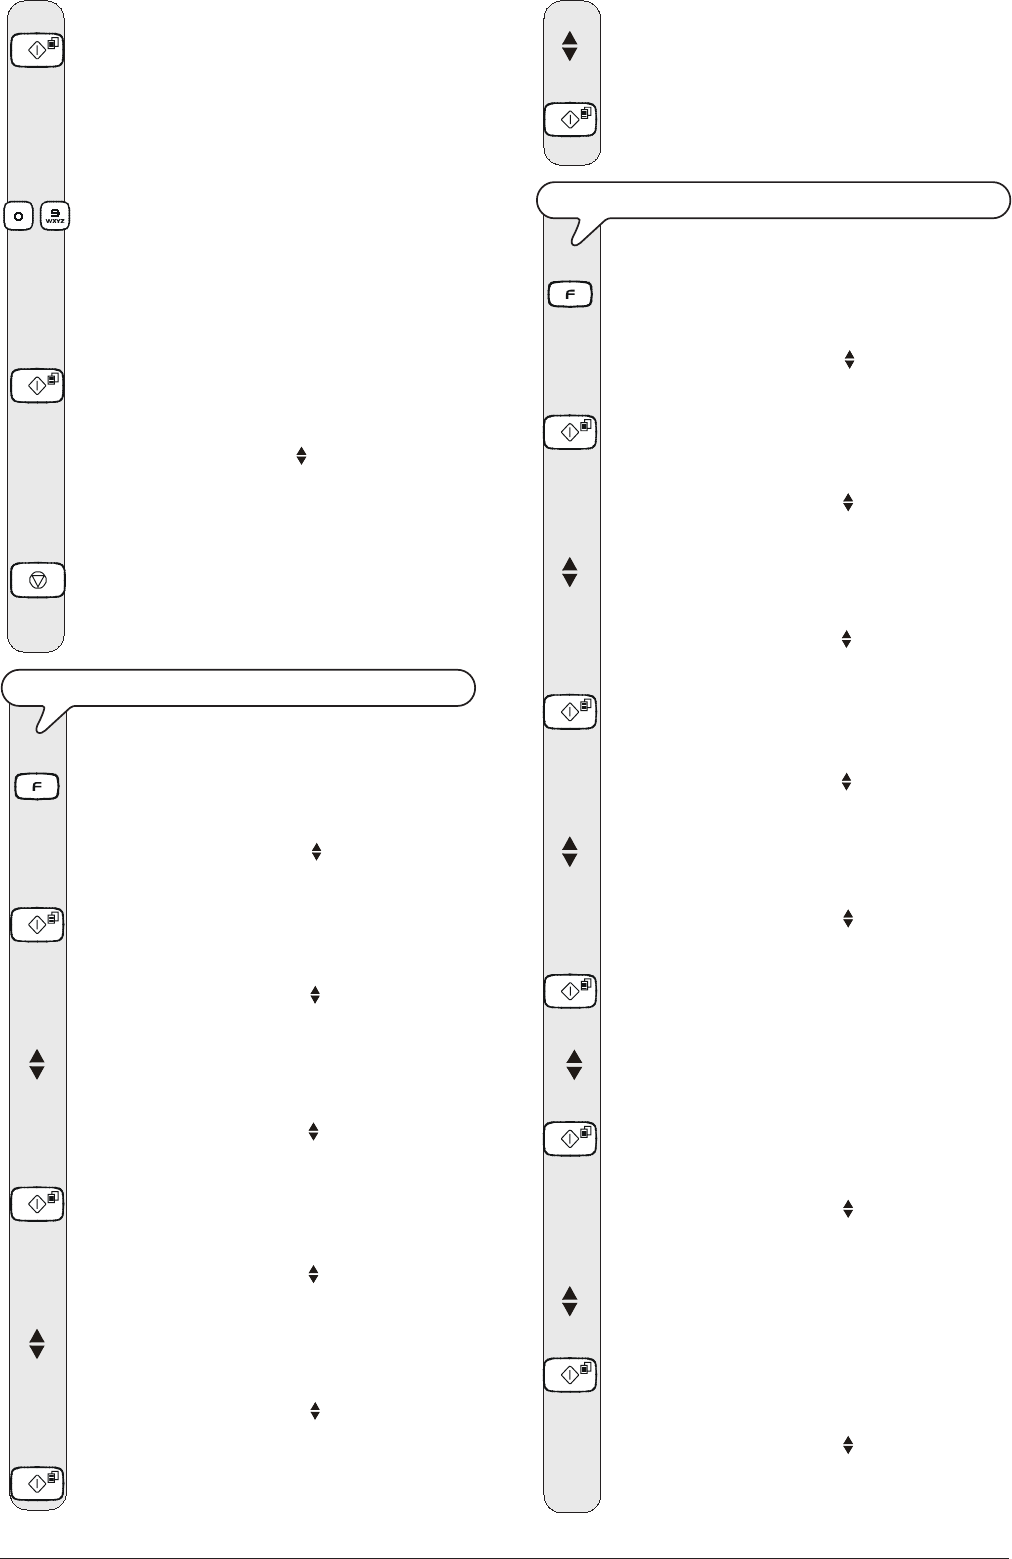
5. Press the key:
The display shows:
0:TYPE NUMBER
_
6. Dial the fax number you wish to inhibit.
To do this, press the keys:
-
7. To leave a space, to correct typing mistakes or to enter
characters or special symbols, proceed as explained in
"All that is missing now is your name and fax
number", chapter "How to get started quickly".
8. To confirm the setting, press the key:
The display shows:
BLACK LIST
NEW NUMBER
At this point, you can abort the procedure or inhibit
another number.
9. To abort the procedure, press the key:
10. To block another number, repeat the procedure from
step 5.
TO MODIFY THE BLACK LIST
1. Press the key:
The display shows:
MENU
RECEPT. SET-UP
2. Press the key:
The display shows:
RECEPT. SET-UP
RECEPTION MODE
3. Press the keys
until the display shows:
RECEPT. SET-UP
BLACK LIST
4. Press the key:
The display shows:
BLACK LIST
NEW NUMBER
5. Press the keys
until the display shows:
BLACK LIST
MODIFY NUMBER
6. To confirm the setting, press the key:
The display shows the first number on the black list.
7. To find the number you wish to modify, press the keys:
8. To confirm the setting, press the key:
From this point on, to change the number, repeat the
"To set the black list" procedure from step 6.
TO DELETE THE BLACK LIST
1. Press the key:
The display shows:
MENU
RECEPT. SET-UP
2. Press the key:
The display shows:
RECEPT. SET-UP
RECEPTION MODE
3. Press the keys
until the display shows:
RECEPT. SET-UP
BLACK LIST
4. Press the key:
The display shows:
BLACK LIST
NEW NUMBER
5. Press the keys
until the display shows:
BLACK LIST
DELETE NUMBER
6. To confirm the setting, press the key:
The display shows the first number on the black list.
7. To find the number you wish to delete, press the keys:
8. To confirm the setting, press the key:
The display shows:
DELETE?
NO
9. To view the other available option, "DELETE? - YES",
press the keys:
10. To confirm the setting, press the key:
The display shows:
BLACK LIST
DELETE NUMBER
11. From this point on, to delete other numbers from the list,
repeat the procedure from step 6.


