


72
1
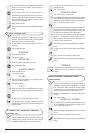
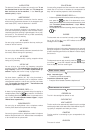
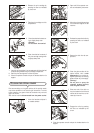
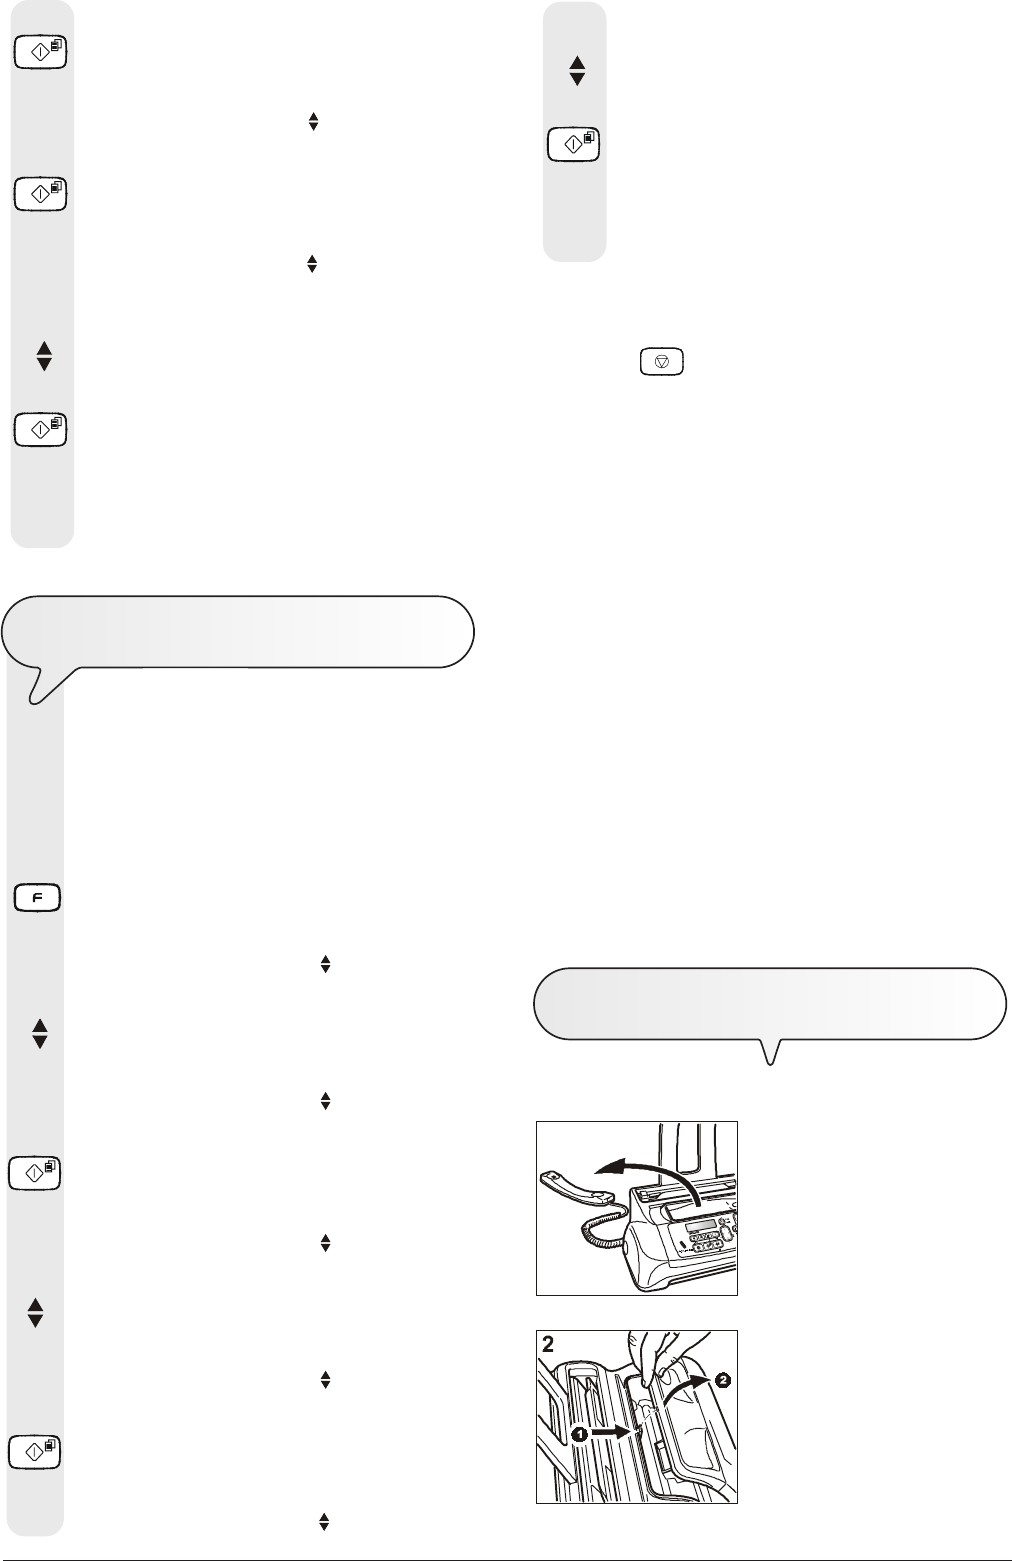
1. Lower the handset and place it
on a stable surface.
2. Open and lift the operator con-
sole as indicated by the arrows.
3. Press the key:
The display shows:
CART. MAINTEN.
NEW CARTRIDGE
4. Press the key:
The display shows:
NEW CARTRIDGE
NO
5. To view the other available option, "NEW CARTRIDGE
- YES", press the keys:
6. Press the key:
The fax machine resets the cartridge and tests the noz-
zles, and then prints out the result of the diagnostic test.
To interpret the diagnostic test result correctly, see "In-
sert the print cartridge" in the "How to get started
quickly" chapter.
C
LEANING
THE
PRINT
CARTRIDGE
AND
TESTING
THE
NOZZLES
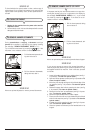
This procedure may only be carried out from the fax
machine.
If you notice a deterioration in print quality, you can
quickly clean the print cartridge and test the nozzles by
following a procedure that ends by printing out the di-
agnostic test result with regard to its condition.
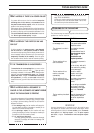
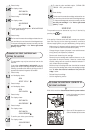
1. Press the key
until the display shows:
MENU
RECEPT. SET-UP
2. Press the keys
until the display shows:
MENU
CART. MAINTEN.
3. Press the key:
The display shows:
CART. MAINTEN.
NEW CARTRIDGE
4. Press the keys:
The display shows:
CART. MAINTEN.
CLEAN CARTRIDGE
5. To confirm your choice, press the key:
The display shows:
CLEAN CARTRIDGE
NO
6. To view the other available option, "CLEAN CAR-
TRIDGE - YES", press the keys:
7. Press the key:
The fax machine resets the cartridge and tests the noz-
zles, and then prints out the result of the diagnostic test.
To interpret the diagnostic test result correctly, see "In-
sert the print cartridge" in the "How to get started
quickly" chapter.
NOTE
The procedure may be aborted at any time, if desired, by
pressing the
key.
NOTE
If the quality of the test result still fails to meet your expecta-
tions after carrying out the cleaning procedure, continue as
follows, stopping when you get a satisfactory printing quality:
- Make a copy of a document with the desired type of graphics
or text on the fax machine and evaluate its quality.
- Change the type of paper (the paper in use could be exces-
sively porous) and repeat the procedure.
- Remove and reinsert the print cartridge.
- Remove the print cartridge and check that there are no for-
eign bodies on the print nozzles; if there are, remove them
carefully, taking care not to touch the electrical contacts. Fi-
nally, reinstall the print cartridge.
- Remove the print cartridge and clean the electrical contacts
both on the print cartridge and on the print cartridge carriage,
see "To clean the electrical contacts of the print car-
tridge", below.
- Reinstall the print cartridge.
- Call the engineering service.
T
O
CLEAN
THE
ELECTRICAL
CONTACTS
OF
THE
PRINT
CARTRIDGE
With the fax machine disconnected from the power socket: