Connecting the Communication Cable
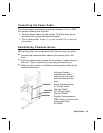
Connect the communication cable into the appropriate port.
Secure the cable with the connecting screws (serial) or spring
clips (parallel).
If you are communicating with the host through the serial port,
make sure the printer’s communication values match those at the
host. The factory default values are 9600 Baud, 8 bit data frame,
1 stop bit, no parity, and DTR flow control.
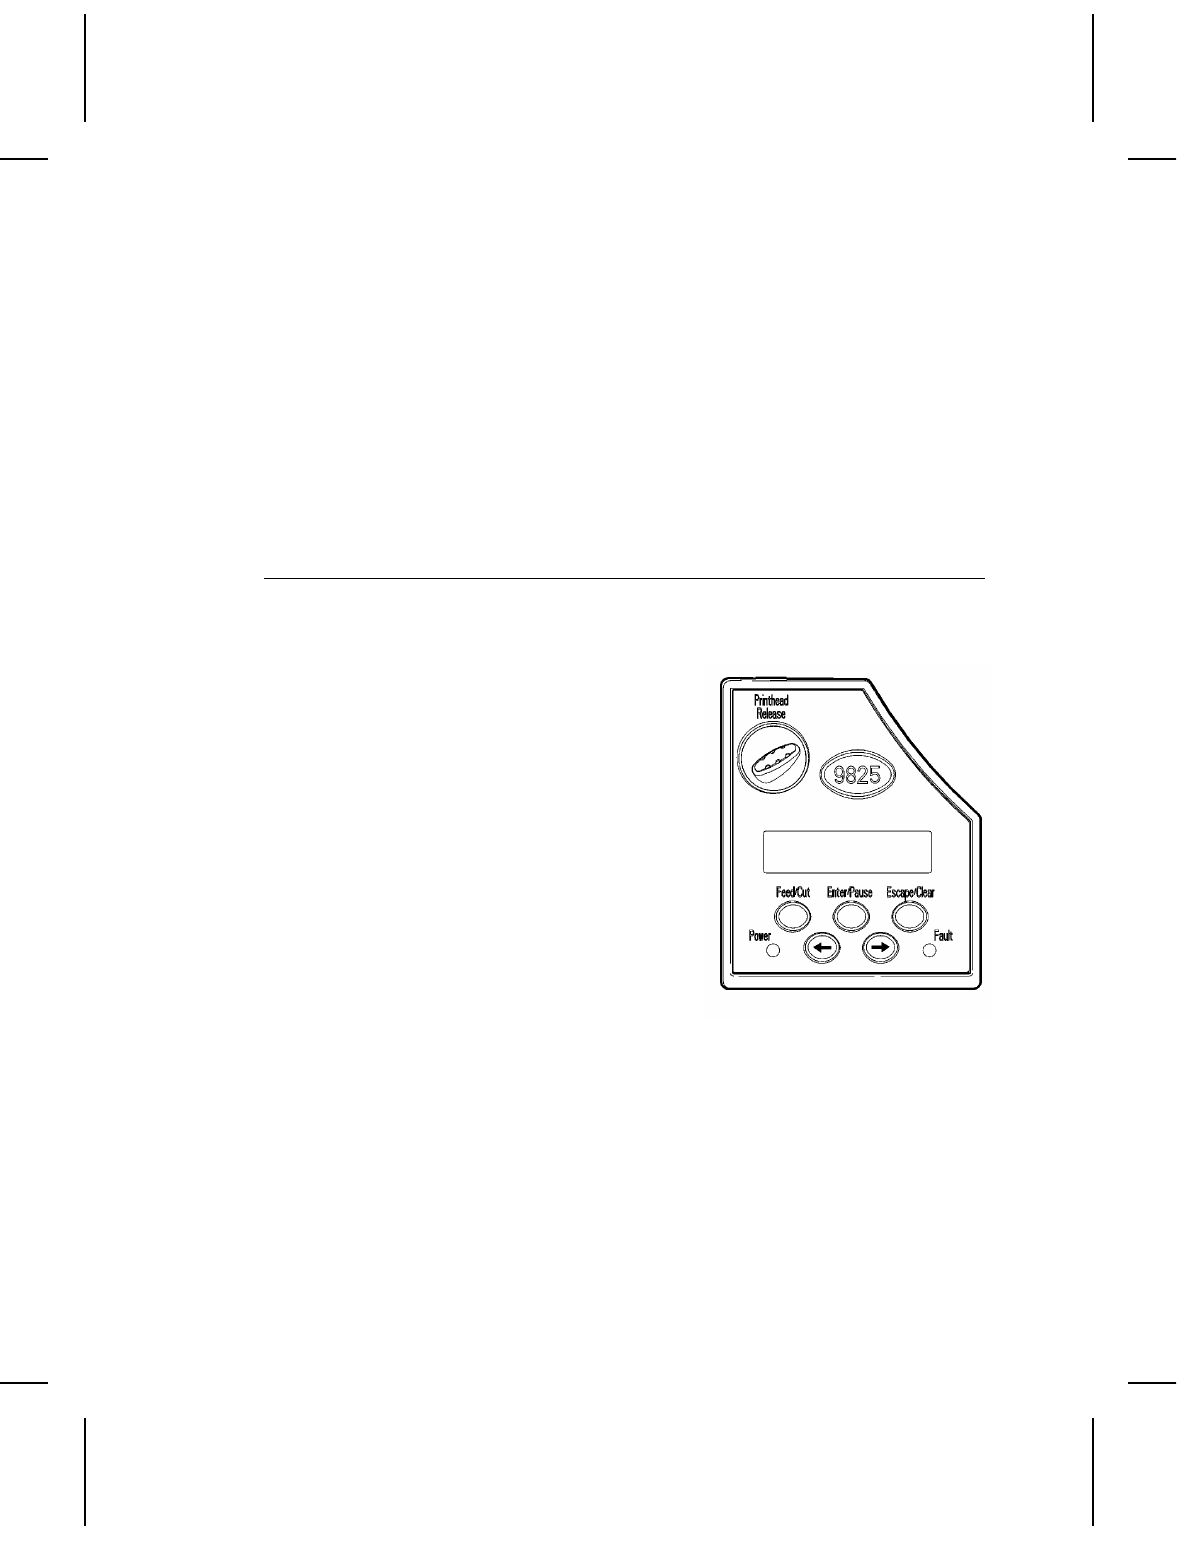
Using the Control Panel
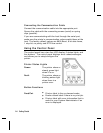
The control panel has a two-line LCD display, 2 status lights, and
five buttons. The control panel displays error codes/messages,
and allows you to setup/configure the
printer.
Printer Status Lights
Power: The printer shows a
steady green light
when it is on.
Fault: The printer shows a
blinking amber light
when there is a
printer error.
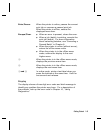
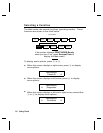
Button Functions
Feed/Cut:
◆
Prints a label in the on-demand mode.
◆
Feeds a blank label if there is no print job.
◆
Prints a label with error information that is
useful to your System Administrator if an
error is displayed.
1-4
Getting Started


