<DRB1239>
31
Accessing the Network Cache Changer Resources
4.Double click the entry for your new DRM-6NX (The
default name is PIONEER<nnnnnn>_NW, where
<nnnnnn> is the last six digits of the DRM-6NX
serial number)
5.Enter your user name and password when prompted
if you are using the bindery mode (unless you are
already logged on)
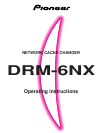
6.Expand the SYS and Volumes folders to display all of
available discs:
NOTE:
7
If the Show All Volumes parameter is set to yes, the individual
discs will be shown at the same level as SYS. Some applications
will not run properly unless the data is stored at root level. To avoid
such problems, assign a drive letter to that particular volume.
7.To map a DRM-6NX resource to a drive letter,
locate:
÷SYS for root level access
÷Volumes for access to all the discs
÷The volume name for access to an individual disc
8.Right click the resource and select Map Network
Drive...
9.Select a drive letter for your DRM-6NX
10.Check Reconnect at logon if you wish to use the
resource under the same drive letter the next time
you start your computer
11.Click OK (The DRM-6NX is ready for use)
Windows for Workgroups
SMB
In Windows for Workgroups on an SMB client, follow
these steps:
1.Start the File Manager
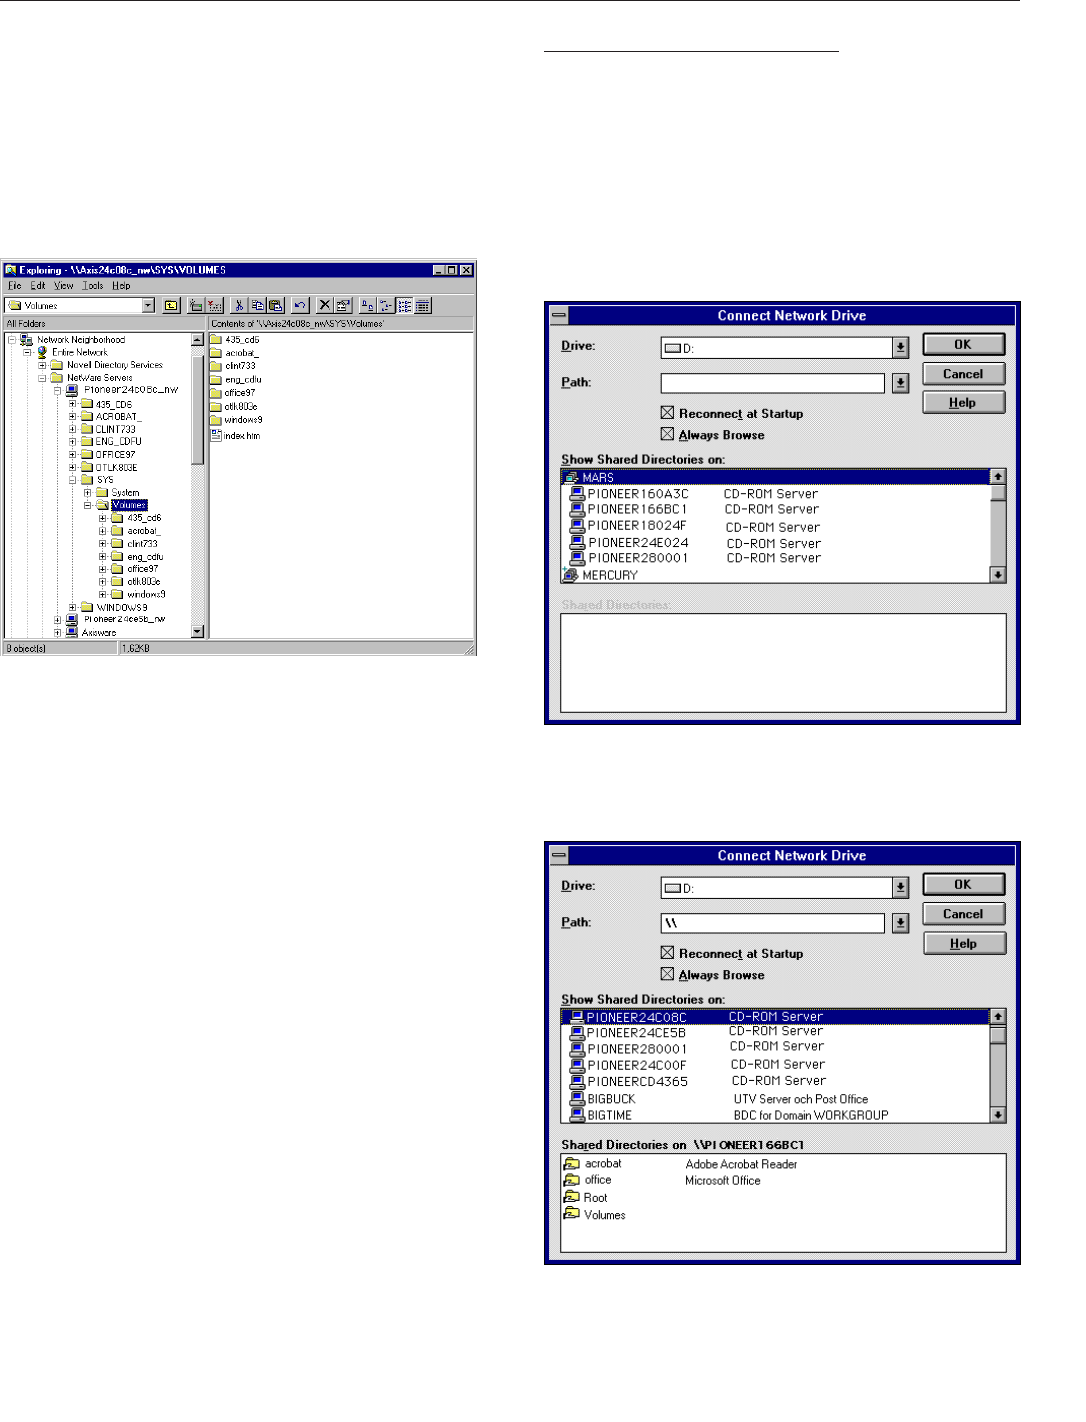
2.From the Disk menu, select Connect Network
Drive… and double-click Workgroup (The following
dialog is displayed. You may have to click Browse>>
to see the complete dialog)
3.In the top listing, double click the entry for your new
DRM-6NX (The default name is PIONEER<nnnnnn>
where <nnnnnn> is the last six digits of the DRM-
6NX serial number)
NOTE:
7
If you cannot find the DRM-6NX, enter
\\PIONEER<nnnnnn>
\root
, in the Path box and click OK.