Copying from the Bypass Tray
21
2
B
BB
B
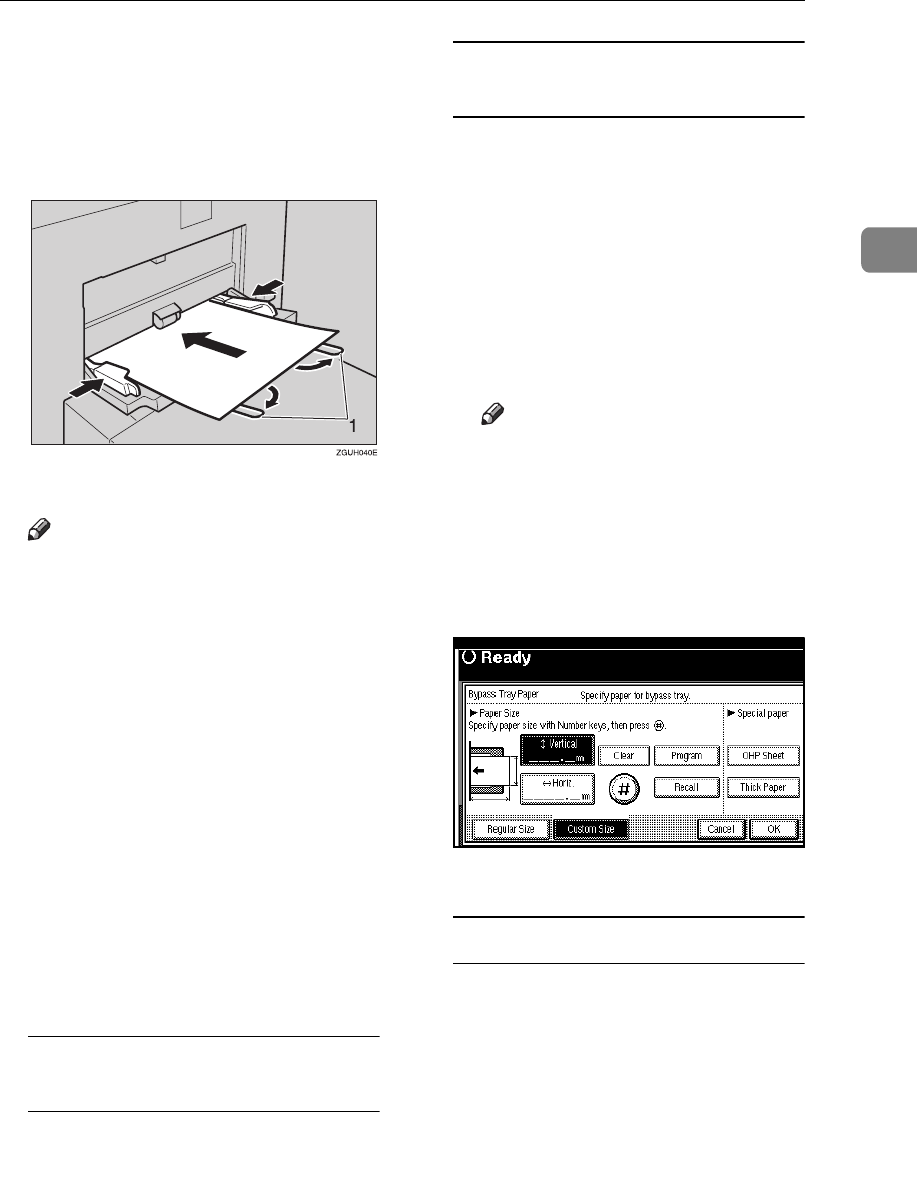
Insert the copy paper with the
side you want to copy facing up
until you hear the beep, and align
the paper guide to the paper size.
1: Extender
Note
❒
If the guides are not flush with
the copy paper, images might
be skewed or paper misfeed
might occur.
❒
Do not stack paper over the lim-
it mark, otherwise images
might be skewed or paper mis-
feed might occur.
❒
Swing out the extender to sup-
port paper sizes larger than
A4
L
, 8
1
/
2
" × 11"
L
.
❒
Fan paper to get air between the
sheets and avoid a multi-sheet
feed.
C
CC
C
Select the type and size of the pa-
per.
When copying onto standard size
paper
A
Press the
{
{{
{
#
}
}}
}
key.
B
Press the [Select Size] key.
C
Select the paper size.
D
Press the [OK] key.
When copying onto custom size
paper
A
Press the
{
{{
{
#
}
}}
}
key.
B
Press the [Custom Size] key.
C
Press the [Vertical mm] key, en-
ter the vertical size of the paper
with the number keys, and
then press the [#] key.
D
Enter the horizontal size of the
paper with the number keys,
and then press the [#] key.
Note
❒ If the [Horiz mm] key is not
highlighted, press the [Horiz
mm] key.
❒ To register the custom size
entered, press the [Program]
key and then press the [Exit]
key.
E
Press the [OK] key.
When copying onto special paper
A
Press the
{
{{
{
#
}
}}
}
key.
B
Select paper type in "Special
paper".
C
Press the [OK] key.
D
DD
D
Place your originals, and then
press the
{
{{
{
Start
}
}}
}
key.
E
EE
E
When your copy job is finished,
press the
{
{{
{
Clear Modes
}
}}
}
key to
clear the settings.
