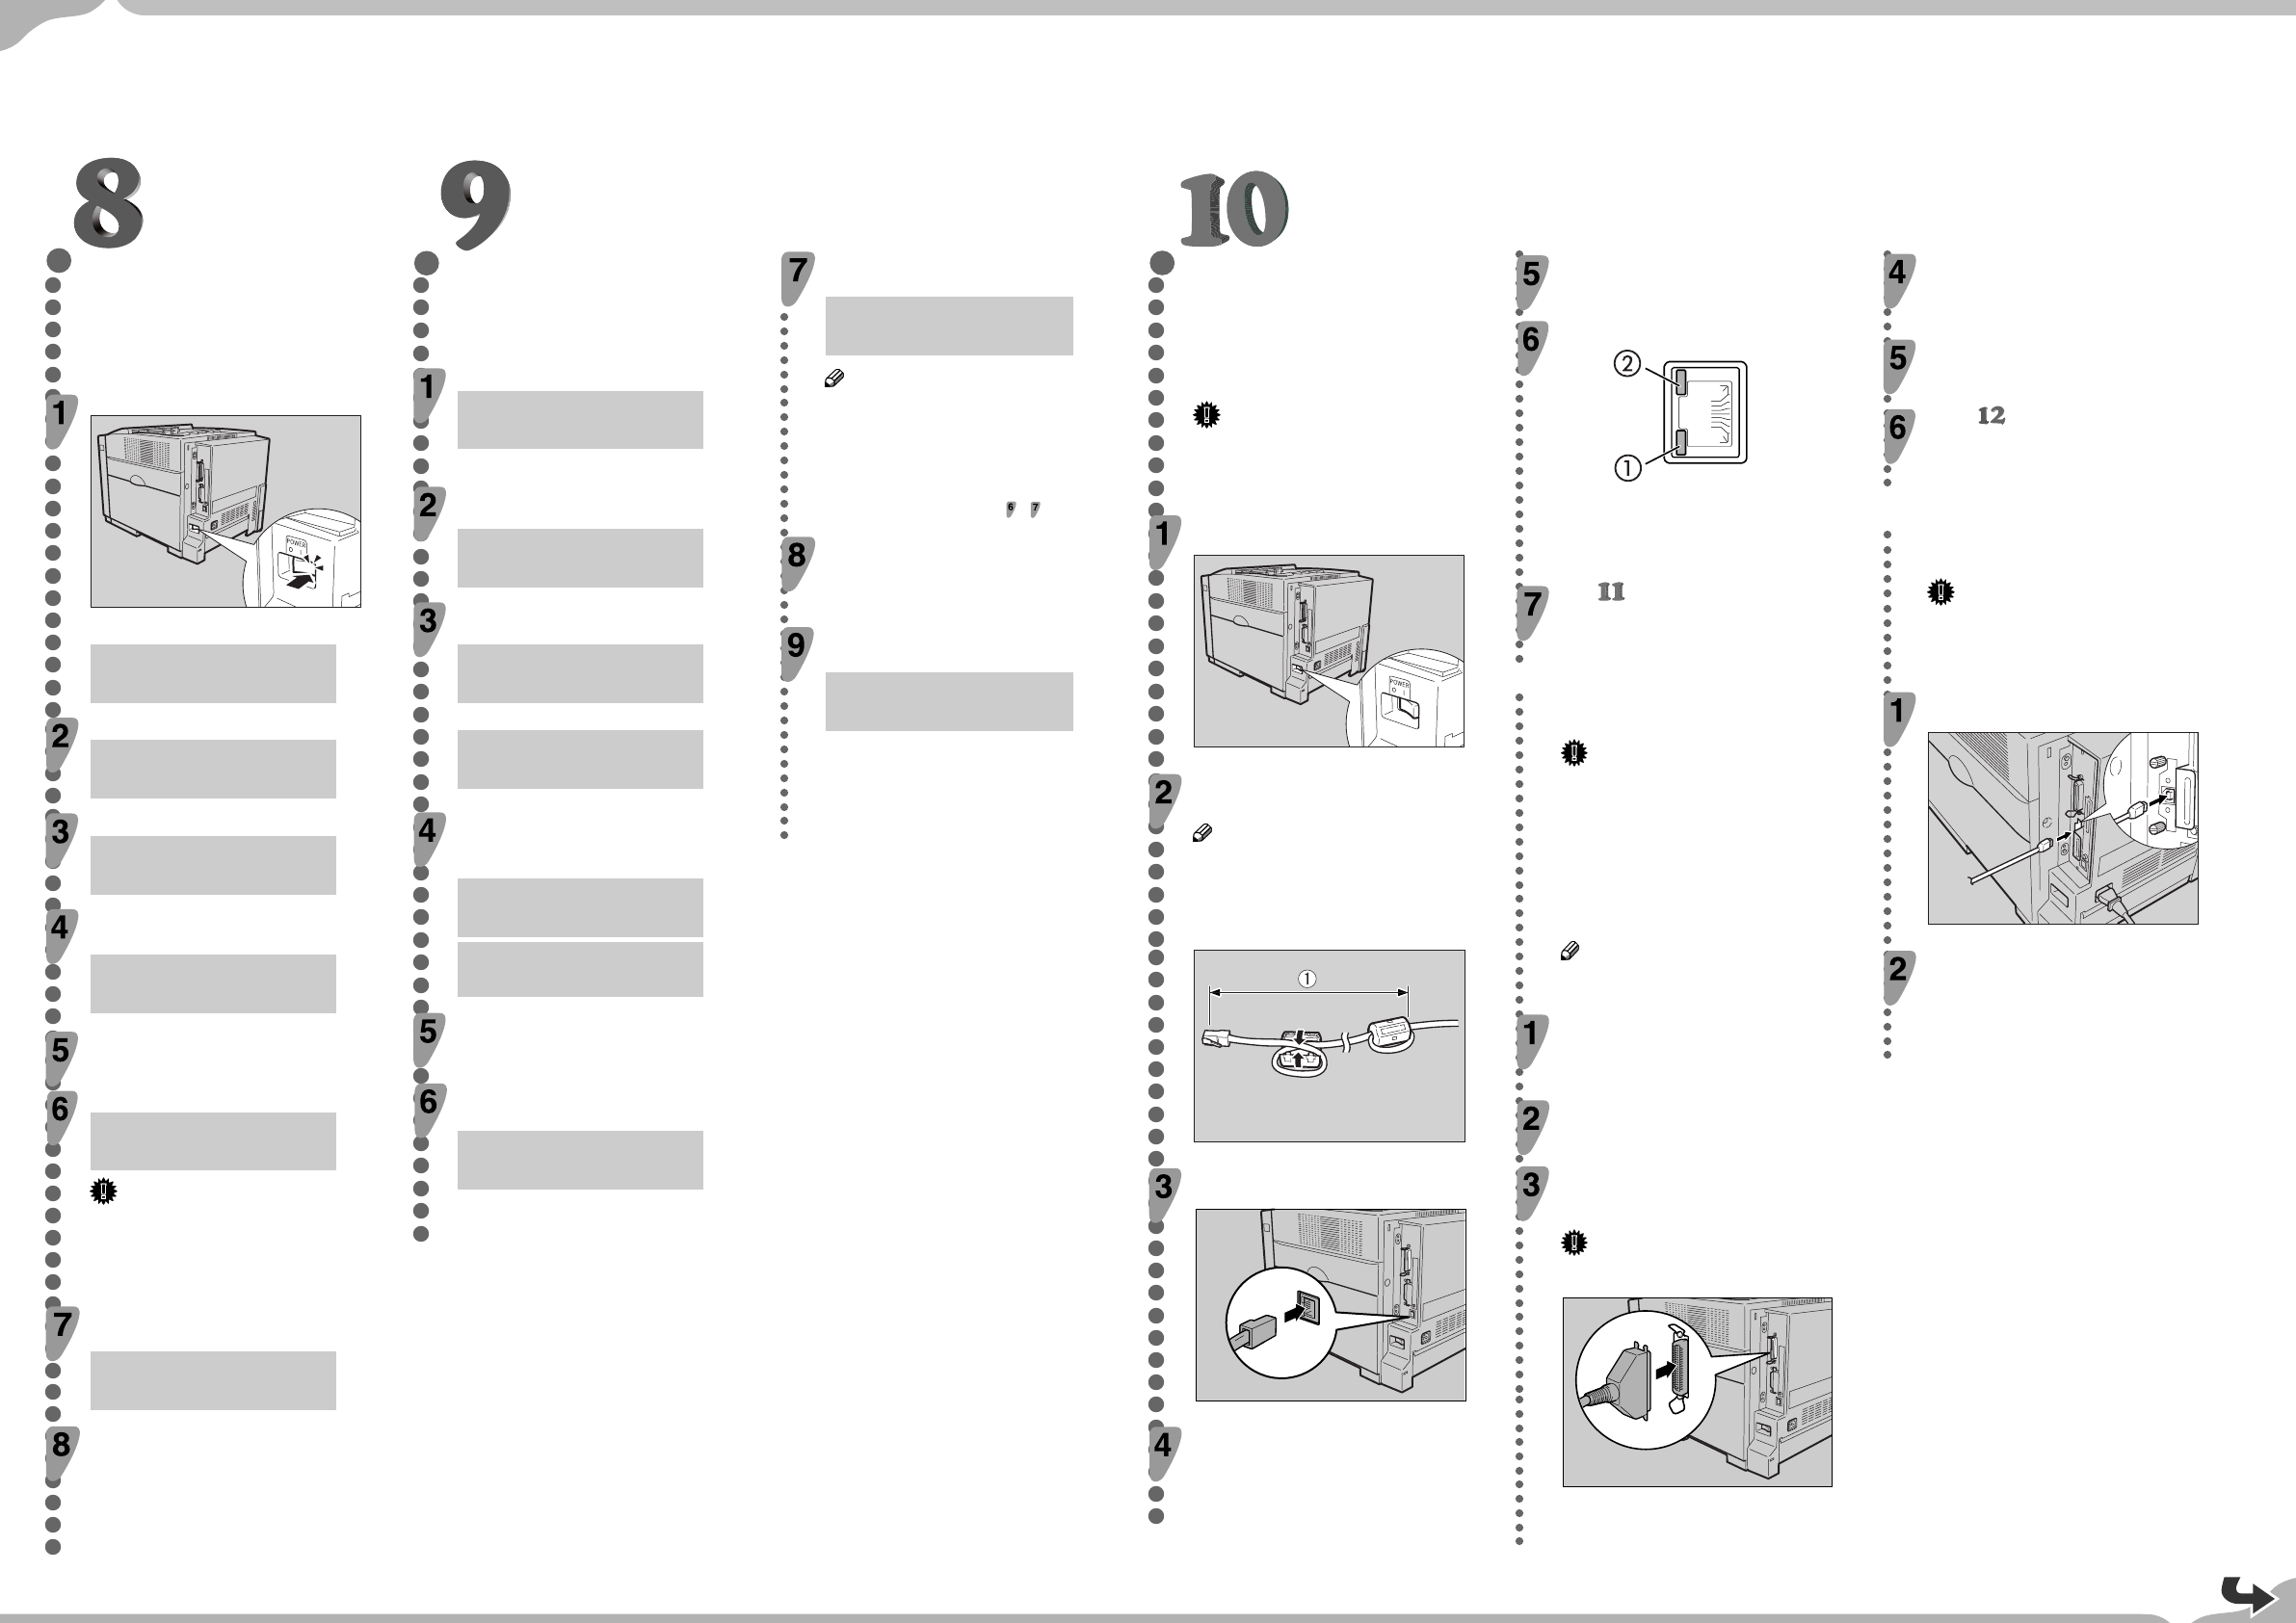
Sheet 2/2 (From sheet 1/2)
PRINTING THE TEST PAGE
You can check if the printer works properly by
printing a test page such as the configuration page.
However, you cannot check the connection
between the printer and the computer by printing
the test page.
Turn on the printer if it is not on yet.
ZHBH740E
After the machine warms up, “Ready” appears on the panel display.
Ready
Press the
{
Menu
}
key.
Menu:
Paper Input
Press the
{▲}
or
{▼}
key to display “List/Test Print”.
Menu:
List/Test Print
Press the
{
Enter #
}
key.
The following message appears on the panel display.
List/Test Print:
Config.Page
Confirm that “Config.Page” is on the display, and
then press the
{
Enter #
}
key.
In a short time, the test printing will start.
Printing...
Important
❒ If you cannot complete the test printing correctly,
see if an error message appears on the panel
display. For more information about error
messages, see “Troubleshooting” in the
Maintenance Guide.
Press the
{
On Line
}
key.
“Ready” appears on the panel display.
Ready
Turn off the printer’s power switch.
ADJUSTING THE IMAGE
DENSITY
To use the printer in its best condition, adjust the
image density.
Press the
{
Menu
}
key.
Menu:
Paper Input
"Menu" appears on the panel display.
Press the
{▲}
or
{▼}
key to display
"Maintenance", and then press the
{
Enter #
}
key.
Menu:
Maintenance
Press the
{▲}
or
{▼}
key to display "Image
Density", and then press the
{
Enter #
}
key.
Maintenance:
Image Density
The following message appears on the panel display.
Image Density:
Prt.Test Sheet
Press the
{
Enter #
}
key.
The following massage appears on the panel display, and then Press
the {
Enter #
} key.
Prt.Test Sheet:
Press # to Start
Printing...
Compare the colors on the printed image density
test sheet with those on the Image Density
Adjusting Card.
Press the
{▲}
or
{▼}
key to select the color you
want to adjust, and then press the
{
Enter #
}
key.
Image Density
Black
Press the
{▲}
or
{▼}
key to set the image density
value, and then press the
{
Enter #
}
key.
Black
(-10 +10) 0
Note
❒ You can adjust the image density from -10 to +10.
Increasing the value makes the printouts darker and
decreasing the value makes the printouts lighter.
❒ Pressing the {▲} or {▼} key makes the value
increase or decrease by one.
To adjust another color, repeat the steps
to .
Print another image density test sheet and check
if the colors on the test sheet now match those
on the Image Density Adjusting Card. If they still
do not match, adjust the image density again.
Press the
{
On Line
}
key.
“Ready” appears on the panel display.
Ready
CONNECTING THE PRINTER TO
A COMPUTER
❖
Connecting the printer to a computer using
a network interface cable.
If your printer is installed with the Network
Interface Board, follow the procedures below.
Important
❒ The interface cable is not provided with the printer.
It is your responsibility to provide the interface
cable appropriate for the computer that you are
using.
Confirm that the printer's power switch is off. If it
is on, turn it off.
ZHBH730E
Loop the network interface cable and attach the
ferrite core.
Note
❒ Attach two ferrite cores to the network interface
cable. One of them must be attached close to the
end of the cable (on the end closet to the printer).
The other must be attached approximately 45 cm
(18") (A) apart from the end. Attach each ferrite
core with a loop.
ZHBP913E
Connect the network interface cable to the
Ethernet port on the back of the printer.
ZHBH1730E
Connect the other end of the cable to the network
, e.g. hab.
Turn on the printer.
Confirm the LEDs on the Ethernet port.
ZESX338E
ቢ is lit when 100 BASE-TX is in use and not lit when 10 BASE-T is
in use.
ባ is lit when the printer is securely connected to the network.
Go to “CONFIGURING THE PRINTER FOR
THE NETWORK”.
❖
Connecting the printer to a computer using
a parallel cable.
Important
❒ The parallel cable is not provided with the printer.
It is your responsibility to provide the parallel cable
appropriate for the computer that you are using.
❒ The printer’s parallel connection is a standard bi-
directional interface. It requires a standard 36-pin
parallel cable compliant with IEEE1284 and the
parallel port on the computer.
❒ To avoid electrical interference, use a shielded
cable.
Note
❒ Do not use a parallel cable longer than 2.5 meters
(8.2 feet).
Confirm that the printer’s power switch is off. If it
is on, turn it off.
Turn the computer off.
Attach the parallel cable to the port of the
printer. Secure the cable with the metal fittings
as shown in the illustration.
Important
❒ Rating voltage of the parallel port for the computer;
Max. DC 5V.
ZHBH010E
Attach the other end of the parallel cable to the
port of the computer. Secure the cable.
Turn on the printer and the computer.
Go to “INSTALLING THE PRINTER
DRIVER”.
❖
Connecting the printer to a computer using
a USB cable.
Important
❒ The interface cable is not provided with the printer.
It is your responsibility to provide the interface
cable appropriate for the computer that you are
using.
Connect the interface cable to the USB2.0
interface port.
ZHBP470E
Connect the other end of the interface cable to
the USB interface connector of the computer or
the USB Hub.


