93
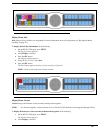
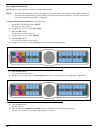
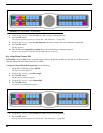
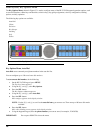
6. Using the 3(↑) or 6(↓), select the Special List you want to assign to the keypanel key.
7. Press the SEL button.
A list of auto-functions appear (see Figure 88, “Auto Functions,” on page 90).
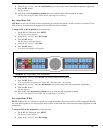
8. Using the 3(↑) or 6(↓), select the auto-function you want to assign to the Special List assignment, if applicable.
9. Press the SEL button.
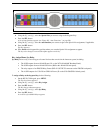
Tap Key appears.
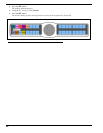
10. Press down on the keypanel key position where you want the Special List assignment to appear.
The key color changes to tan and the alpha appears on the key.
Key Assign Menu, Sys Relay
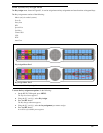
Sys Relay refers to any of several types of control devices that can exist in the intercom system, including:
• The 8 GPI outputs from an ADAM Frame (J11 on the XCP-ADAM-MC Breakout Panel).
• The 8 GPI outputs from an ADAM CS Frame (J903on the ADAM CS back panel).
• The relay outputs of an FR9528 Relay Frame (RELAY OUTPUTS connector on the FR9528 back panel).
• The 16 GPI outputs of a UIO-256 or GPIO-16 Frame (J5 on the UIO-256/GPIO-16 back panel).
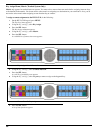
To assign a Relay to the keypanel key, do the following:
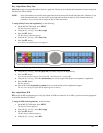
1. On the KP 32 CLD keypad, press MENU.
The Top Level menu appears.
2. Using the 3(↑) or 6(↓), select Key Assign.
3. Press the SEL button.
The Key Assign submenu appears.
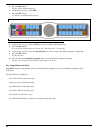
4. Using the 3(↑) or 6(↓), select Sys Relay.
5. Press the SEL button.
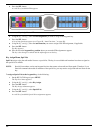
A scroll list of available Relays appears.
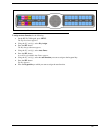
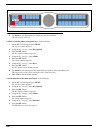
FIGURE 91. Key Assign Menu - Special List


