6
58
5
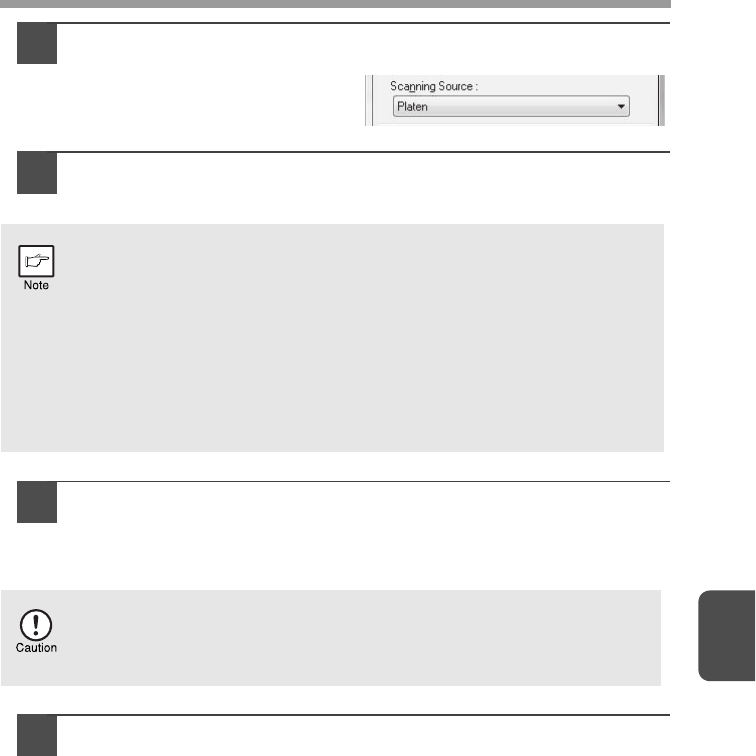
In the "Scanning Source" menu, select the location where you
placed the original in Step 1.
If you placed a one-sided original
in the SPF, select "SPF".
6
Click the "Preview" button.
The preview image will appear.
7
Specify the scanning area and set the scan preferences.
For information on specifying the scan area and setting the scan
preferences, see scanner driver Help.
"Preview screen" (p.60)
8
When you are ready to begin scanning, click the "Scanning"
button.
To cancel a scanning job after clicking the "Scanning" button, press the
[Esc] key on your keyboard.
• If the angle of the image is not correct, reset the original, and click the
"Preview" button again.
• If the preview image is not oriented correctly, click the "Rotate" button
in the preview screen. This rotates the preview image 90 degrees
clockwise, allowing you to correct the orientation without resetting the
original. "Preview screen" (p.60)
• If you set multiple pages in the SPF, the machine previews only the
top page of the originals, and then sends it to the original exit area.
Return the previewed original to the SPF before starting the scanning
job.
Scanning a large area at high resolution results in a large quantity of
data and a prolonged scanning time. It is recommended that you set
appropriate scanning preferences for the type of original being scanned,
i.e., Monitor, Photo, FAX, or OCR.


