Connecting the Phone Line
11
1. Installation
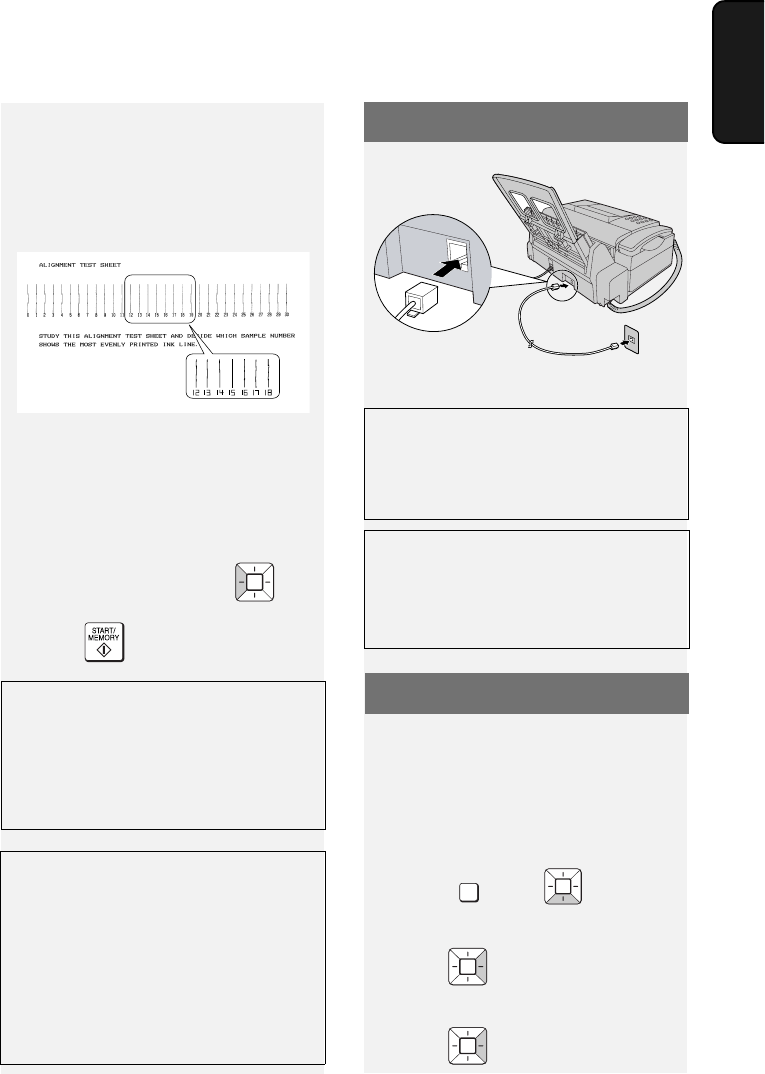
In this example, “15” is
closest to a straight line.
The machine is initially set to print
high quality images, which require
more ink. If you prefer to use less ink
and speed up drying time, change the
“INK SAVE MODE” setting to “ON”
(pp. 45 and 49).
Connecting the Phone Line
Standard (RJ-11C) wall jack
The machine is initially set for tone
dialing. If you are on a pulse dial line,
change the “DIAL MODE” setting (pp.
45 and 46).
If you selected "NEW", the machine
will print an alignment page.
Continue with the steps below.
8 In the alignment page, locate the
line that is closest to a straight line.
9 Enter the number of the straightest
line with the number keys.
• To clear a mistake, press .
10
Press .
Name and Fax Number
Enter your name and fax number.
♦ Your entered name and fax number
will be printed automatically at the top
of all fax pages you send. (This is
required by FCC regulations.)
1 Press , then until
[ENTRY MODE] appears.
2 Press .
Display: [OWN NUMBER SET]
3 Press . [ENTER FAX #]
FUNCTION
When the resolution is set to HALF
TONE, the machine is initially set to
print at a slower printing speed to
enable higher quality images. When
using HALF TONE, if you prefer faster
printing at the expense of slightly
reduced image quality, change the
“QUALITY MODE” setting to “NO” (pp.
45 and 49).
TEL. LINE
jack
To change the language used in the
display, reports, and lists, change the
“LANGUAGE SELECTION” setting as
explained on pp. 45 and 48.


