Routing the cables
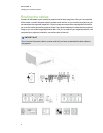
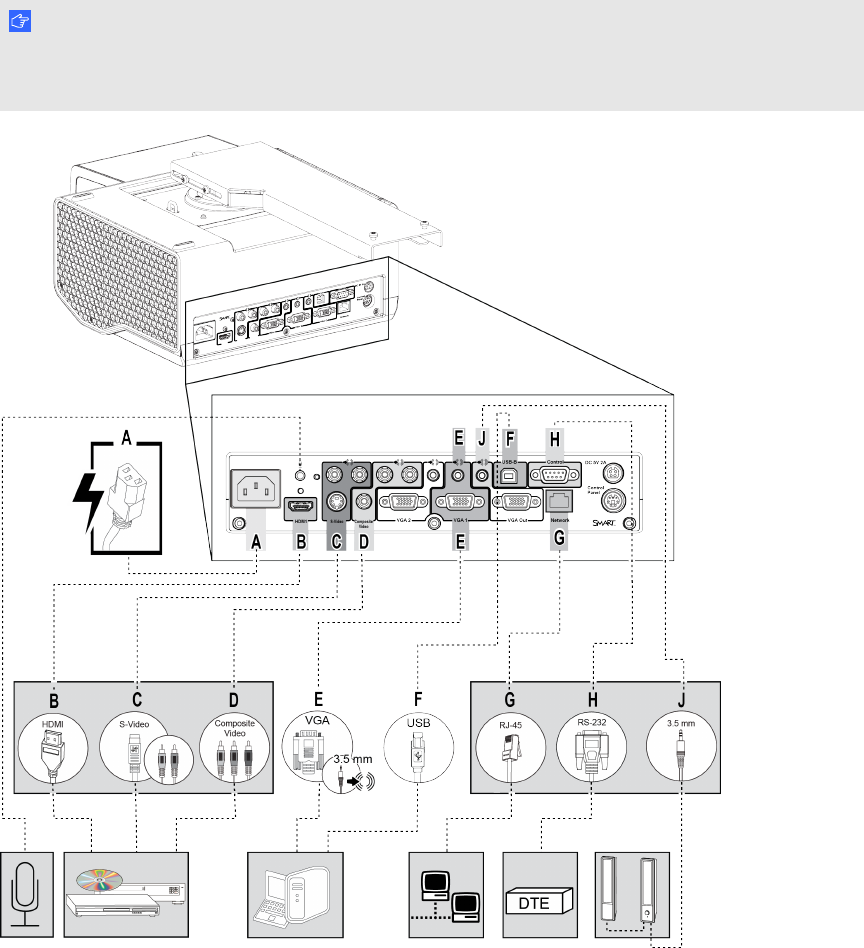
Connect all the cables to your interactive projector and let them hang loose. After you’ve connected
all the cables, connect the power cable to a power outlet and turn on your interactive projector so you
can see where the projected image falls. Align the image and make other image adjustments before
you route the cables around the projected image. Leave space between the cables and the projected
image so you can make image adjustments later. After you’ve made all your image adjustments, and
completed your projector installation, secure the cables to the wall.
I MP OR TA N T
Do not connect the power cable to a power outlet until you have connected all the other cables to
the projector.
C H AP T ER 2
Installing your interactive projector
8


