2-22 Sun Datacenter Switch 3456 Service Manual • August 2008
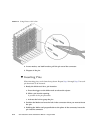
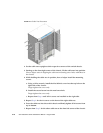
a. Unthread the cable out of the side branch of the cable tree, and off of the
cable plate.
b. Gently lower the cable to the floor.
■ If you are disconnecting cables for a line card replacement:
c. Gently lower the cable so that is it hanging from the side branch.
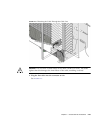
Caution – Do not allow the cable to drop or strike the floor. Jerking, bending,
pulling on, or dropping the cable can damage the cable. See Section 2.4.1 “Cable
Cautions” on page 2-21.
6. Repeat from Step 1 for the cable at 12A.
This is the lower cable.
7. Repeat from Step 1 moving to the right for cables 13B, 13A, 14B, and so on to
23A or the cable that needs replacement.
8. Repeat from Step 1 moving to the left for cables 11B, 11A, 10B, and so on to 0A
or the cable that needs replacement.
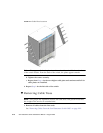
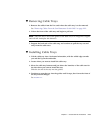
9. If you are removing cables to replace a line card, remove the cable tray.
See “Removing Cable Trays” on page 2-20.
▼ Attaching Cables to the Sun Datacenter Switch
3456
Note – This procedure assumes that you are cabling a single line card after a
replacement procedure. If all line cards are being cabled, or you are installing a
replacement cable, refer to the Sun Datacenter Switch 3456 Installation Guide.
1. Install a cable tray into the slot for the line card.
Refer to “Installing Cable Trays” on page 2-20.
2. Locate the cable for the connector 23A.
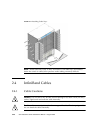
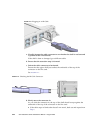
3. Curve the cable to the left through the front branch of the cable tree.
See
FIGURE 2-15.


