Printing Guide — Monitoring Print Jobs with TopAccessDocMon 339
2) Network - Enable IPX/SPX Search
Check on this to search for printers connected to the IPX/SPX network. This is available
only when the IPX/SPX protocol and Novell Client are installed in your computer, and the
computer is connected to the NetWare server.
3) Network - Enable TCP/IP Search
Check on this to search for printers connected to the TCP/IP network. This is available only
when the TCP/IP protocol is installed in your computer.
When this is enabled, select how TopAccessDocMon should search for printers in the TCP/
IP network.
• Search local subnet — Select this to search for printers in local subnet.
• Specify a range — Select this to search for printers in a specific range of IP addresses.
When this is selected, enter the IP addresses in “From” field and “To” field to specify the
range.
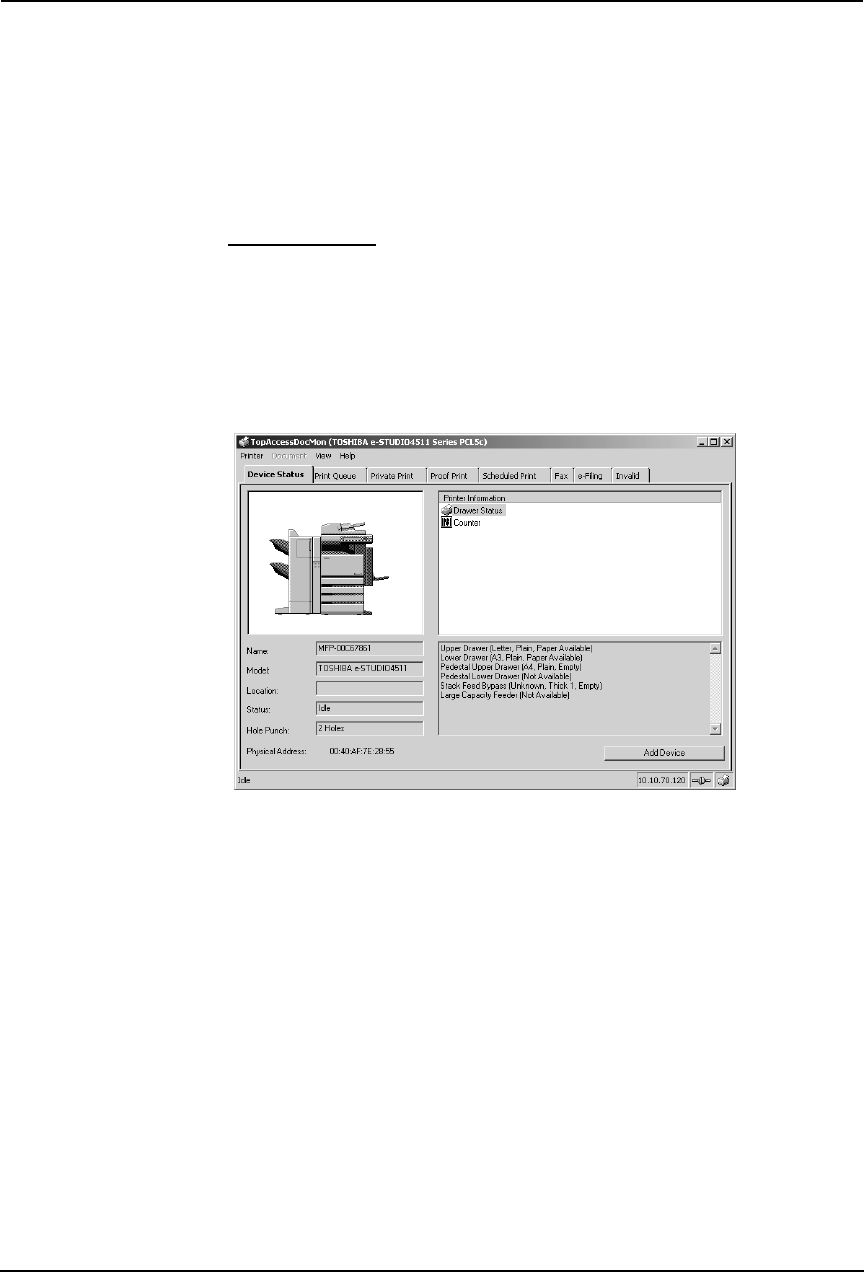
TopAccessDocMon Window
In the TopAccessDocMon window, you can monitor print jobs and printer status.
This window consists of:
• A menu bar containing the options Printer, Document, View, and Help. The Device Status
tab includes only the Printer, View and Help menus.
• There are nine (9) possible tabbed views: Device Status, Print Queue, Private Print, Proof
Print, Scheduled Print, Fax, e-Filing, TopAccessComposer, and Invalid. The tabs displayed
vary depending on the printer being monitored.
• A status bar containing icons and text that allow you to quickly see the status of the printer.
Menu Bar Options
The options are:
• Printer > Close — Closes the current window.
• Printer > Change Printer — The device names that have been added to the monitoring list
are displayed. You can change the monitoring device by selecting the device name.
P.342 "Changing Monitoring Devices"
• Document > Cancel — This menu is displayed under all queue tab. This item allows you to
delete the print job from the queue. You can only cancel print jobs that you submitted.
• Document > Release Proof — This menu is displayed under the Proof Print tab. This item
displays the Release Proof dialog box where the number of copies to be printed can be
