


1
2
3
4
5
6
7
9
10
11
12
8
8-8
USER TEST MODE
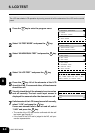
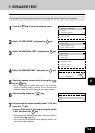
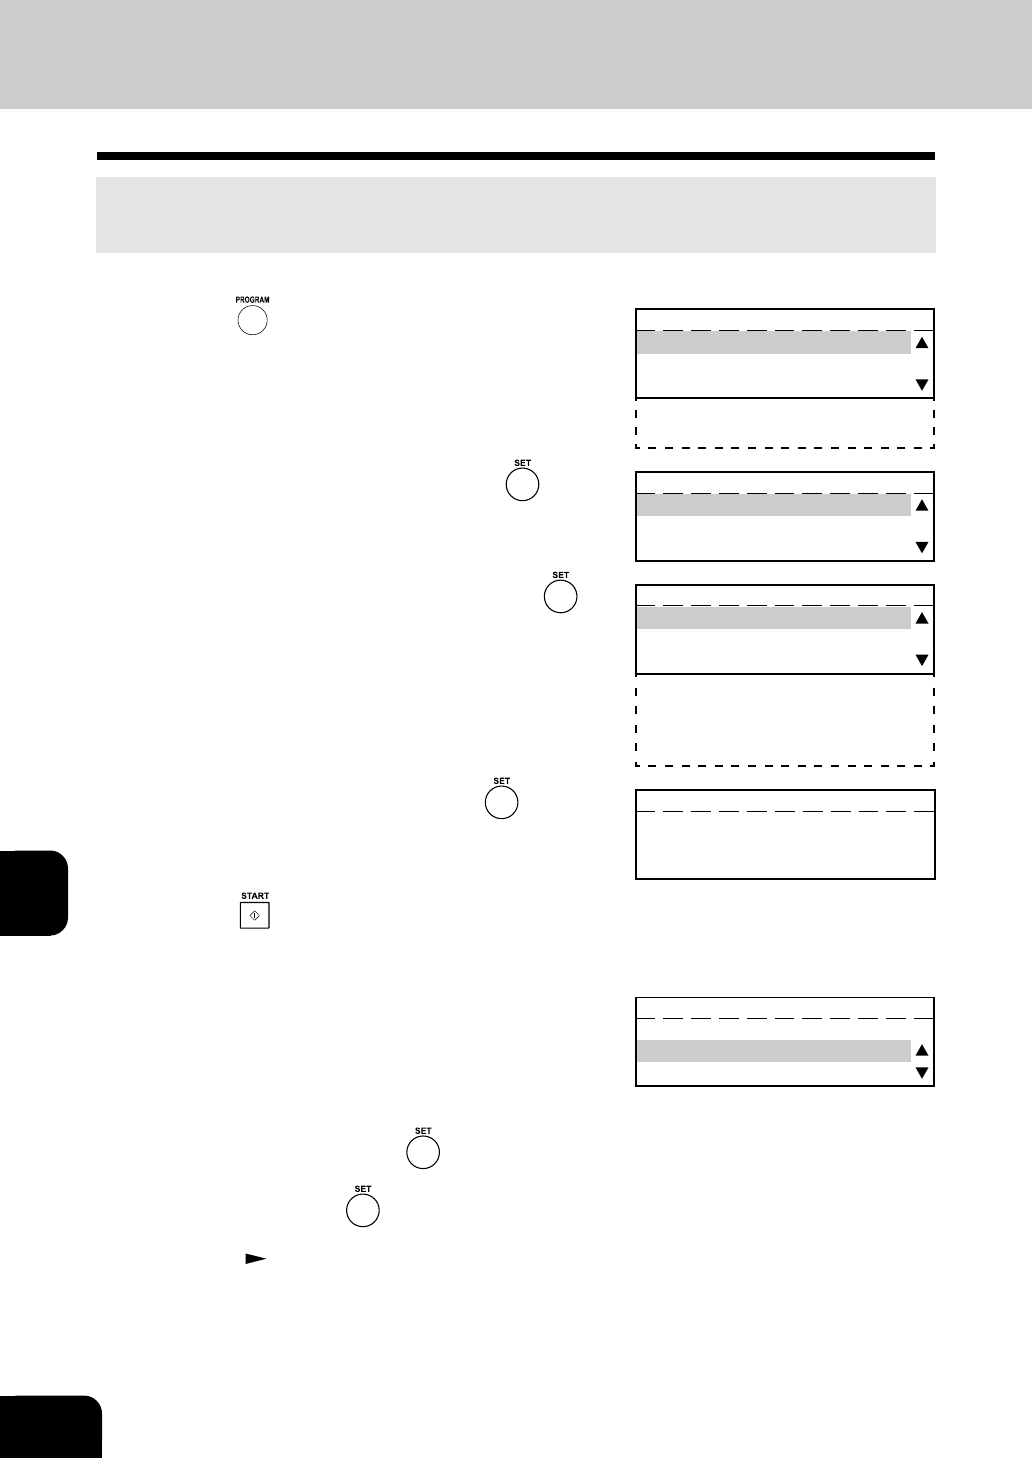
6. LCD TEST
The LCD test checks LCD operation by turning on and off all the elements of the LCD on the control
panel.
1
Press the key to enter the program menu.
2
Select “05.TEST MODE” and press the key.
3
Select “02.INDIVIDUAL TEST” and press the key.
4
Select “04.LCD TEST” and press the key.
5
Press the key. All of the elements of the LCD
should turn on. Five seconds later, all the elements
should turn off.
6
Visually check that all the elements have turned on
and off normally. The test result input screen is
displayed five seconds after the elements turn off.
7
If all elements of the LCD turned on and off normally,
select “1.OK” and press the key.
If even one element fails to turn on and off, select
“2.NG” and press the key.
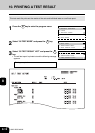
• The results of the LCD test can be confirmed with the self
test report. Page 8-12
• If the result of the LCD test is judged to be NG, call your
service representative.
PROGRAM
01.DEFAULT SETTINGS
02.LISTS
03.INITIAL SETUP
04.MENU LIST
05.TEST MODE
TEST MODE
01.AUTO TEST
02.INDIVIDUAL TEST
03.TEST RESULT LIST
INDIVIDUAL TEST
01.ADF TEST
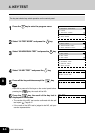
02.KEY TEST
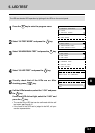
03.LED TEST
04.LCD TEST
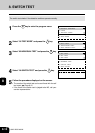
05.SPEAKER TEST
06.SWITCH TEST
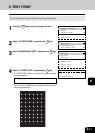
07.TEST PRINT
LCD TEST
DISPLAY WILL TURN ON FOR 5
SEC, THEN TURN OFF FOR 5 SEC.
PRESS START TO BEGIN TEST.
LCD TEST
ENTER TEST RESULT
1.OK
2.NG