


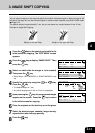


1
2
3
4
5
6
7
9
10
11
12
8
4-14
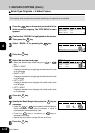
EDIT MENU
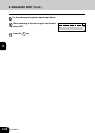
7
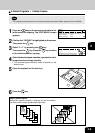
Select the desired paper cassette, image density,
reproduction ratio and copy quantity.
8
Press the key.
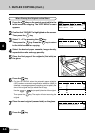
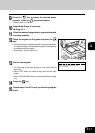
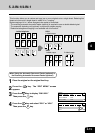
4. EDGE ERASE COPYING
If the edges of an original are torn or dirty, they are reproduced as black stains on the copy.
Using the edge erase mode, a white border will be created along the outside edges of the copy eliminating
the marks. The default edge erase margin is 10 mm, but you can select any margin within the range of 4
to 20 mm.
Example of Edge Erase Copying
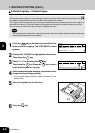
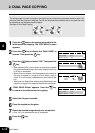
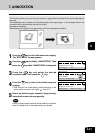
1
Press the key on the control panel while in the
initial screen for copying. The “EDIT MENU” screen
appears.
2
Press the key to display “Edge Erase.” Then
press the key.
3
Press the key and select the “ON.”
Then press the key.
4
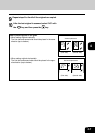
The current edge erase margin appears on the
screen. To change the edge erase margin, select
the desired margin by using the or key.
Then press the key.
• The edge erase margin changes at increments of 1 mm.
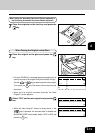
5
The selected edge erase margin appears on the
screen. Press the key to return to the initial
screen for copying.
6
Place the original(s) on the feed tray or on the glass.
READY 1
DUAL PAGE :OFF
IMAGE SHIFT :OFF
EDGE ERASE :OFF
READY 1
DUAL PAGE :OFF
IMAGE SHIFT :OFF
EDGE ERASE :10mm
EDGE ERASE 1
OFF
ON
EDGE ERASE 1
20mm
10mm
4mm