


1
2
3
4
5
6
7
9
10
11
12
8
5-14
PROGRAM MENU
5. DEPARTMENT CODE (Cont.)
Deleting Department Code
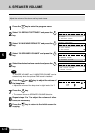
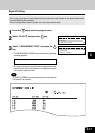
1
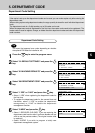
Press the key to enter the program menu.
PROGRAM
01.DEFAULT SETTINGS
02.LISTS
03.INITIAL SETUP
DEFAULT SETTINGS
01.MACHINE DEFAULTS
02.COPY SETUP
03.FAX SETUP
MACHINE DEFAULTS
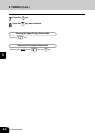
04.WEEKLY TIMER
05.SPEAKER VOLUME
06.DEPARTMENT CODE
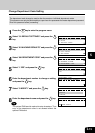
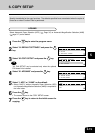
2
Select “01.DEFAULT SETTINGS” and press the
key.
3
Select “01.MACHINE DEFAULTS” and press the
key.
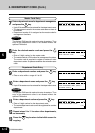
4
Select “06.DEPARTMENT CODE” and press the
key.
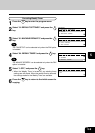
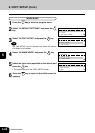
5
Select “YES” and press the key.
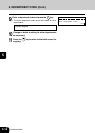
8
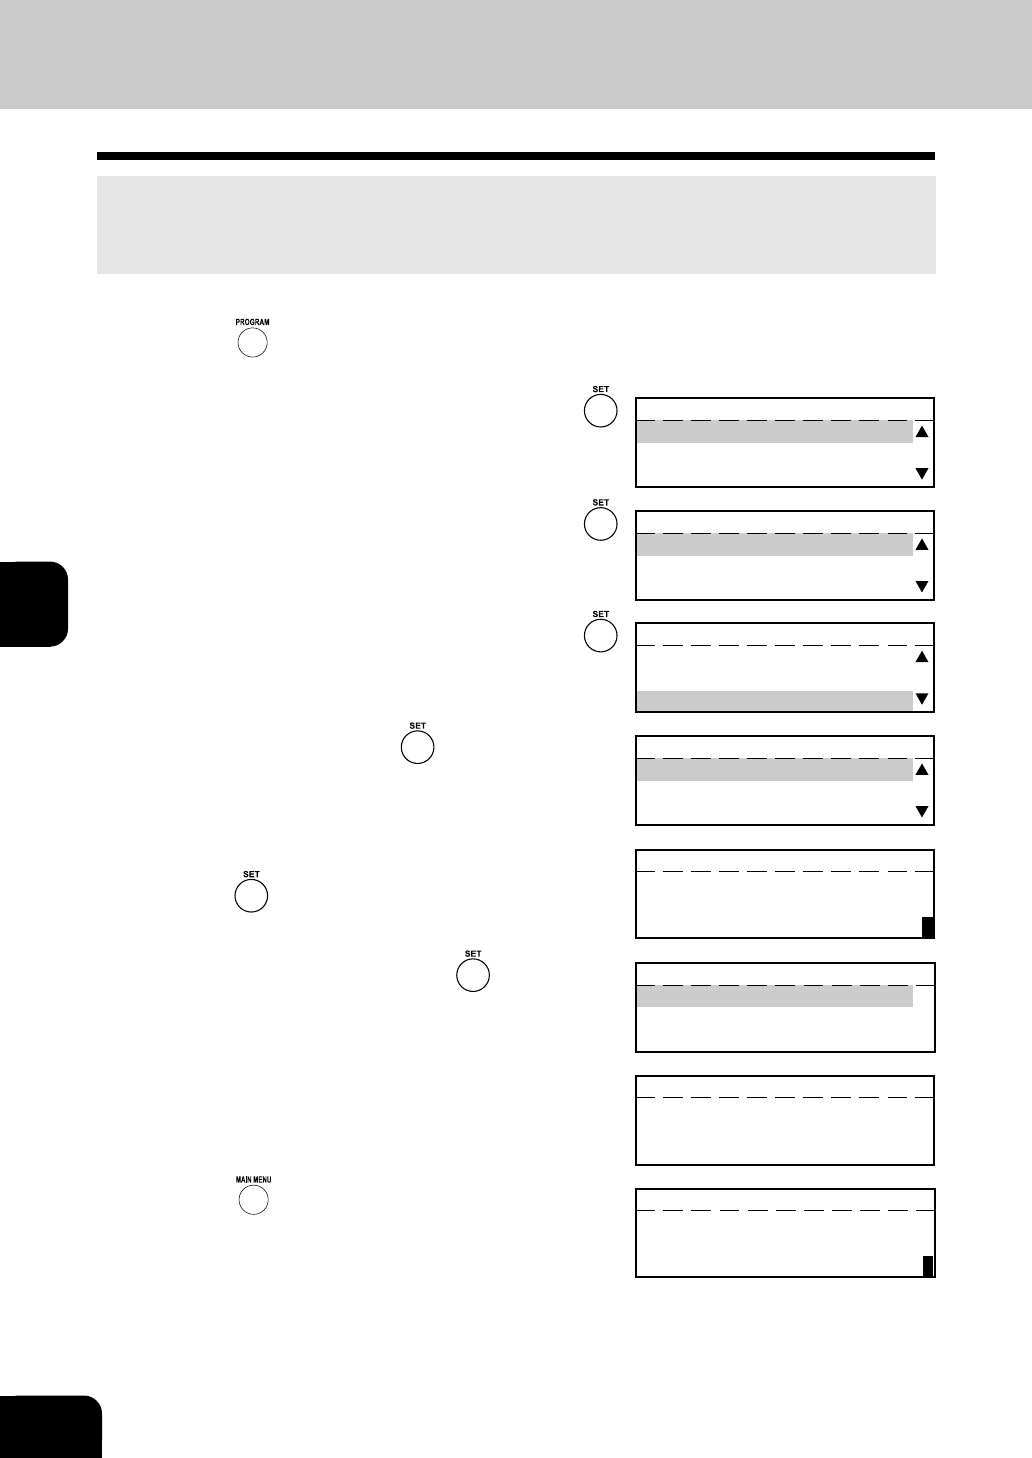
Change or delete a setting for other departments,
as necessary.
9
Press the key to return to the initial screen for
copying.
DEPARTMENT CODE
ENTER DEPARTMENT NUMBER(1-99):
03
DEPARTMENT CODE
1.DELETE
2.MODIFY
3.RETAIN
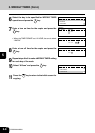
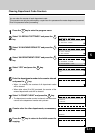
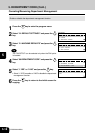
6
Enter the department number to be deleted and
press the key.
• Enter a value within a range of 2 to 99.
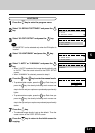
7
Select “1.DELETE” and press the key.
• The selected department number is deleted, and the screen
returns to the department number entry screen.
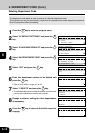
The department code delete is used to remove an individual department code.
This procedure can only be performed by a supervisor who possesses the master department password.
Enter this password before proceeding.
DEPARTMENT CODE
ENTER DEPARTMENT NUMBER(1-99):
DEPARTMENT CODE
DEPARTMENT NUMBER: 03
DELETED
DEPARTMENT CODE
1.YES
2.NO