


4-25
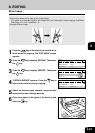
1
2
3
4
5
6
7
9
10
11
12
8
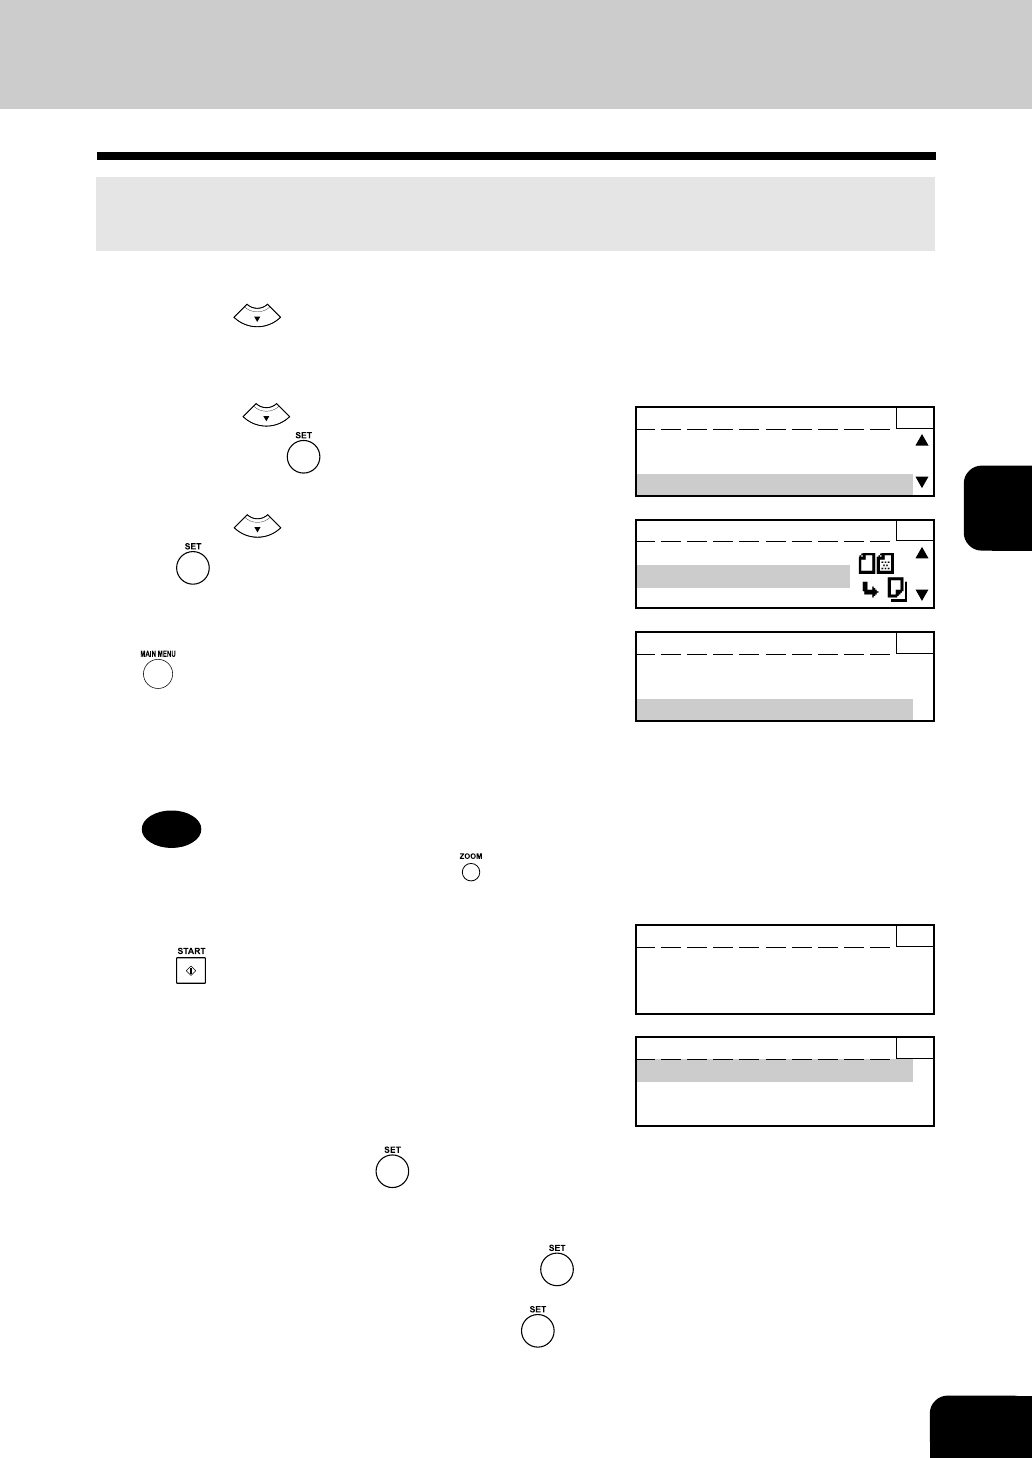
9. JOB BUILD
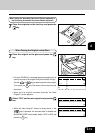
This function allows up to five sets of originals to be scanned and stored separately and then to be
copied and output all at once.
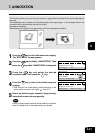
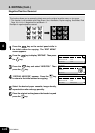
1
Press the key on the control panel while in the
initial screen for copying. The "EDIT MENU" screen
appears.
2
Press the key to display the "JOB BUILD."
Then press the key.
3
Press the key to display the "ON." Then press
the key.
4
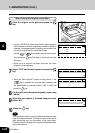
The "JOB BUILD: ON" screen appears. Press the
key to return to the initial screen for copying.
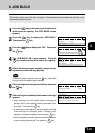
5
Select the desired paper cassette, image density,
reproduction ratio and copy quantity.
6
Place the original on the glass or feed tray and press
the key.
7
After the original is scanned, the screen on the right
appears.
• When scanning the next original without changing any
settings, place it on the glass or feed tray and select "Scan
next page." Then press the
key.
• In scanning the next original, if the scan density and Edge
Erase settings are changed, select "Change current
settings" to change the settings. Then press the
key.
• When all originals have been scanned, select "End job build"
to start copying automatically. Then press the key.
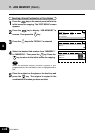
JOB BUILD 1
Scan next page
End job build
Change current setting
Scanning in memory 1
Scanning Page :XXX
READY 1
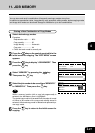
ANNOTATION :OFF
EDITING :OFF
JOB BUILD :ON
JOB BUILD 1
OFF
ON
READY 1
ANNOTATION :OFF
EDITING :OFF
JOB BUILD :OFF
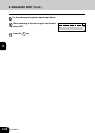
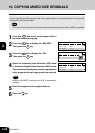
Note
To select the paper cassette, press the key, select AMS
and then select the desired paper cassette.