e-STUDIO281c/351c/451c
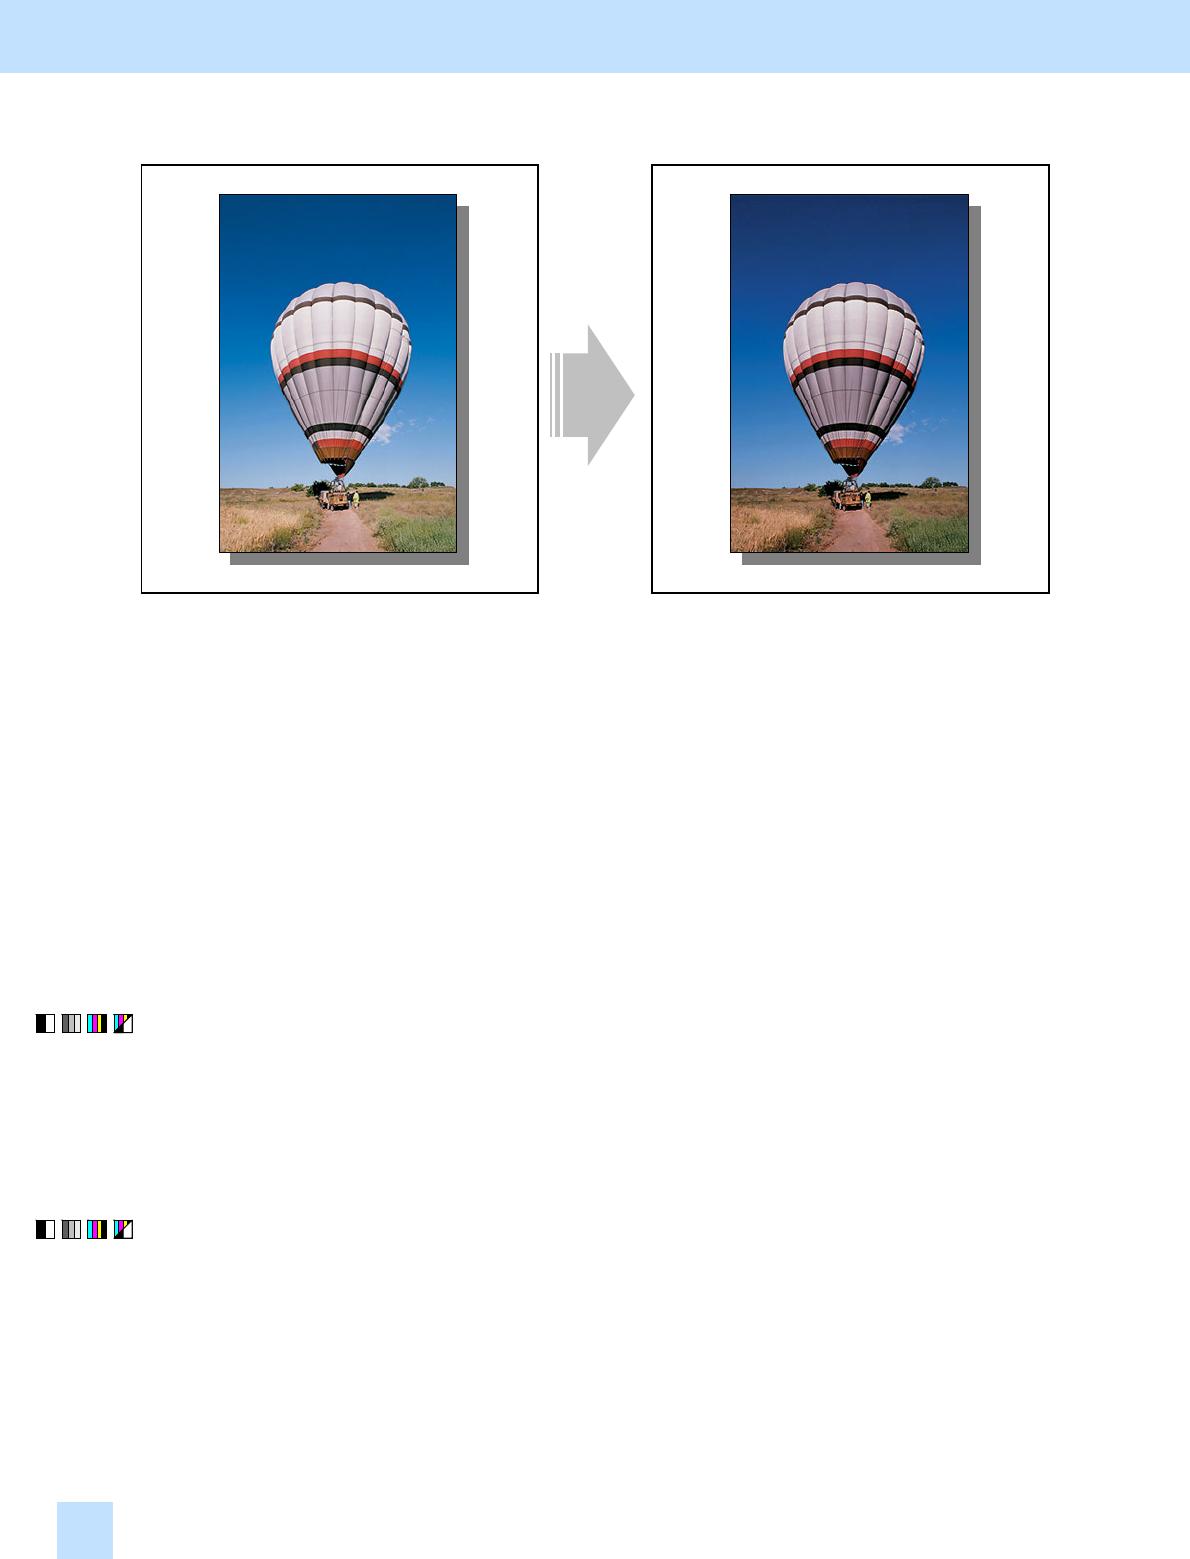
1.1 To Obtain a Darker Image
Before the adjustment After the adjustment
The output image looks light and blurred. The output image looks darker and sharper.
Explanation
When an original containing photo images or gradational images is printed, the output image sometimes looks
light and blurred. Perform image quality control or automatic calibration, and adjust the transfer roller bias
output, in order to obtain a darker and sharper image.
Procedures
* Perform the adjustment in accordance with the procedures below.
* Procedures (1), (3) and (4) are used by the service technician only.
* Procedure (2) is used by the service technician, and by the user.
(1) Enter adjustment mode [05]. Select code [395]. Press the [START] button.
• Image quality control will be forcibly performed to correct variations in density.
After exercising image quality control, print and check the image quality.
If further image quality adjustments are still necessary, use the next procedure.
(2) Perform the automatic calibration to correct variations in image density.
* [ADMIN] is selected from among the [CALIBRATION DISPLAY LEVEL] options by default. In other
words, an administrator is authorized to operate the automatic calibration. But the [USER] option can also
be selected to allow the user to operate it. Refer to the User Functions Guide for further information
regarding how to select the [CALIBRATION DISPLAY LEVEL] option.
1. General Adjustments – Copying, Printing and e-Filing (Output from Box)
1.1
