29
9. Windows Client
(
continued
)
9.4 Port Operation
9.4.2 OSD Toolbar Icons
9.4.1 OSD Toolbar
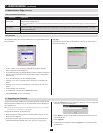
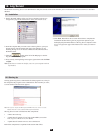
SelectaportontheOSDMainScreeneitherbymovingthehighlightbartoitwiththeUpandDownArrowkeysandpressingEnter, or by double-
clicking it. Once you select a port, its screen displays on your monitor, and your keyboard and mouse input affects the remote system.
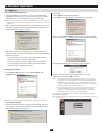
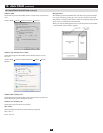
TheOSDprovidesatoolbartohelpyoucontroltheKVMswitchremotely.
Tobringupthetoolbar,taptheOSDHotkey(ScrollLockorCtrl)twice.
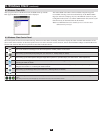
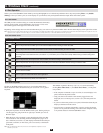
The toolbar appears in the upper left corner of the screen:
DependingonthesettingsthatwereselectedunderID Display(seesection7.4),thePortNumberand/orthePortNamedisplayattherightofthetoolbar.
Note: Click on a free area of the toolbar and drag to move it around the screen. When the toolbar displays, mouse input is confined to the toolbar area and keyboard input has no effect. To carry out
operations on the computer connected to the port, close the toolbar by clicking the X on it; or, recall the OSD and select the port again.
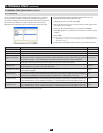
OSD Toolbar Icons
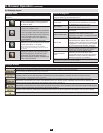
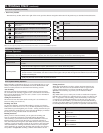
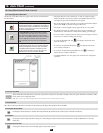
The meanings of the toolbar icons are explained in the table below:
Icon Function
Click to skip to the first accessible port on the entire installation without having to invoke the OSD.
Click to skip to the first accessible port previous to the current one without having to invoke the OSD.
Click to begin Auto Scan Mode. The KVM switch automatically switches among the ports that were selected for Auto Scanning under
the Configuration Scan Select function (see section 7.4). This allows you to monitor their activity without having to switch among them
manually.
Click to skip from the current port to the next accessible one without having to invoke the OSD.
Click to skip from the current port to the last accessible port on the entire installation without having to invoke the OSD.
Click to bring up the OSD.
Click to close the toolbar.
Click to logout and exit the Windows Client application.
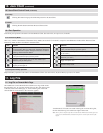
Click to invoke Panel Array Mode (see section 9.4.3).
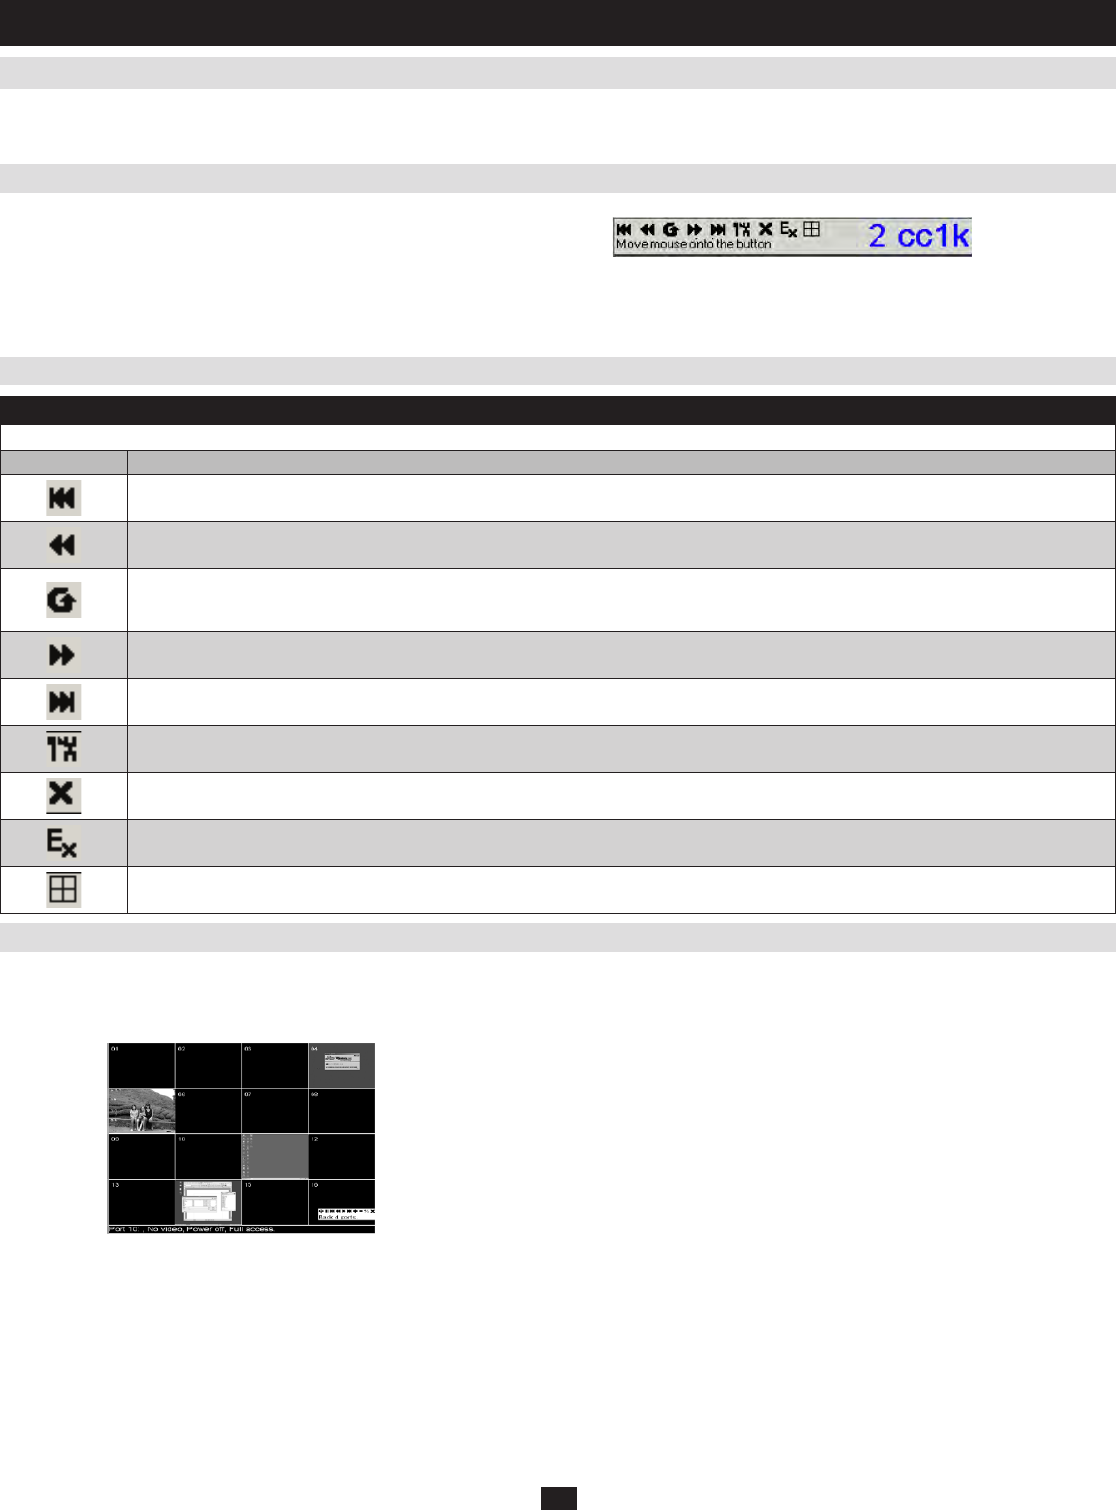
9.4.3 Panel Array Mode
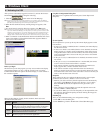
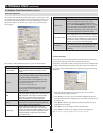
EachpanelrepresentsoneoftheKVMswitch’sports.Startingwithport•
1attheupperleft;goingfromlefttoright;toptobottom;port16isat
the lower right.
When the Array is first invoked, it scans through each of the ports that •
were selected for Auto Scanning under the Configuration page’s Scan
Selectfunction(seesection7.4),anddisplaysinformationabouttheport
(port name, resolution, on line status, port access status), at the bottom
of the panel.
Note: The scan duration in panel array mode is not user-defineable. It defaults at a scan
duration of 1 second.
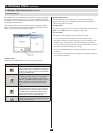
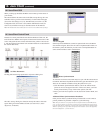
Thenumberofpanelsinthearray(16,9,4,or1)canbeselectedby
clicking Show More Ports (+), and Show Fewer Ports(-)onthepanel
array toolbar.
If the computer connected to a port is on line, its screen displays in its •
panel, otherwise the panel is blank.
Only ports that are accessible to the currently logged in user are •
displayed (see User Management,section7.6.1).Allotherpanelsare
blank.
If you move the mouse pointer over a panel, information about the port •
displays at the bottom of the screen.
You can access a computer connected to a port by moving the mouse •
pointer over its panel and clicking. You switch to the computer exactly
asifyouhadselecteditfromtheOSDMainscreen.
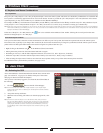
ClickingontheOSDToolbar’sPanel Array icon invokes Panel Array
Mode.Underthismode,theOSDdividesyourscreenintoa4x4gridof
16panels:


