6
4.3.5 Converters and Adapters
4.3.6 Operating Systems
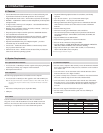
Operating System Versions Supported
Windows 2000 and higher
Linux RedHat 6.0 and higher
Linux SuSE 8.2 and higher
Linux Mandriva (Mandrake) 9.0 and higher
UNIX AIX 4.3 and higher
UNIX Free BSD 3.51 and higher
Operating System Versions Supported
UNIX Sun Solaris 8 and higher
Novell Netware 5.0 and higher
Mac 8.6 and higher
OS/2 Warp and higher
DOS 6.2 and higher
UseaB015-000PS/2toUSBAdaptertoconvertanyP774-SeriesPS/2KVMCableKitforusewithaUSBcomputer/server.
Supported operating systems are shown in the table, below:
4.3 System Requirements
(
continued
)
4. Introduction
(
continued
)
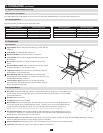
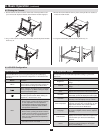
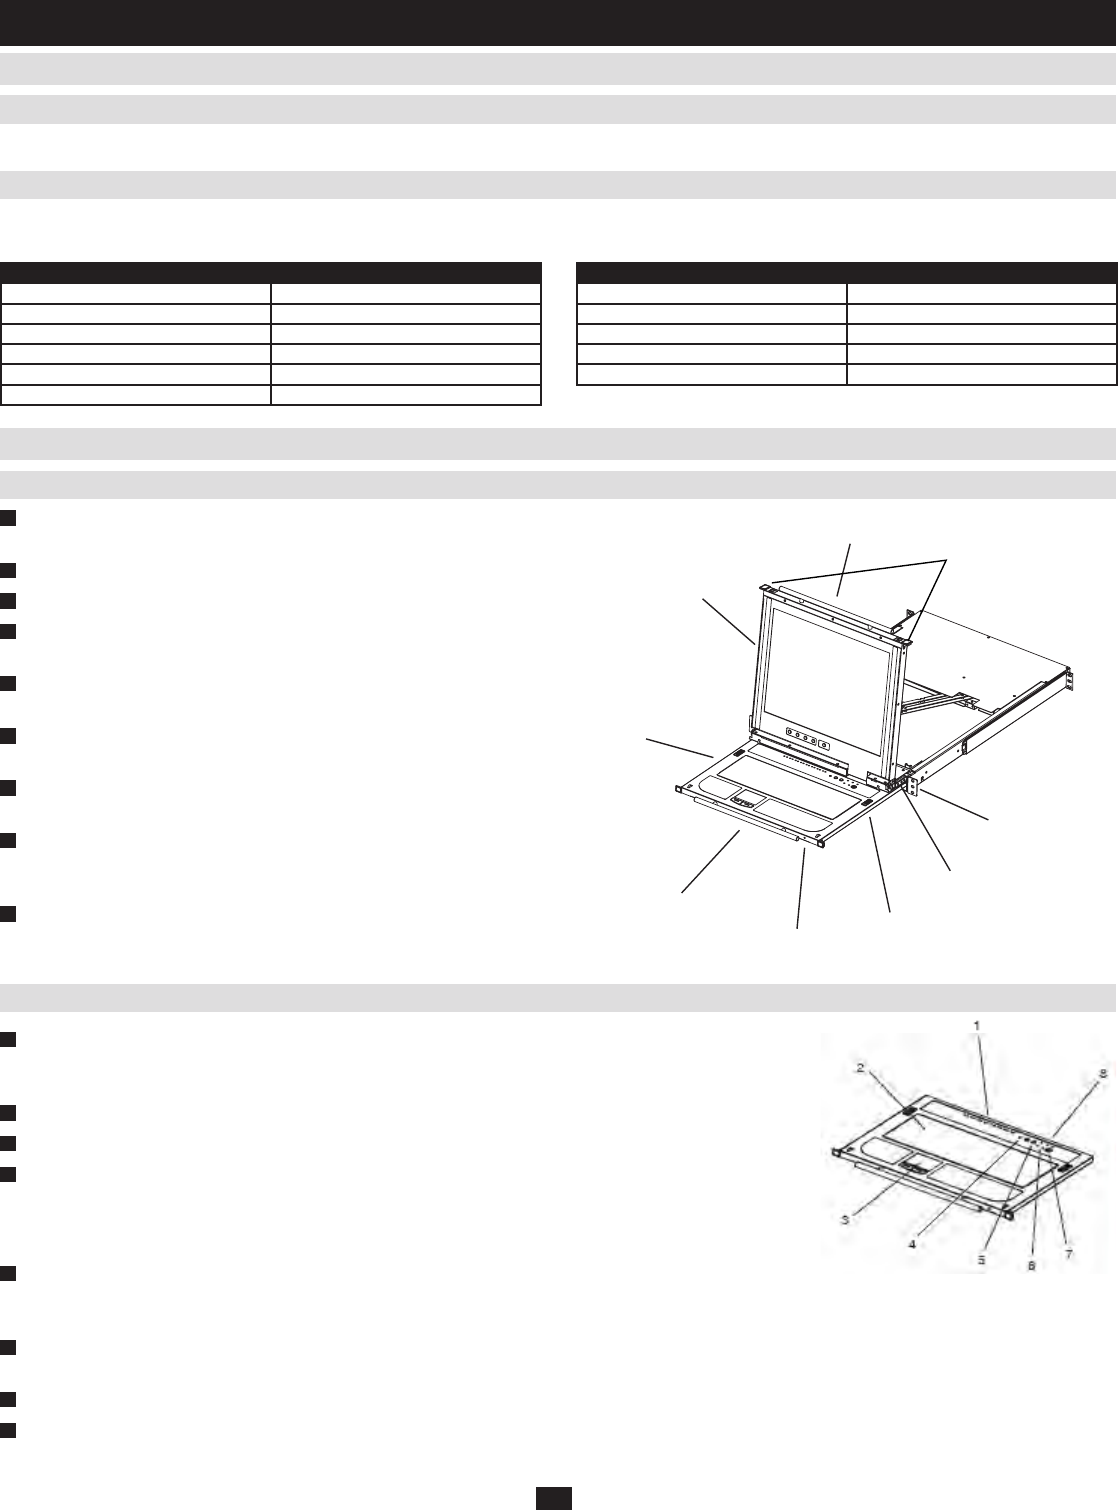
4.4 Components
1
Upper Handle: PulltoslidetheLCDmoduleout;pushtoslidethe
module in.
2
LCD Module: SeeLCDModule,section4.4.3
3
Keyboard Module: See Keyboard Module,section4.4.2
4
Lower Handle: Pulltoslidethekeyboardmoduleout;pushtoslide
the module in.
5
Power LED: Lights (blue) to indicate that the unit is receiving
power.
6
Keyboard Release Catch: These catches (one on each side) release
the keyboard module so you can slide it away.
7
LCD Release Catch: These catches (one on each side) release the
LCDmodulesoyoucanslideitaway.
8
Rack Mounting Tabs: The rack mounting tabs located at each
corner of the unit secure the chassis to a system rack. See section 5.2,
StandardRackMounting,fordetails.
9
Console Release Tabs: These tabs (one on each side) must be
pressedinwardtoreleasetheLCDandkeyboardmodule,allowing
them to be pulled out of the rack.
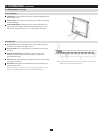
1
Port LEDs:AnOnLineLEDlights(amber)toindicatethatthedeviceattachedtoitscorrespondingportis
upandrunning.ASelectedLEDlights(green)toindicatethatthecomputerattachedtoitscorresponding
porthastheKVMfocus.
2
Keyboard: 99-keykeyboard.
3
Touchpad: Standard mouse touchpad.
4
Reset Switch: PressingandholdingthisswitchinwhilepoweringontheunitcausestheKVMswitchto
reverttotheoriginalfactoryinstalledrmwareversion–allowingyoutorecoverfromafailedrmware
upgrade. Pressing and holding this switch in for more than three seconds performs a system reset.
Note: The switch is recessed and must be pushed with a thin object – such as the end of a paper clip or a ballpoint pen.
5
Port Selection Switches: Theleftbutton(DOWN),shiftstheKVMfocusdownthroughtheports(port7
→port6,etc.).Afterport1,itcyclesbacktothelastport.Therightbutton(UP),shiftstheKVMfocusup
through the ports. After the last port, it cycles to port 1.
6
Connection LEDs: TheLinkLEDashes(green)whenaremoteclientconnectstotheKVMswitch.The10/100MbpsLEDlights(orange)to
indicate10Mbpsdatatransmissionspeed.Itlights(green)for100Mbps.
7
External Mouse Port: ThisPS/2-typemouseportisprovidedforuserswhoprefertouseanexternalmouse.
8
Lock LEDs: TheNumLock,CapsLock,ScrollLockLEDsarelocatedhere.
4.4.1 Front View
4.4.2 Keyboard Module
8
6
7
1
9
5
4
2
3


