


61ViewSonic PJL6243
61
Maintenance and Cleaning
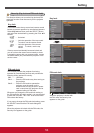
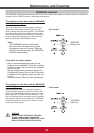
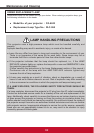
When the projection lamp of the projector reaches its
end of life, the Lamp replacement icon appears on the
screen and LAMP REPLACE indicator lights yellow.
Replace the lamp with a new one promptly. The timing
when the LAMP REPLACE indicator should light is
depending on the lamp mode.
Follow these steps to replace the lamp.
For continued safety, replace with a lamp of the
same type. Do not drop a lamp or touch a glass
bulb! The glass can shatter and may cause injury.
Allow a projector to cool for at least 45 minutes
before you open the Lamp Cover. The inside of the
projector can become very hot.
CAUTION
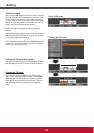
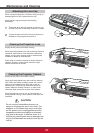
Unplug the AC power cord. Let the projector cool
for at least 45 minutes.
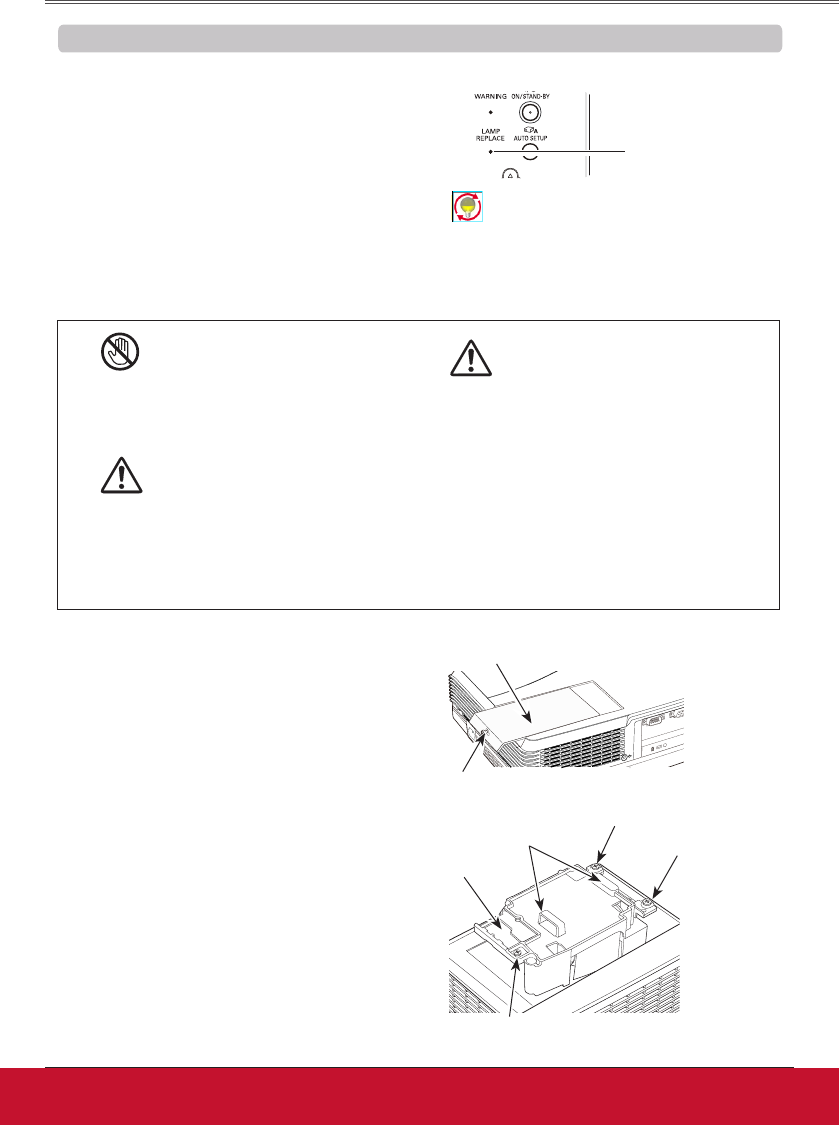
Loosen the three (3) screws that secure the lamp.
Lift the lamp out of the projector by using the
handles.
1
3
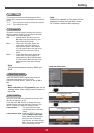
Replace the lamp with a new one and secure the
three (3) screws. Make sure that the lamp is set
properly. Close the lamp cover and secure the
screw.
4
Loosen the screw and open the lamp cover.
2
Connect the AC power cord to the projector and
turn on the projector.
5
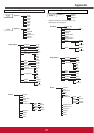
Lamp Replacement
CAUTION
TopControl
LAMP REPLACE
indicator
Screw
Handles
Screw
Lamp Cover
Screw
Screw
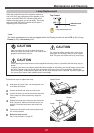
CAUTION
When replacing the lamp because it has stopped illuminating, there is a possibility that the lamp may be
broken.
If replacing the lamp of a projector which has been installed on the ceiling, you should always assume that
the lamp is broken, and you should stand to the side of the lamp cover, not underneath it. Remove the
lamp cover gently. Small pieces of glass may fall out when the lamp cover is opened. If pieces of glass get
into your eyes or mouth, seek medical advice immediately.
Note:
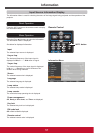
The Lamp replacement icon will not appear when the Display function is set to Off (p.46), during
Freeze (p.25), or No show (p.26).
Lamp replacement icon
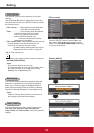
Reset the lamp counter.
See "Lamp Counter" on page 55.
6
Lamp