


Customizing
Page 36
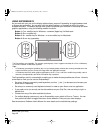
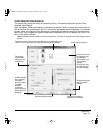
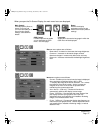
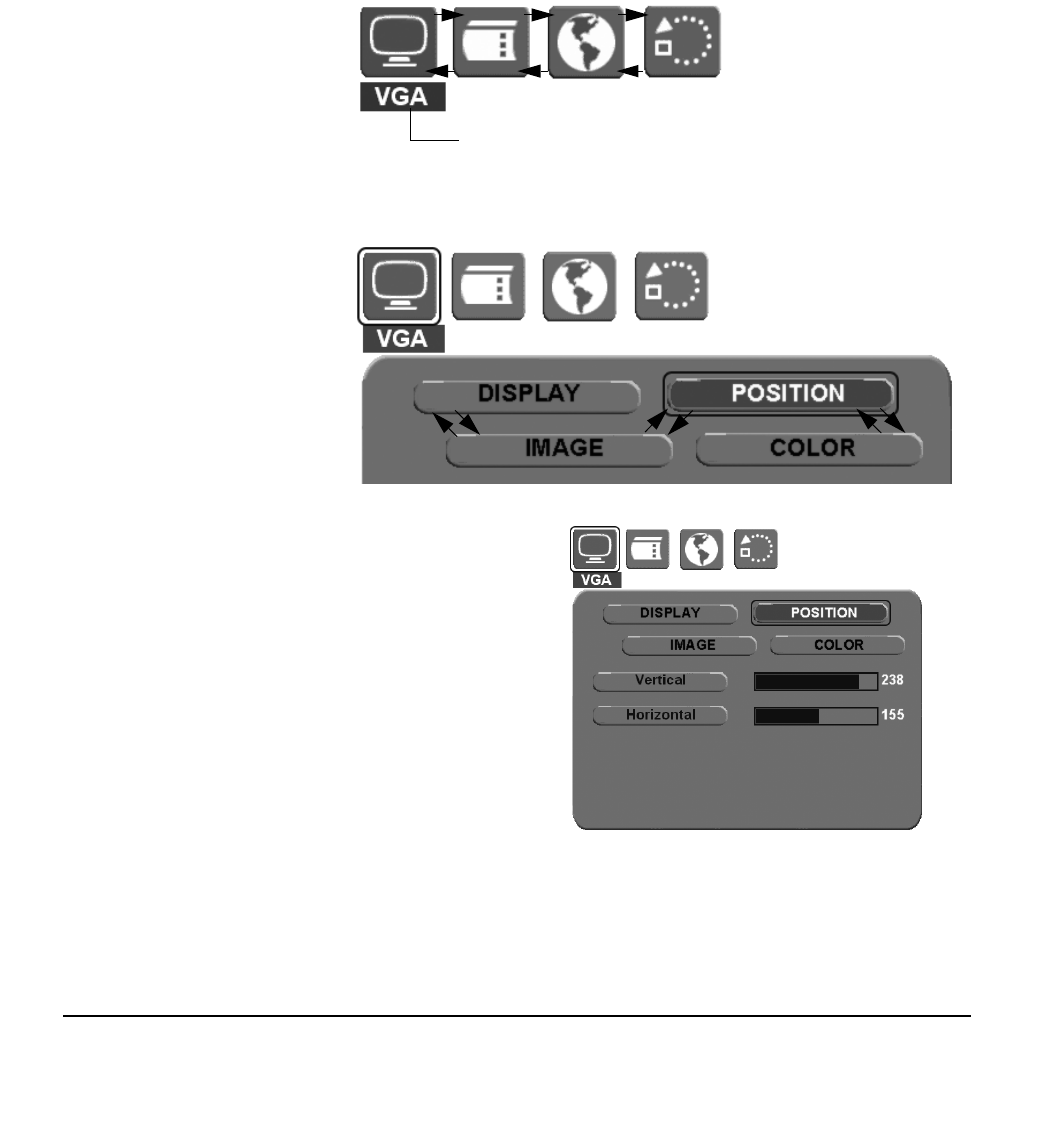
The basic process for working with the OSD is as follows:
• Press the MENU button to
open the OSD main menu.
• Press the up or down
buttons to toggle between
the main menu icons.
Then press the SELECT
button to choose the
highlighted icon.
The Main Control icon displays a DVI or VGA identifier,
depending on which video interface is currently in use.
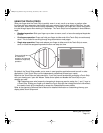
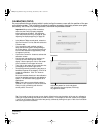
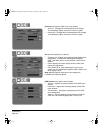
• Press the up or down
buttons to toggle between
menu options. Press the
SELECT button to choose
the highlighted option.
Note that some options,
such as POSITION, are not
available when in DVI
mode.
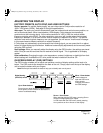
• Press the up or down buttons to select a setting for
adjustment. Press the SELECT button to choose
the highlighted setting.
Note that some settings may not be available when
in DVI mode.
• Use the up or down buttons to increase or
decrease the setting value.
• Press the ENTER button to accept your changes.
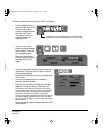
Note: After changing a setting, the OSD menu will
automatically close after a few moments of inactivity.
You can also continue to press
ENTER in order to back
out of the OSD menu. All settings are automatically
saved when the OSD menu closes. If you make
changes to the display appearance and cannot return to
the original settings, go to the R
ESET menu and select
the F
ACTORY RESET option to return Cintiq to its original
factory defaults.
See the following pages for details about the OSD
menu options.
Cintiq21UX_Manual.fm Page 36 Monday, November 5, 2007 10:27 AM