Xerox Nuvera Paper Guide
3-14
Tips by stock type
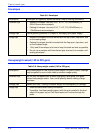
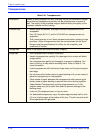
Transparencies
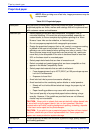
Table 3-21. Transparencies
Description Sheets of clear polyester film with a coating that dry ink adheres to images
are printed on transparencies so they can be projected onto a screen or
wall. The quality of the projected image is determined by the quality of the
polyester material and the coating.
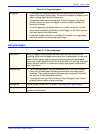
Selection tips • Border stripe, borderless, and paper-backed transparencies are all
acceptable.
• Only US Letter (8.5”x11”) and A4 (210x297mm) transparencies are
supported.
• Test a small quantity of non-Xerox transparencies before making a large
purchase. (Xerox transparencies that are recommended for the Xerox
Nuvera meet the specifications for clarity, dry ink receptivity, and
coefficient of friction.)
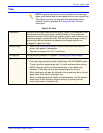
Storage tips Store in the original box before and after imaging
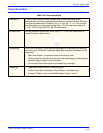
Usage tips • Run transparencies in simplex mode only.
• Handle transparencies carefully. Any damage to the surface will affect
image quality.
• Fan transparencies gently, but thoroughly to prevent multifeeds. Fan
them in the tray to help reduce handling dents. Refer to Table 3-1 for
more information.
• Load transparencies with the border stripe down and the glue along the
lead edge.
• Do not remove the border stripe or paper-backing until you are ready to
place the transparency on the projector.
• Place sheets of paper between the transparencies after removing the
border stripe or paper-backing to prevent them from sticking together.
• Paper-Backed Transparencies must be programmed to run in the
simplex mode only and to stack face down to prevent damage to the
backing sheet.
• Load only 50 transparencies in a tray at a time.
• For dedicated transparency trays, first place approximately half an inch
(12 mm) of plain paper at the bottom of the tray. This will ensure that all
50 transparencies will get used.


