


19
PROGRAMMING
VSI-Pro Max POS / Cash Register Interface
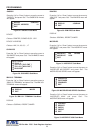
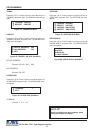
DELTA JOURNAL
DELTA RECEIPT
EPSON JOURNAL
EPSON RECEIPT
EXIT
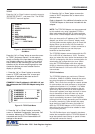
Figure 19: DELTA SONO 3.1 Sub-Menu
DELTA SONO 3.1
Press the “Up” or “Down” button to move the cursor to
“DELTA SONO 3.1” and press “Set”. The DELTA SONO
3.1 menu will appear:
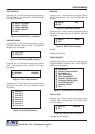
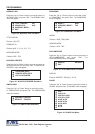
Figure 22: NUCLEUS Sub-Menu
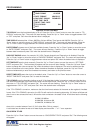
Terminal 1
Terminal 2
Terminal 3
Terminal 4
Terminal 5
Terminal 6
Terminal 7
Terminal 8
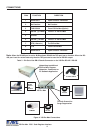
POS / CDU
NUCLEUS
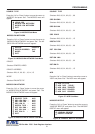
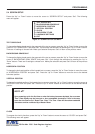
Figure 20: DRESSER WAYNE Sub-Menu
Figure 21: POS / CDU Sub-Menu
JOURNAL PRINTER
RECEIPT PRINTER
DRESSER WAYNE
Press the “Up” or “Down” button to move the cursor to
“DRESSER WAYNE” and press “Set”. The DRESSER
WAYNE menu will appear:
Press the “Up” or “Down” button to move the cursor to
“POS / CDU” and press “Set”. The POS / CDU menu
will appear:
Press the “Up” or “Down” button to move the cursor to
“NUCLEUS” and press “Set”. The NUCLEUS menu
will appear:
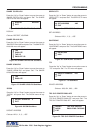
MODEL E90
EXIT
Figure 23: EDACOM Sub-Menu
EDACOM
Press the “Up” or “Down” button to move the cursor to
“EDACOM” and press “Set”. The EDACOM menu will
appear:
MODEL E9010
EXIT
Figure 24: MODEL E90 Sub-Menu
Press the “Up” or “Down” button to move the cursor to
“MODEL E90” and press “Set”. The MODEL E90 menu
will appear:
EPSON GENERIC
Press the “Up” or “Down” button to move the cursor to
“EPSON GENERIC” and press “Set”. The EPSON GE-
NERIC menu will appear:
FUJITSU 9920
Press the “Up” or “Down” button to move the cursor to
“FUJISU 9920” and press “Set”. The FUJISU 9920
menu will appear:
DISPLAY JOURNAL
EXIT
Figure 26: FUJITZU 9920 Sub-Menu
Figure 25: EPSON GENERIC Sub-Menu
MODEL
Choices: E90, E9010
STANDARD
DOUBLE CHAR PRINTER
POLE DISPLAY
POLE DISPLAY 20
POLE VIA PRINTER
RECIEPT PRINTER ONLY
JOURNAL PRINTER ONLY
SLIP PRINTER ONLY
GRAPHIC FILTER
EXIT
Choices: Journal, Receipt