


52
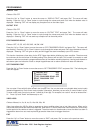
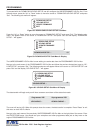
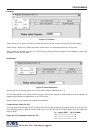
Figure 90: UPLOAD SETUP Sub-Menu & Display
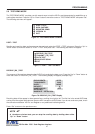
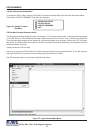
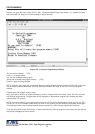
The data transfer will begin and you will have a screen count down of the status that reads:
The count will end at 100. When this prompt clears the screen, the data transfer is complete. Press “Reset” to exit
this menu on both VSI-Pro Max’s.
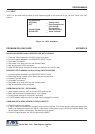
Now go to the main-menu of the previously UNPROGRAMMED VSI-Pro Max on the right side of the screen. Enter
the EXCEPTIONS menu. You should see your exceptions and other programmed data just as they were on the
original PROGRAMMED VSI-Pro Max.
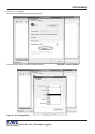
Now go to the main-menu of the PROGRAMMED VSI-Pro Max and follow the previous instructions to get to “UP-
LOAD SETUP” and press “Set”. The following sub-menu will appear. Move to the cursor to “UPLOAD SETUP” and
press “Set” and the display “UPLOAD SETUP...” will appear:
UPLOAD SETUP ...
01
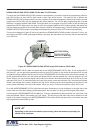
Programmed VSI Unprogrammed VSI
UPLOADING ... DOWNLOADING ...
The UNPROGRAMMED VSI-Pro Max is now waiting to receive data from the PROGRAMMED VSI-Pro Max.
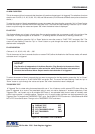
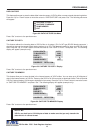
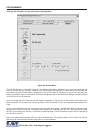
Figure 89: DOWNLOAD SETUP Sub-Menu & Display
DOWNLOAD SETUP ...
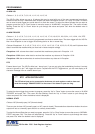
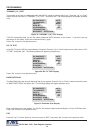
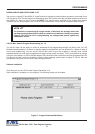
Figure 88: DOWNLOAD/UPLOAD SETUP Sub-Menu
To proceed with the DOWNLOAD/UPLOAD SETUP, we will configure the UNPROGRAMMED VSI-Pro first. From
the main-menu, press the “Up” or “Down” button to move the cursor to “DOWNLOAD/UPLOAD SETUP” and press
“Set”. The following sub-menu will appear:
Press the “Up” or “Down” button to move the cursor to “DOWNLOAD SETUP” and press “Set”. The following sub-
menu will appear. Move to the cursor to “DOWNLOAD SETUP” and press “Set” and the display “DOWNLOAD
SETUP...” will appear:
PROGRAMMING
VSI-Pro Max POS / Cash Register Interface
01
DOWNLOAD SETUP
UPLOAD SETUP
UPDATE FIRMWARE
EXIT
DOWNLOAD SETUP
UPLOAD SETUP
UPDATE FIRMWARE
EXIT
DOWNLOAD SETUP
UPLOAD SETUP
UPDATE FIRMWARE
EXIT