


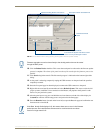


Upgrading MVP Firmware
49
MVP-8400i Modero Viewpoint Wireless Touch Panels
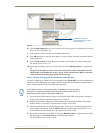
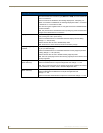
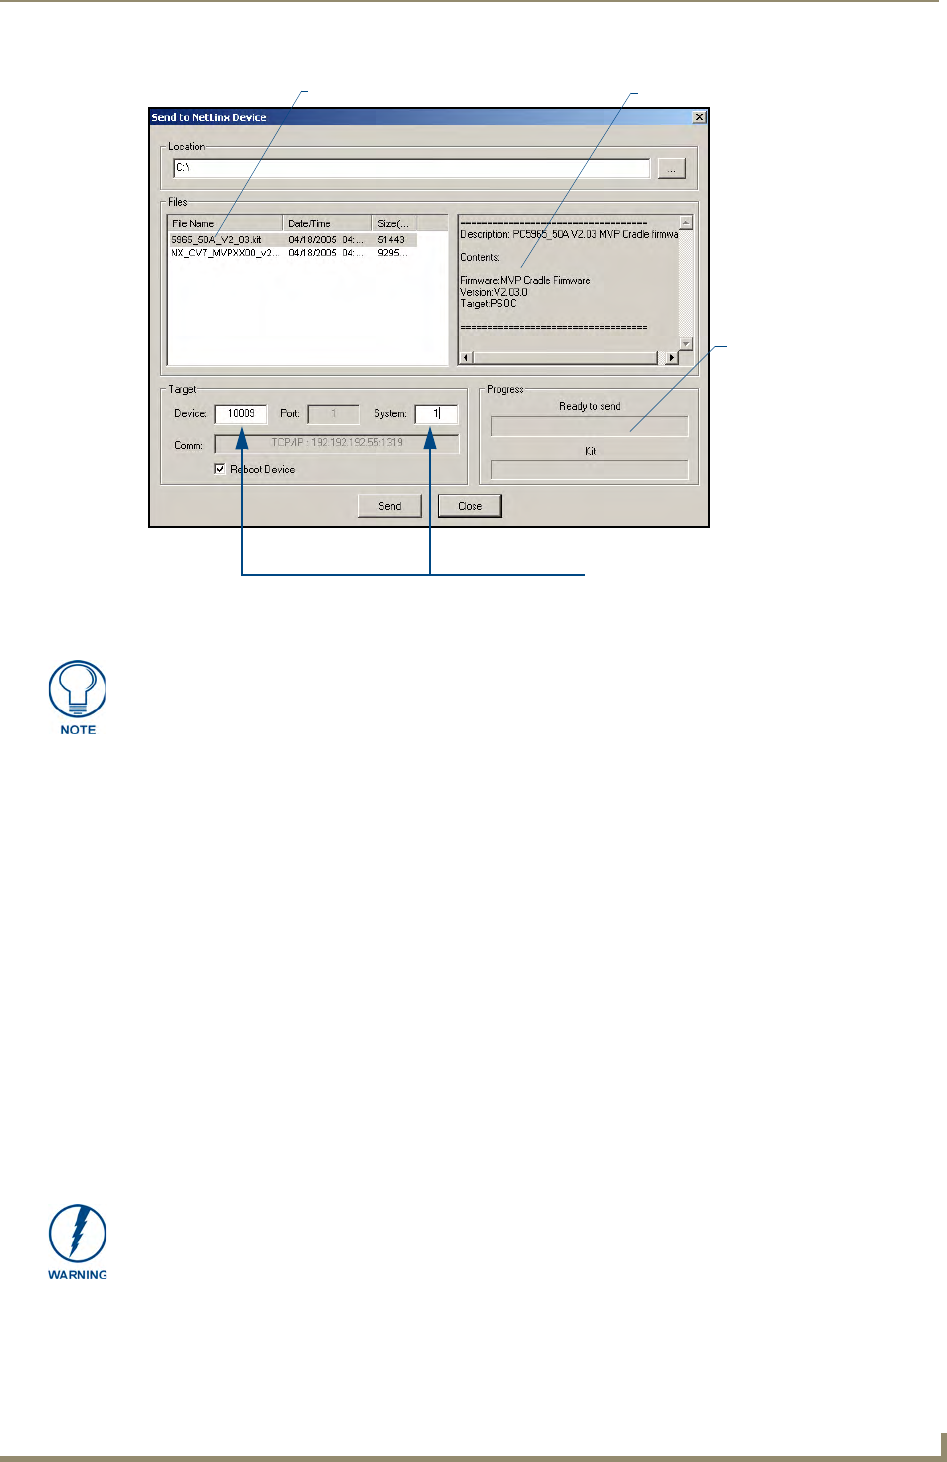
10. Click the Reboot Device checkbox. This causes the touch panel to reboot after the firmware update
process is complete. The reboot of the panel can take up 30 seconds after the firmware process has
finished.
11. Click Send to begin the transfer. The file transfer progress is indicated on the bottom-right of the
dialog.
12. As the panel is rebooting, temporarily unplug the USB connector on the panel until the panel has
completely restarted.
13. Once the first panel page has been displayed, reconnect the USB connector to the panel.
14. Right-click the associated System number and select Refresh System. This causes a refresh of all
project systems, establishes a new connection to the Master, and populates the System list with
devices on your particular system.
15. After the panel powers-up, press and hold the two lower buttons on both sides of the display for
3 seconds to continue with the setup process and proceed to the Setup page.
16. Press the Batteries button (located on the lower-left) to open the Batteries page and confirm the new
firmware does not read 0.00.
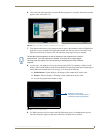
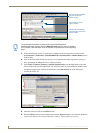
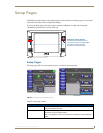
FIG. 41 Send to NetLinx Device dialog (showing docking station firmware update via USB)
Selected Docking Station Firmware file
Description field for selected Kit file
Device and System values
must match the System and Device values
listed in the Project Navigator window
Firmware download
status
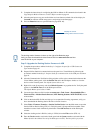
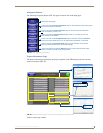
Firmware upgrades can not be done directly to the docking station but must be routed
through the MVP panel.
If the Base Version field displays 0.00, this means there was an error in the firmware
upload process. Re-install the base firmware and re-confirm that the new base
version no longer reads 0.00.