12
Chapter 2. Hardware Installation and Setup
The following guidelines will help you to easily install the switch, and to ensure that it has the proper power
supply and environment.
2.1 Installation Overview
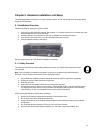
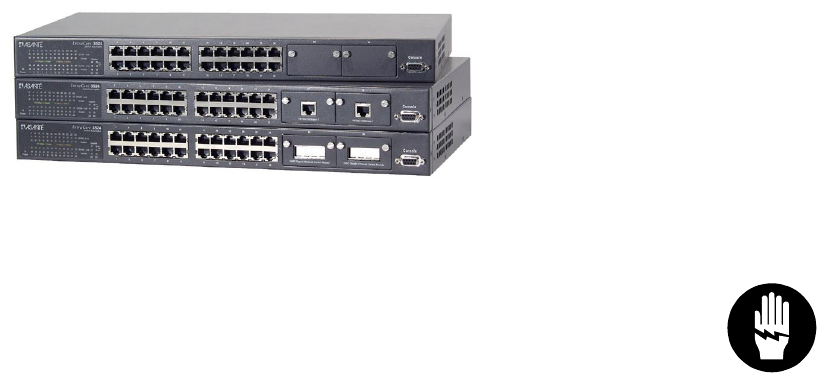
Follow these steps to install your IntraCore switch:
1. Open the box and check the contents. See Chapter 1.1 Package Contents for a complete list of the
items included with your IntraCore switch.
2. Install the switch in an equipment or wall rack, or prepare it for desktop placement.
3. Connect the power cord to the unit and to an appropriate power source.
4. Connect network devices to the switch.
See the sections below for more detailed installation instructions.
2.1.1 Safety Overview
The following information provides safety guidelines to ensure your safety and to protect the switch
from damage.
Note: This information is intended as a guideline, and may not include every possible hazard to
which you may be exposed. Use caution when installing this switch.
•
Only trained and qualified personnel should be allowed to install or replace this equipment.
•
Always use caution when lifting heavy equipment
•
Keep the unit clean
•
Keep tools and components off the floor and away from foot traffic
•
Avoid wearing rings or chains (or other jewelry) that could get caught in the switch. Metal objects
can heat up and cause serious injury to persons and damage to the equipment. Avoid wearing
loose clothing (i.e. ties or loose sleeves) when working around the switch
When working with electricity, follow these guidelines:
•
Disconnect all external cables before installing or removing the cover
•
Do not work alone when working with electricity
•
Always check that the cord has been disconnected from the outlet before performing hardware
configuration
•
Do not tamper with the equipment. Doing so could void your warranty
•
Examine your work area for potential hazards (I.e. wet floors, ungrounded cables, etc.)


